|
|
Post by Penguin45 on Apr 13, 2011 20:01:39 GMT
I finished up bare metalling all four doors. The off-side doors are now round with T'other Chris, who is a far better painter than I am and has a bit of time on his hands. The nearside doors are proving to be somewhat recalcitrant. The rear one was just yellow with rust dust when I stripped it - very disappointing. Buzzed it all off, then applied rust converter, buzzed that off and so far it has stayed metal coloured. Flatting and filling and sanding that one at the moment. The front one is covered in deep rust pits: 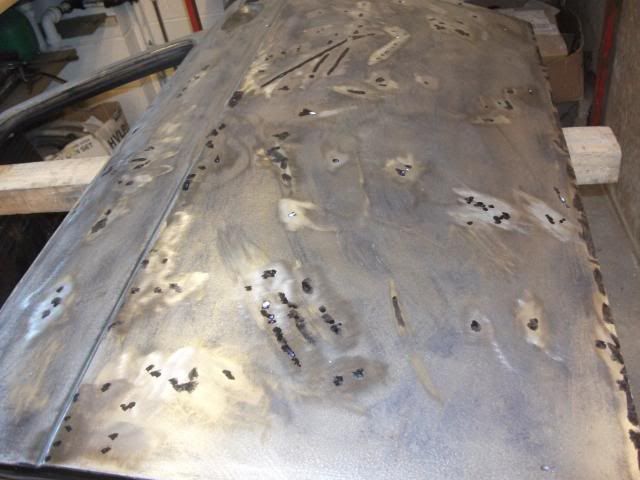 It looks like it's got acne. I have applied rust converter to the entire door, flatted that back then attacked each individual mark with the drill and wire brush, re-applied converter, flatted it all back and stoppered each pit. Little bit of filling and flatting and they should be able to go round to T'other Chris tomorrow. Flat sheet DA sander and a proper rotary DA sander are the ideal weapons for this sort of task. Chris. |
|
|
|
Post by Penguin45 on Apr 16, 2011 16:59:45 GMT
That door pictured is actually the rear one and has cleaned up rather well, requiring just one small area fillering to level the surface. 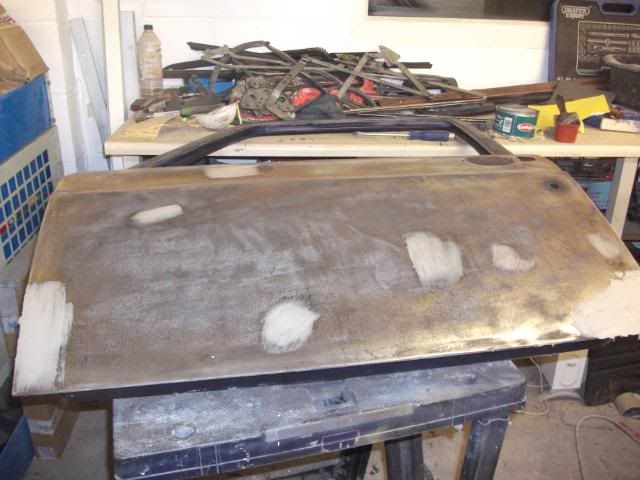 This is the front one. It has needed rather more work and extensive filling and flatting to produce a nice flat surface. 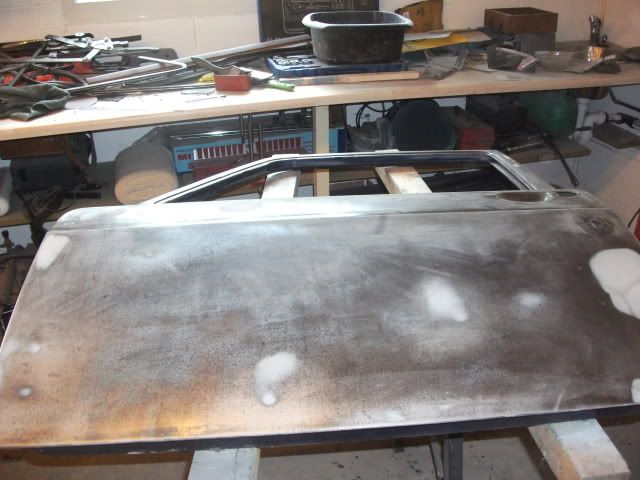 Looks (and more importantly, feels) fine. Nothing more to be done with them until T'other Chris is ready for them, so I spent the rest of this afternoon doing something really exciting. 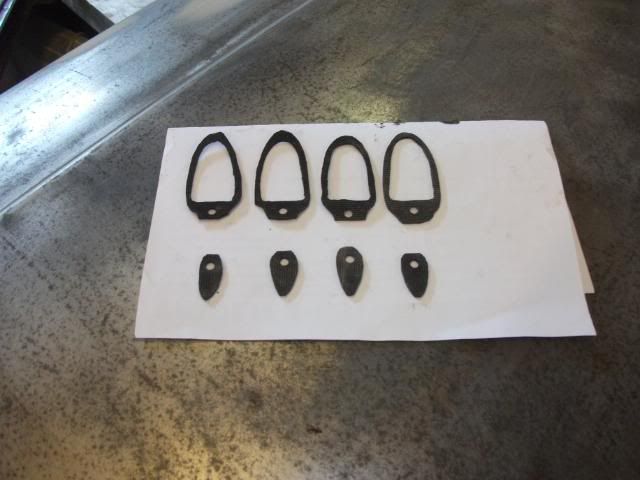 Hand-made rubber gaskets to go under the door handles when they're refitted. They'll protect my nice new paint work. Chris. |
|
|
|
Post by Keef on Apr 16, 2011 17:13:15 GMT
Looking good Chris.
Must get some Black Tulip paint and start on spraying the doors on Reckless.
|
|
|
|
Post by Penguin45 on Apr 16, 2011 17:17:45 GMT
Come on Keef - the sun is shining.  Just a note - "T'other Chris" is a friend of ours around the corner who is currently unemployed - AND - he's a far better painter than me, so he's finishing the prep on the doors and painting them. He's very picky, so they'll come back perfect.  Chris (The Washer). |
|
|
|
Post by Keef on Apr 16, 2011 17:48:25 GMT
Come on Keef - the sun is shining.  Just went out and rubbed down a few rust spots on Victor with my Dremel. Then painted them with the first pot of touch up paint I found. So now Victor is Snowberry White with Conaught Green spots!  Anyone want to swap a part used tin of Conaught Green for a similar of Snowberry White?  |
|
|
|
Post by Penguin45 on Apr 18, 2011 0:10:36 GMT
Doors - give me doors........... T'other Chris is a perfectionist, so I'm going to have to wait a bit, yet. In their absence, I knocked off and refinished some grot in the O/S front wheel arch area. Between coats, I decided to clean up the dynamo, so pulled it off and stripped it again. The field coils cleaned up quite nicely and were refinished with Simoniz Very Tough Paint. At about this point, I realised that I had an original plinth/strap mounting up on the rack for the ignition coil (MkI cars had the coil mounted on top of the dynamo). It has now been wirebrushed, Kurusted, wirebushed again and painted with my favourite Very Tough Paint. Bit of a tweek and tidy up with the wiring and it looks like this: 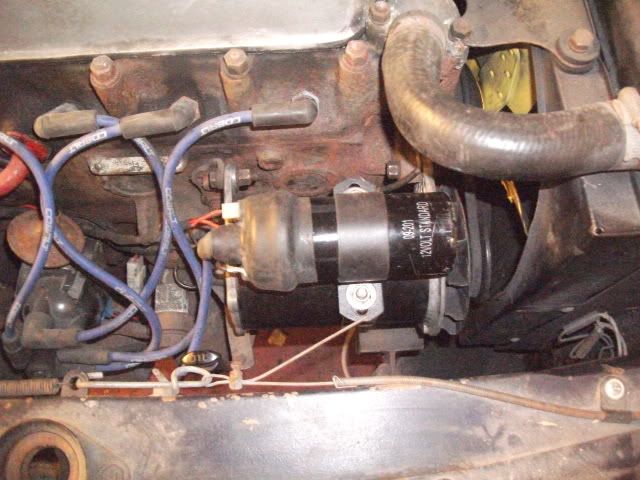 Pleased with that - looks rather good and adds to the MkIyness (Can I say that?) of the car. Chris. |
|
|
|
Post by Penguin45 on Apr 25, 2011 20:55:42 GMT
A busy and productive weekend. In the continuing absence of doors, I'm down to the list of minor jobs to be done. I decided to start by fitting the Unipart front mudflaps. They attach with a screw to the bottom of the front wing and a screw through the front of the sill flange. Raise car to fantastical height, remove wheel and realise that there is no sill flange to drill. 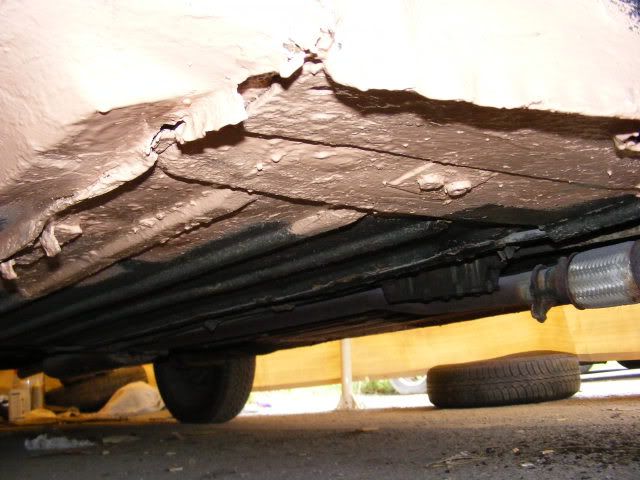 To be fair, I have known about this for ages - the car has been jacked in the distant past by a previous owner and the flange is crushed. Out with the hammer and chisel and see if I can pop it back up again. It fell off, which was nice........  Don't you love these jobs? I've now gone from drilling two 5mm holes to chopping out rust, fabrication and welding in the space of ten minutes. Made up to "L" sections, one for the floor and one for the bottom of the sill. Plug welded each in place, plugged the two flanges together then seam welded the lot. It ain't going to fall off, that's for sure.  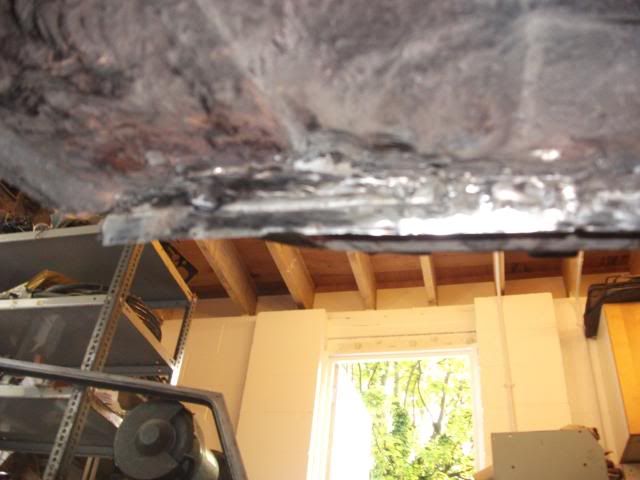 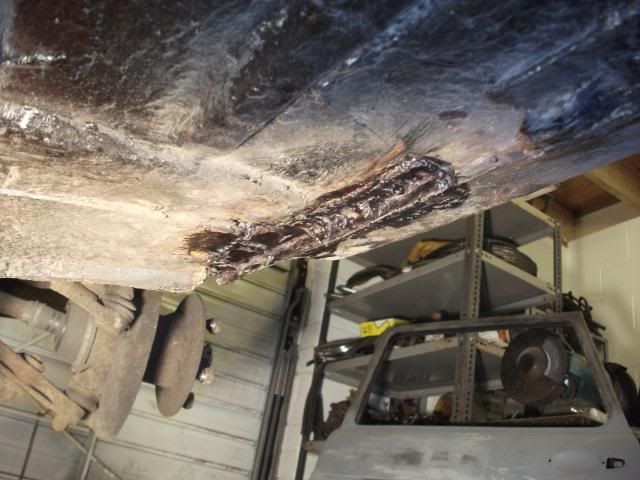 The resulting flange appeared rather too deep, so trimmed it back with the slitting disc on the angle grinder. Rust treated everything, anti-rust primer, paint, shutz and underseal and I thought it looked rather fine in a black, gooey sort of way. 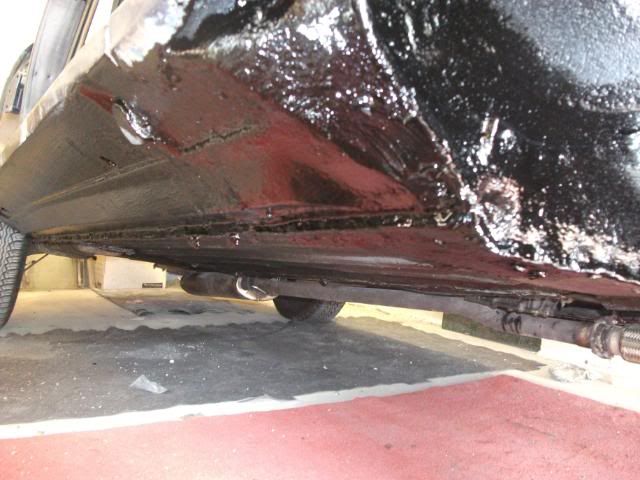 However, The flange wasn't deep enough to drill through and align the bracket...... Strip off the front couple of inches and weld on a small extension, then refinish it all. 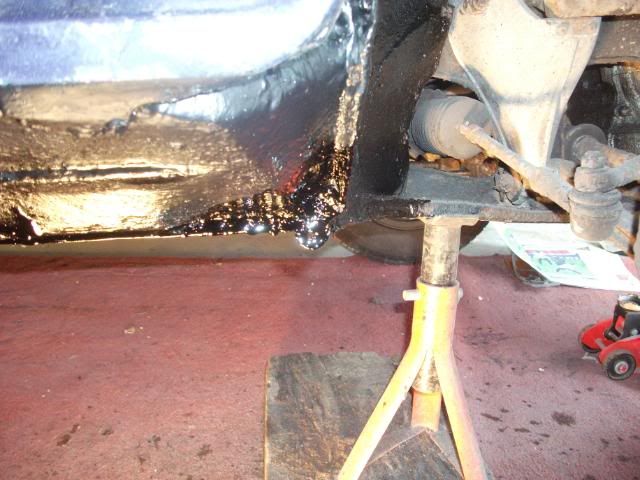 Still we got there, and ten minutes later the mud flap was on. 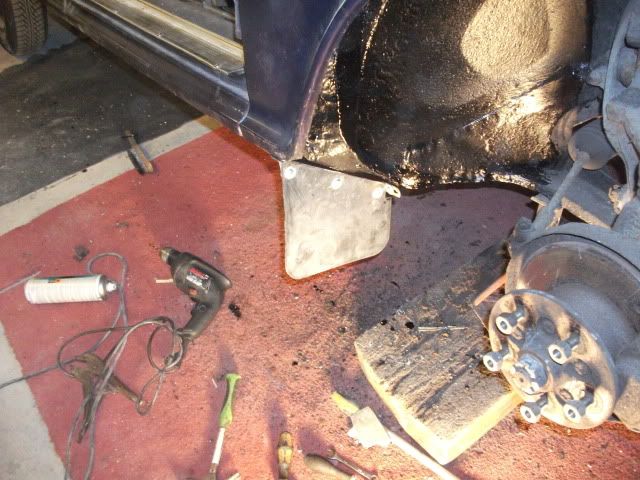 Then I did the other side. Whilst crawling about in the wheel arch, I noticed a split gaiter on the top ball joint. Jammed the upper suspension arm, wound off the nut, wound up the ball joint splitter and it gracefully popped apart. Bobbed on a spare gaiter from an old ball joint and let it all back down again. Easy, peasy. Then I noticed that the bottom one was also split. Had a huge fight to get the lower nut to undo, set up the ball joint splitter and tightened it. And tightened it...... Finally used the breaker bar for more leverage..... Nothing. Applied a judicious blow with the Universal Adjuster - nope. Walked away and made a mug of tea. Ten minutes later, I went back up the garage steps to be greeted by noise like a gunshot as the joint let go. I spilt my tea..... Bobbed on another gaiter, then realised that I hadn't chocked the top arm, which was of course being held down by the hyrdolastics. Finished up wiggling a length of wood through the suspension and drive shaft area to the top arm, the jacking it up in order to refit the joint. Lesson learnt. P45. |
|
|
|
Post by Penguin45 on Apr 26, 2011 0:24:58 GMT
I have been having fun with the paintwork at the same time. One of the best £20 I have spent recently has to be on this little chap: 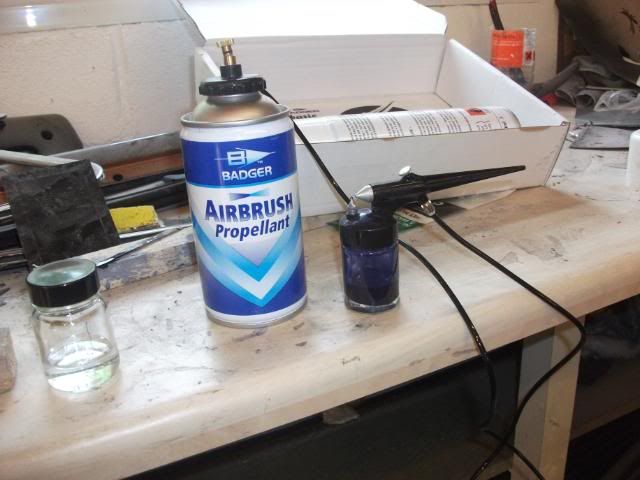 Badger 250 airbrush, complete with can of propellant (although I did buy another one at the same time). Amazing little thing. Not a huge amount of control with it (big paint dot down to little paint dot), but it works really well. Side light pod area now looks like this: 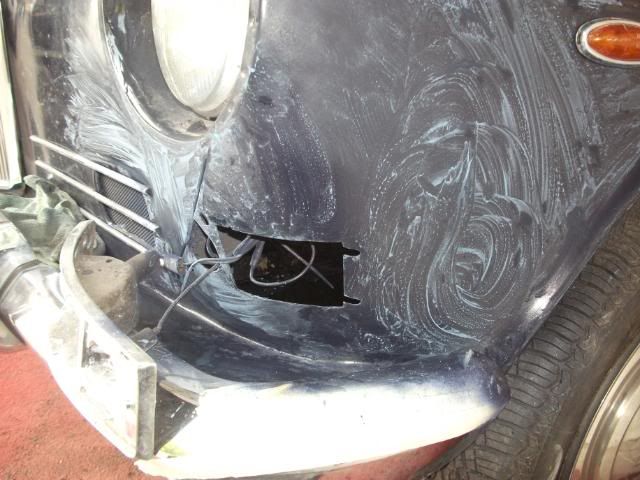 Rubbing back with 600w+d after the first two coats. 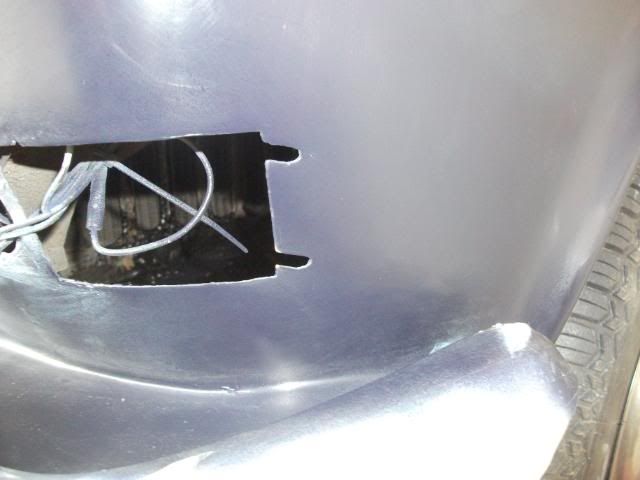 After the second two coats - 1200 w+d followed by 1500 w+d. Not quite a mirror finish, I think it'll need a bit of buffing with rubbing compound to get that. All the little nicks in the sills have been blown in. I was especially pleased with the result of a re-repair on the o/s wing. A small ding just below the swage line on the wing was filled and flatted last year, before it was painted. Not quite right - if it caught the light, it screamed out "I'm filler!" and has annoyed me ever since. A light roughening of the surface, a wipe over with stopper then a rub down with 1200 grit prior to 4 coats with the airbrush has caused it to completely disappear and I'd challenge anyone to find it. Great little tool - get one, you won't regret it. Just in case anyone thinks that I spent the entire 4 day weekend under the car, the patio furniture has been stripped and re-painted, the patio itself has been cleared of the remainder of the builder's rubbish, the skirting boards have been fitted in the kitchen and the edging strips have been fitted around the doors. Just the floor tiles to go. Still married, then. I'm going back to work tomorrow for a rest. Chris. |
|
|
|
Post by threelitre on Apr 26, 2011 9:28:58 GMT
To be fair, I have known about this for ages - the car has been jacked in the distant past by a previous owner and the flange is crushed. Out with the hammer and chisel and see if I can pop it back up again. It fell off, which was nice........ I know exactly what you mean here... It almost always crushes the front sill drain too, leading to a rusting inner sill and wet carpets later on. Been there, done that and repeated it... Regards, Alexander |
|
|
|
Post by Penguin45 on May 1, 2011 20:41:35 GMT
I've made sure that there's a drain slot open (Fine chisel, hammer, stiff piece of wire wiggled through the now open slot). I've spent most of last weeks evenings refinishing and painting the rear o/s wing. There were several filler marks showing through and an area of sinkage making an unsightly edge. Stoppered, flatted, stoppered, flatted, primed, rubbed, stoppered, flatted, primer and finally four coats of paint. Looks good now that it has all been cut back. I thought I'd have a crack at the starter motor today, so hoiked off the rather asthmatic one currently fitted. I didn't like the look of the shaft where the Bendix runs - pitted and marked, so selected another at random from the shelf (I have 5 starter motors, I really don't know why  . Pulled it all apart, dropped the Bendix mechanism into a pot of petrol to soak, and had a close look at the motor itself. Yup, brand new bushes and brushes - someone's been here before me. As a consequence, the rebuild became a case of wirebrushing the outside of the motor and painting it, applying plenty of oil to the phosphour bronze bushes and putting it all back together again. The rebuild article will have to wait until another time. 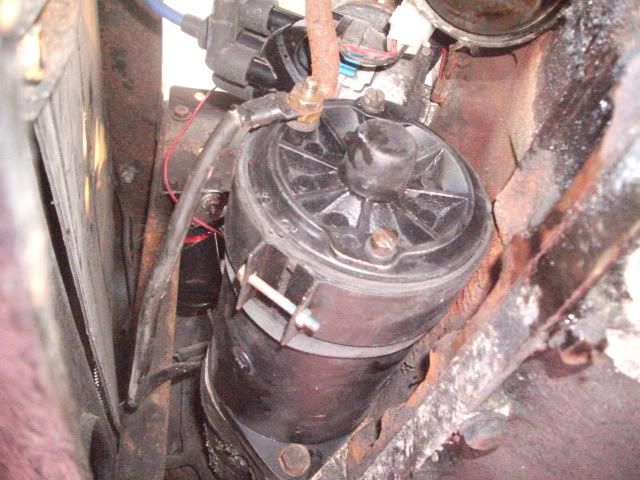 Back on the car - the oil cannister has to removed to provide enough clearance, so that's been cleaned and repainted as well. Still no doors...........  Chris. |
|
|
|
Post by Penguin45 on May 4, 2011 0:41:08 GMT
DOORS!T' Other Chris has brought the o/s doors round and we've popped them back on the car. They look absolutely amazing. 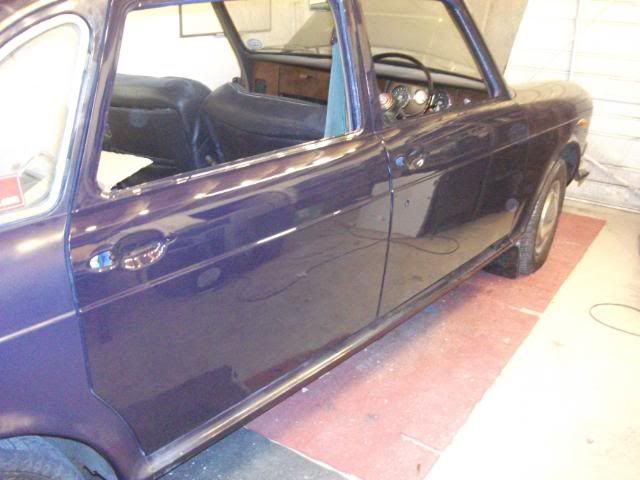 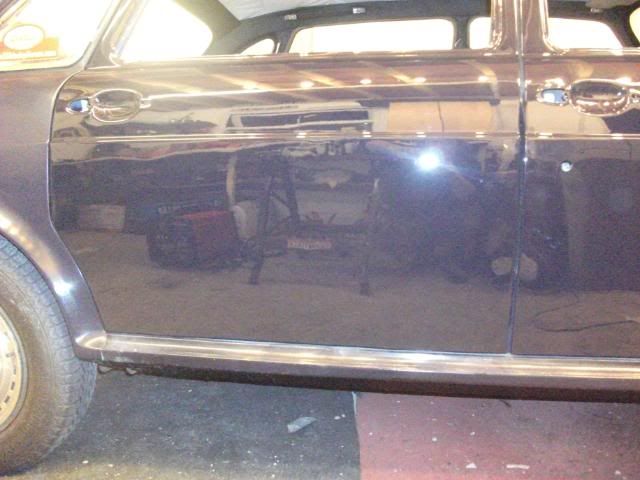 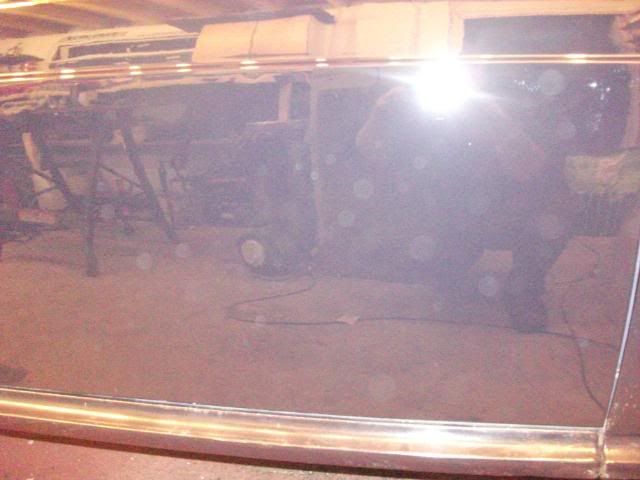 You can even see me in the last picture. The doors are straight out of the gun. Chris flatted them back after the first two coats, before getting the results you can now see. Apparently, I do need to rub them back lightly with some 1500w+d as there ar some dust pick up marks. The other two should be back on Friday, so if I can wangle an MoT for Saturday, I may even get to the show on Sunday. Talk about taking it down to the wire....... Chris.
|
|
|
|
Post by Keef on May 4, 2011 1:35:03 GMT
You'll have to re-do the rest of the car to match now! LOL
|
|
|
|
Post by Penguin45 on May 4, 2011 18:36:50 GMT
You'll have to re-do the rest of the car to match now! LOL I have a cunning plan - pictures later........ Chris. |
|
|
|
Post by Penguin45 on May 13, 2011 0:41:23 GMT
She passed the MoT on Saturday morning, without even an advisory notice. Theo and I were up rather late on the Friday night refitting the the nearside doors and building them up with glass, handles etc. Saturday afternoon saw the window trims go back on and some serious polishing before running up to Goathland for a Wolseley Owners Club day out. Keef had kindly dispatched Achtog1 north with a set of door cappings, so that has been this weeks activity. So far: 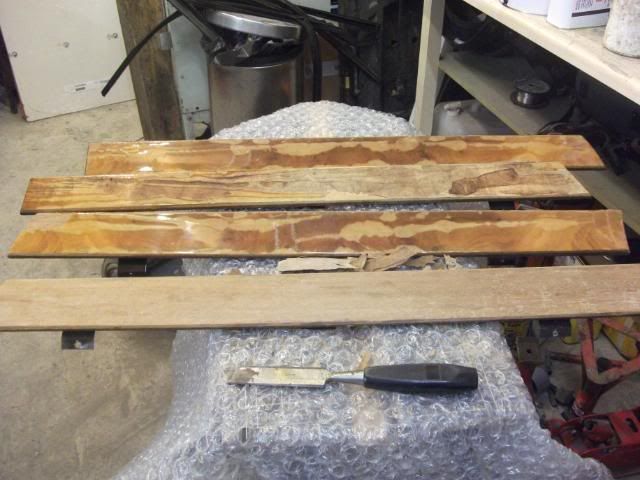 As received. The lacquer and the old veneer had to go..... 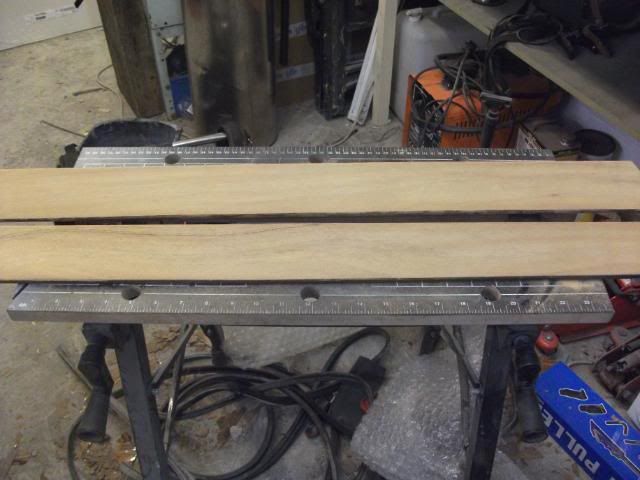 Couple of cappings stripped back to bare wood, which has turned out to be some rather fine mahogany. Dilemma time....... Re-veneer the cappings, or go for a finish and stain the wood to something similar to the walnut dashboard? I opted for the latter. Mahogany is a rather red wood when compared to the walnut, so I used a dark oak wood stain, as it has a black content to it. Two coats turned the wood virtually black. It also revealed all the little tool marks which I'd missed with the first sanding back. Do it again.....  Restained them, light sanding back and they looked like this: 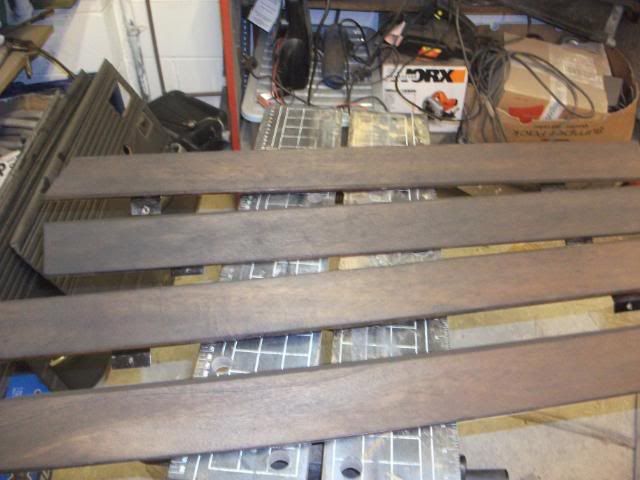 These looked rather good, so I picked one and gave it three light coats of lacquer, sanded back with 600 grit wet and dry before applying a rather heavier coat. 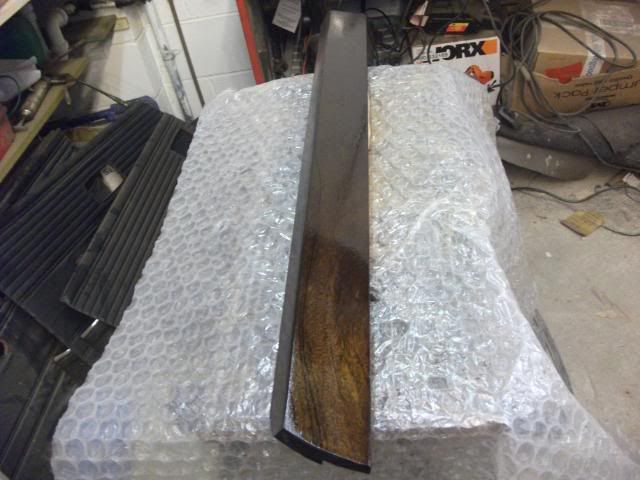 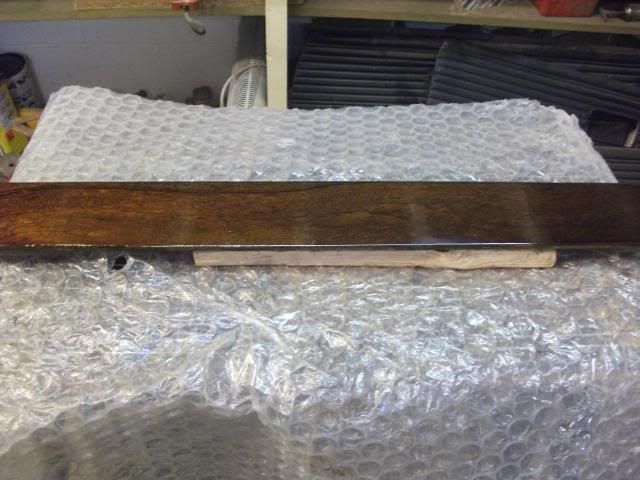 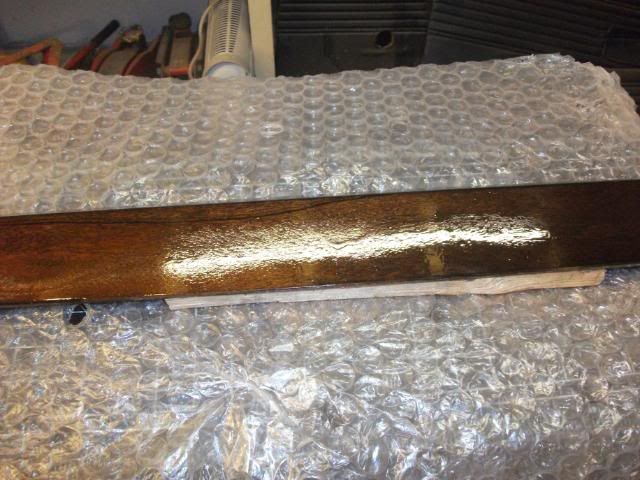 These are under fluorescent light, so the coulour is not all that clear, but the sheen is good. Plenty more light coats with light flatting should produce a glass-like finish. I did have to consult MrsP about the colours. I'm rather badly colourblind, so the female of the species made rather more sense.  I know what I'll be doing for the next few days! Chris. |
|
|
|
Post by Keef on May 13, 2011 5:32:33 GMT
Looking good!  [Must check over Victor as he is due another MOT test.] |
|


 . Pulled it all apart, dropped the Bendix mechanism into a pot of petrol to soak, and had a close look at the motor itself. Yup, brand new bushes and brushes - someone's been here before me. As a consequence, the rebuild became a case of wirebrushing the outside of the motor and painting it, applying plenty of oil to the phosphour bronze bushes and putting it all back together again.


 Restained them, light sanding back and they looked like this:


