|
|
Post by Penguin45 on Dec 5, 2013 20:46:11 GMT
Still no tubing, so have spent a little time doing some more to the rear arch; back end this time. 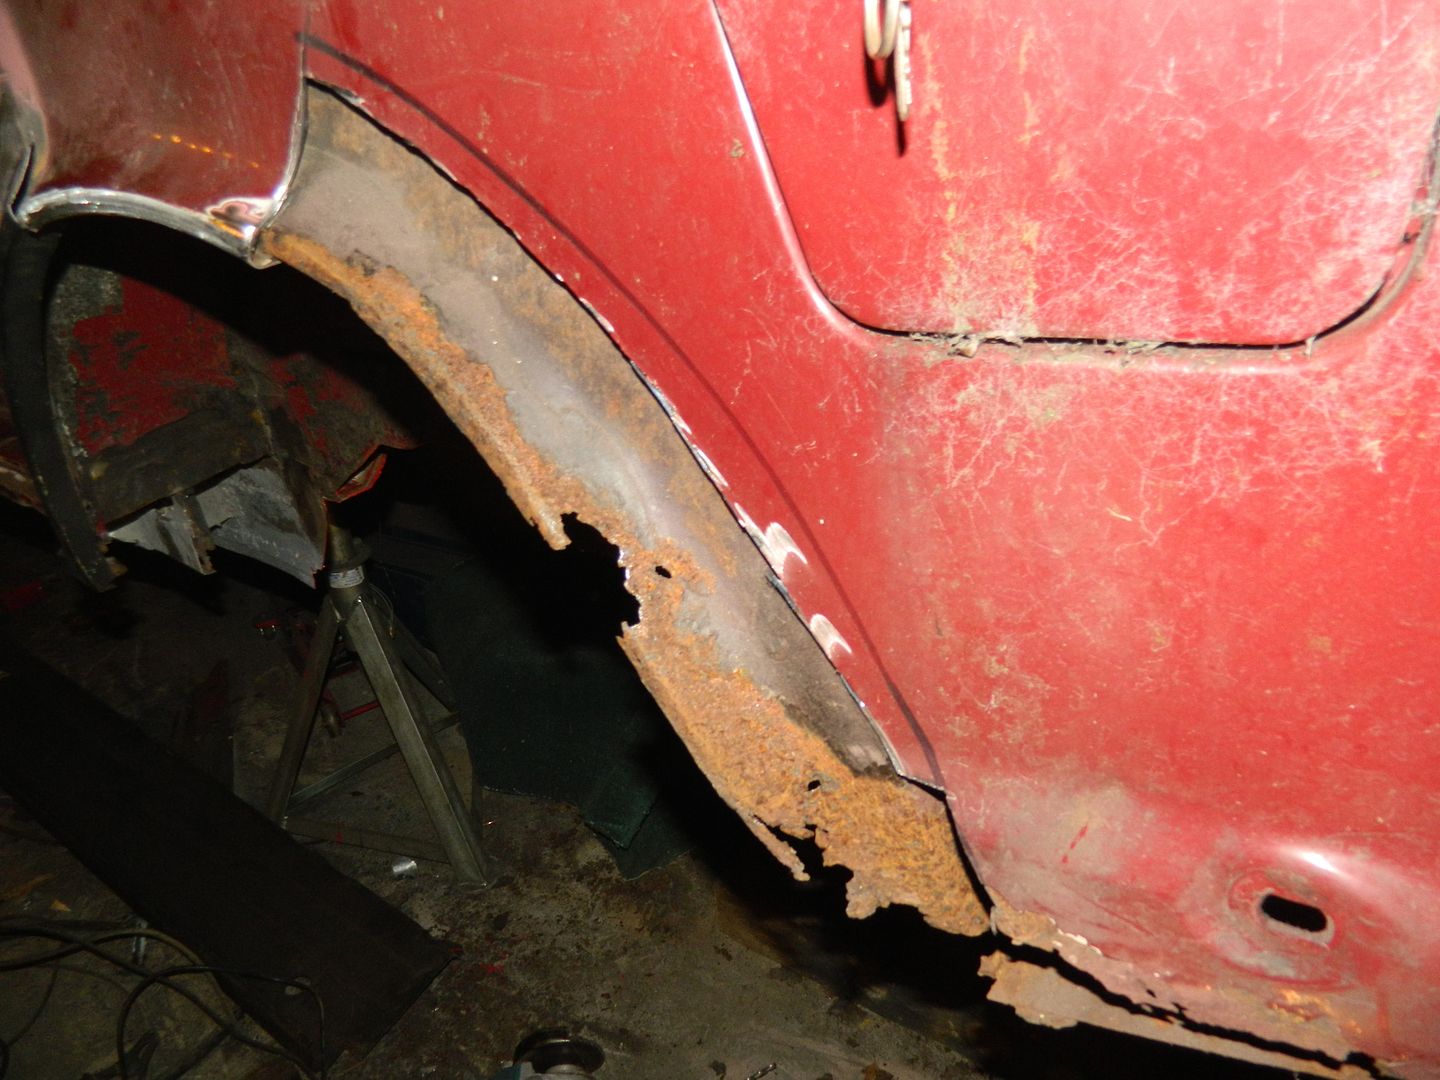 Inner section will need some repairs. I think I can save most of what's there. 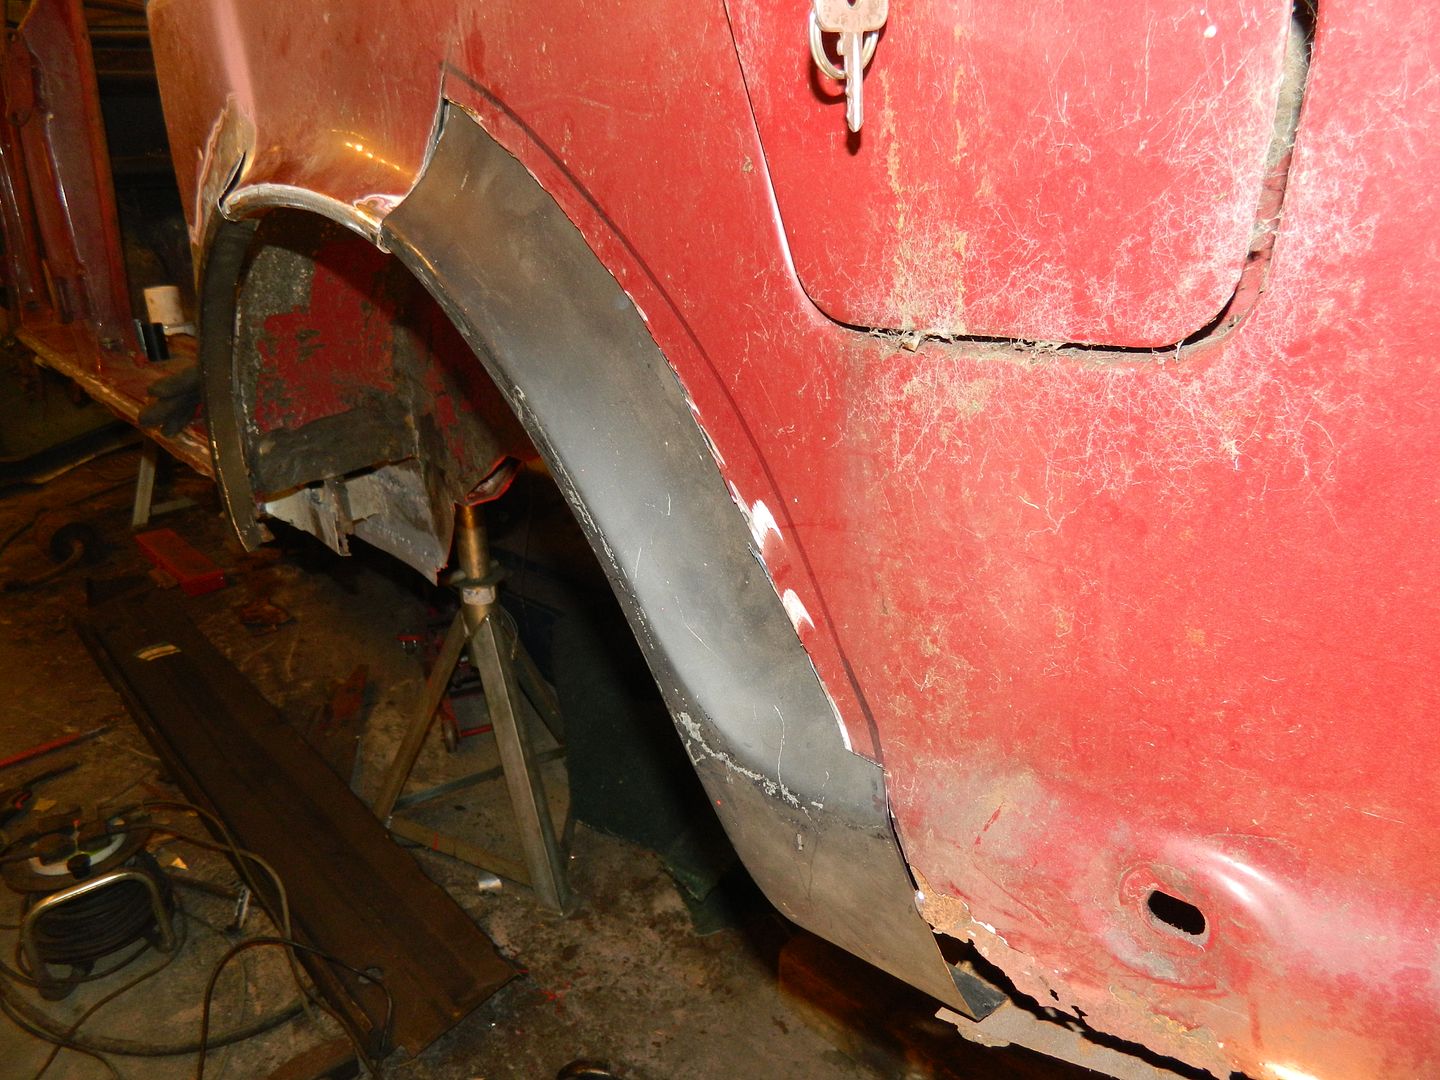 Other section of the repair panel trimmed to length and offered up. It's about 3" shorter, as the top section of the arch is in rude health and is also flattened off, rather than the full circle of the Maxi arch. 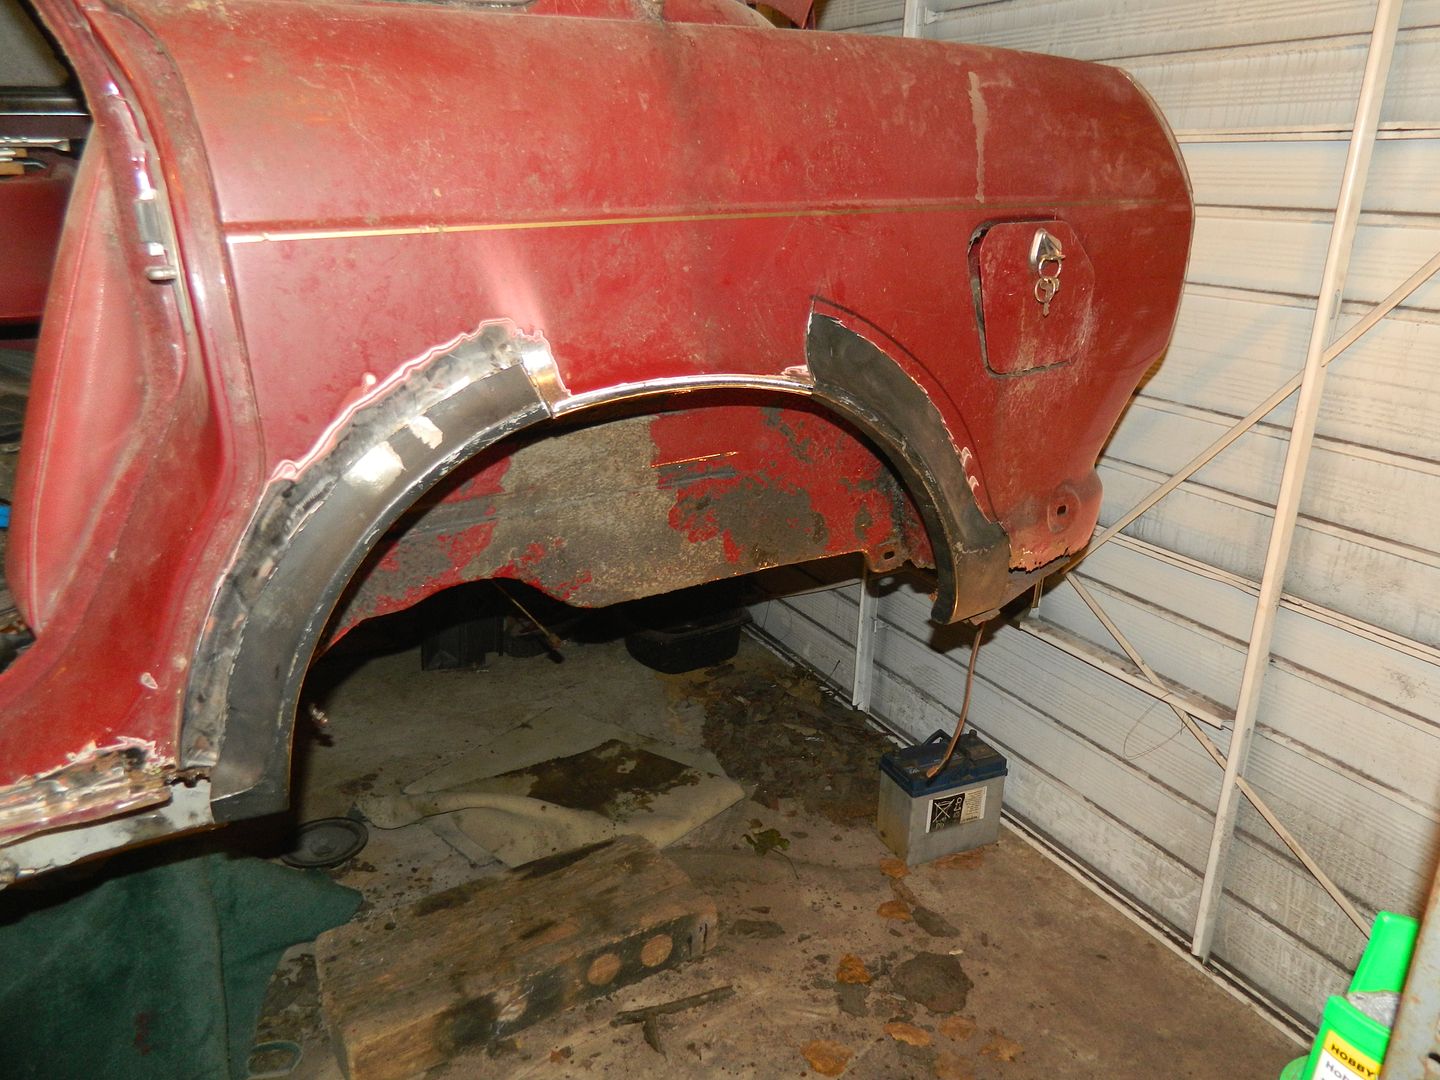 As can be seen here. Bit of prep to be undertaken and some repair work on the inner section should keep me occupied until the sill can be fitted properly. I need the rear end of it as a datum point for the rest. Chris. |
|
|
|
Post by Penguin45 on Dec 7, 2013 1:26:11 GMT
Something must be terribly wrong with my life if the arrival of a length of steel tubing can make me happy. Briefly........... 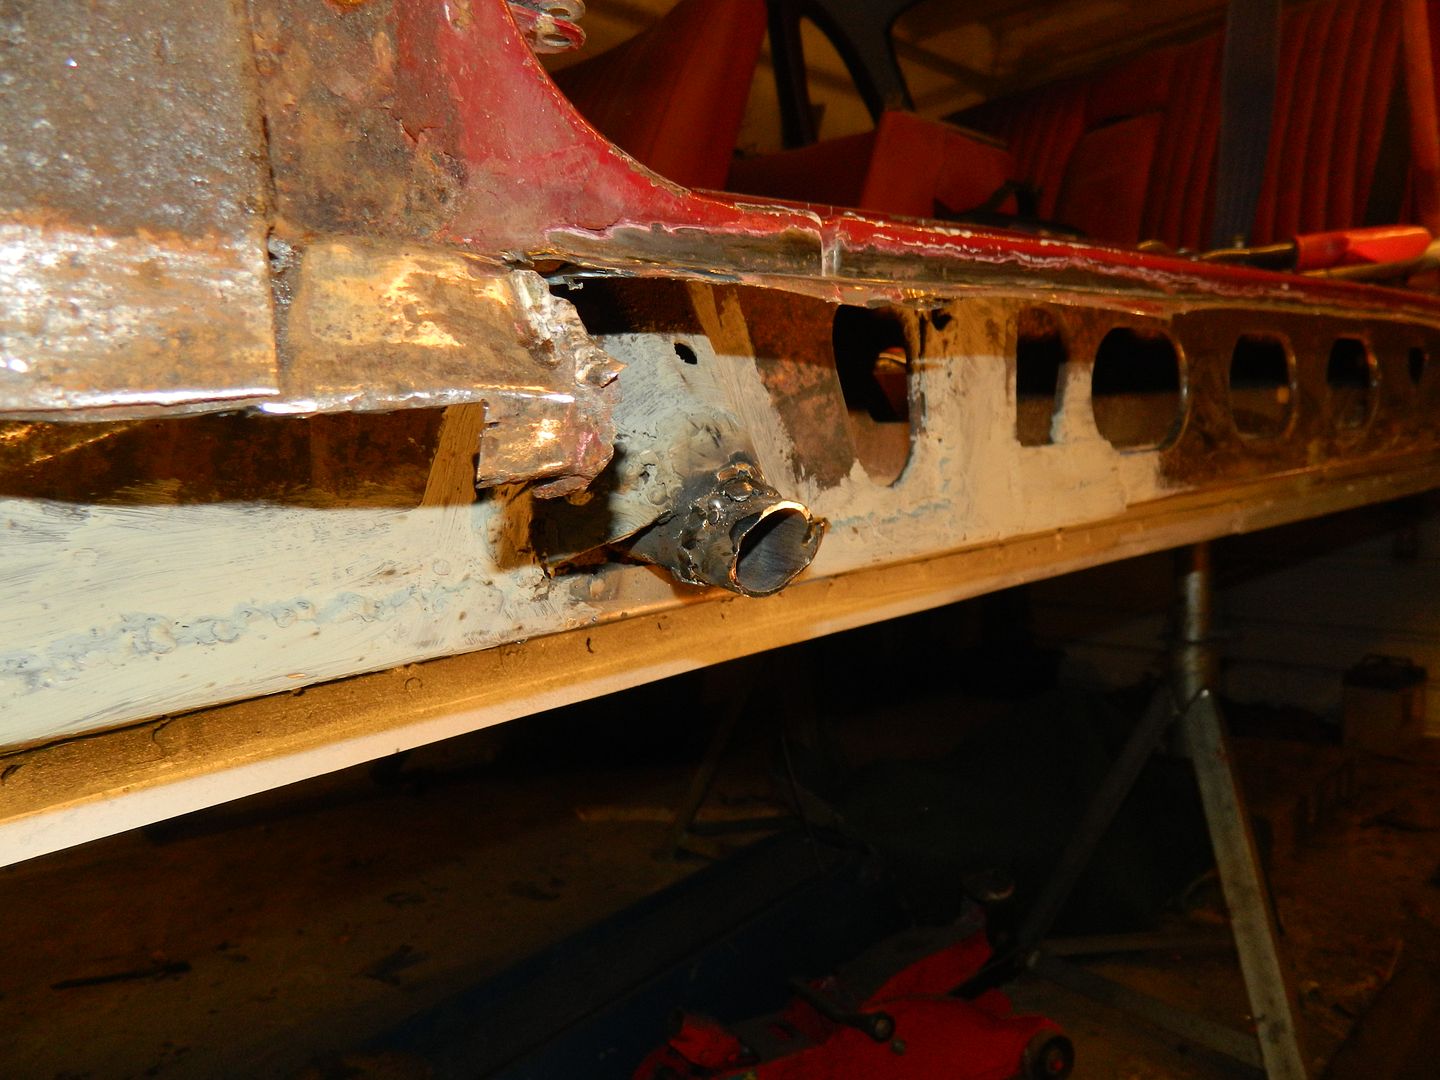 Extension welded to the existing tube of the jacking point. 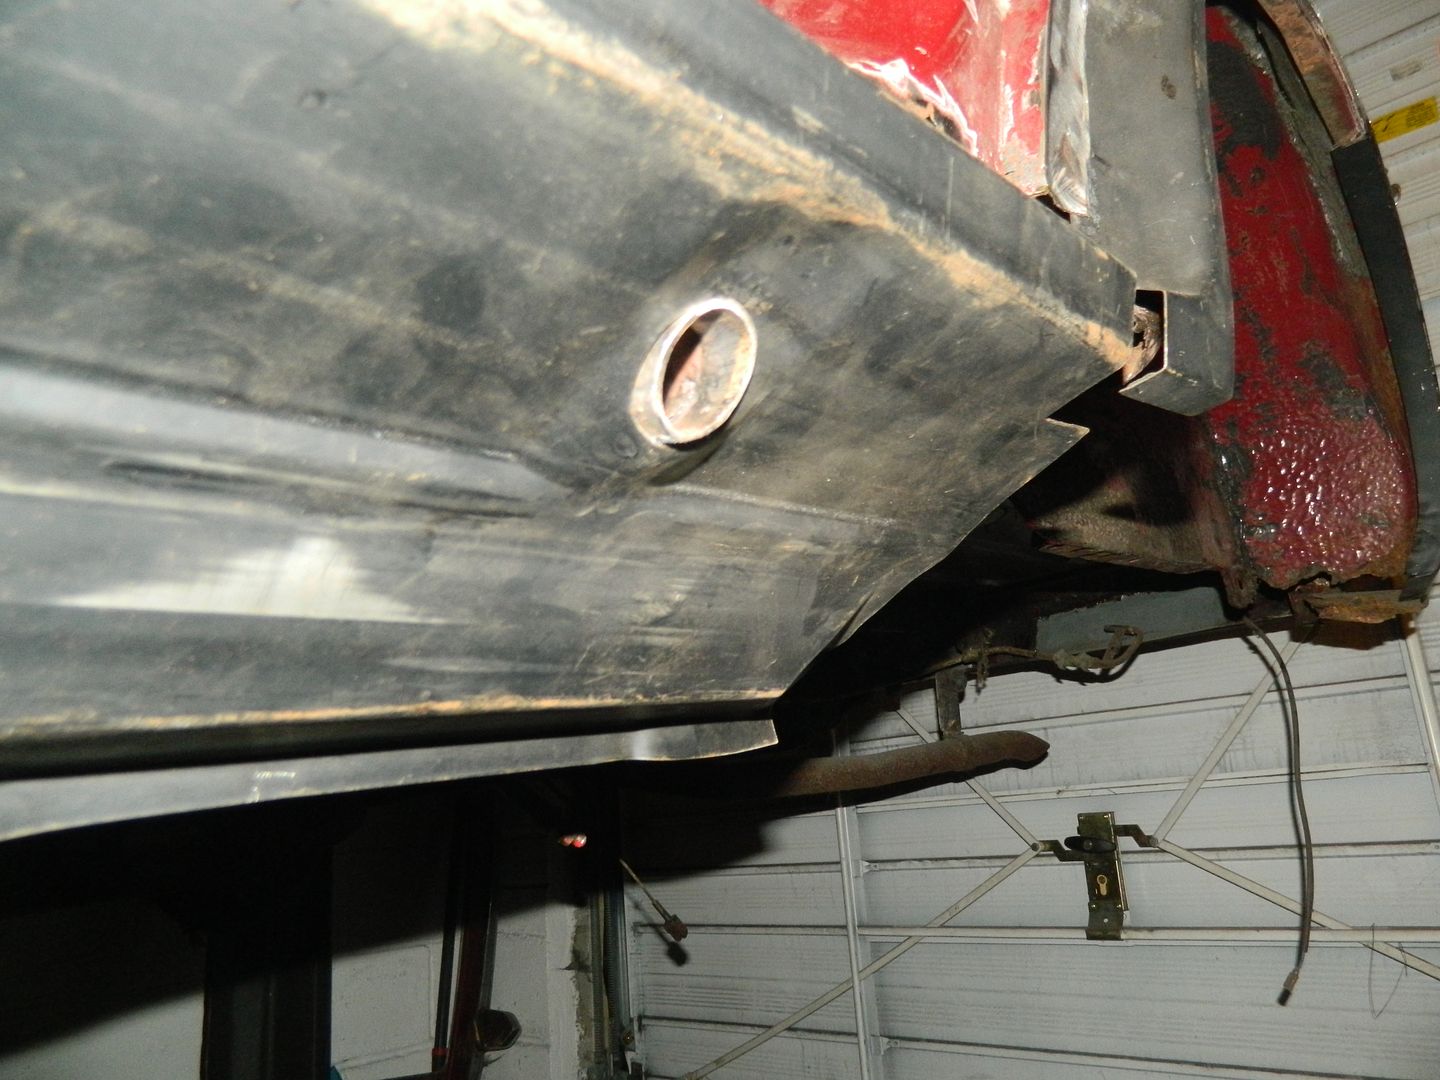 Rear. 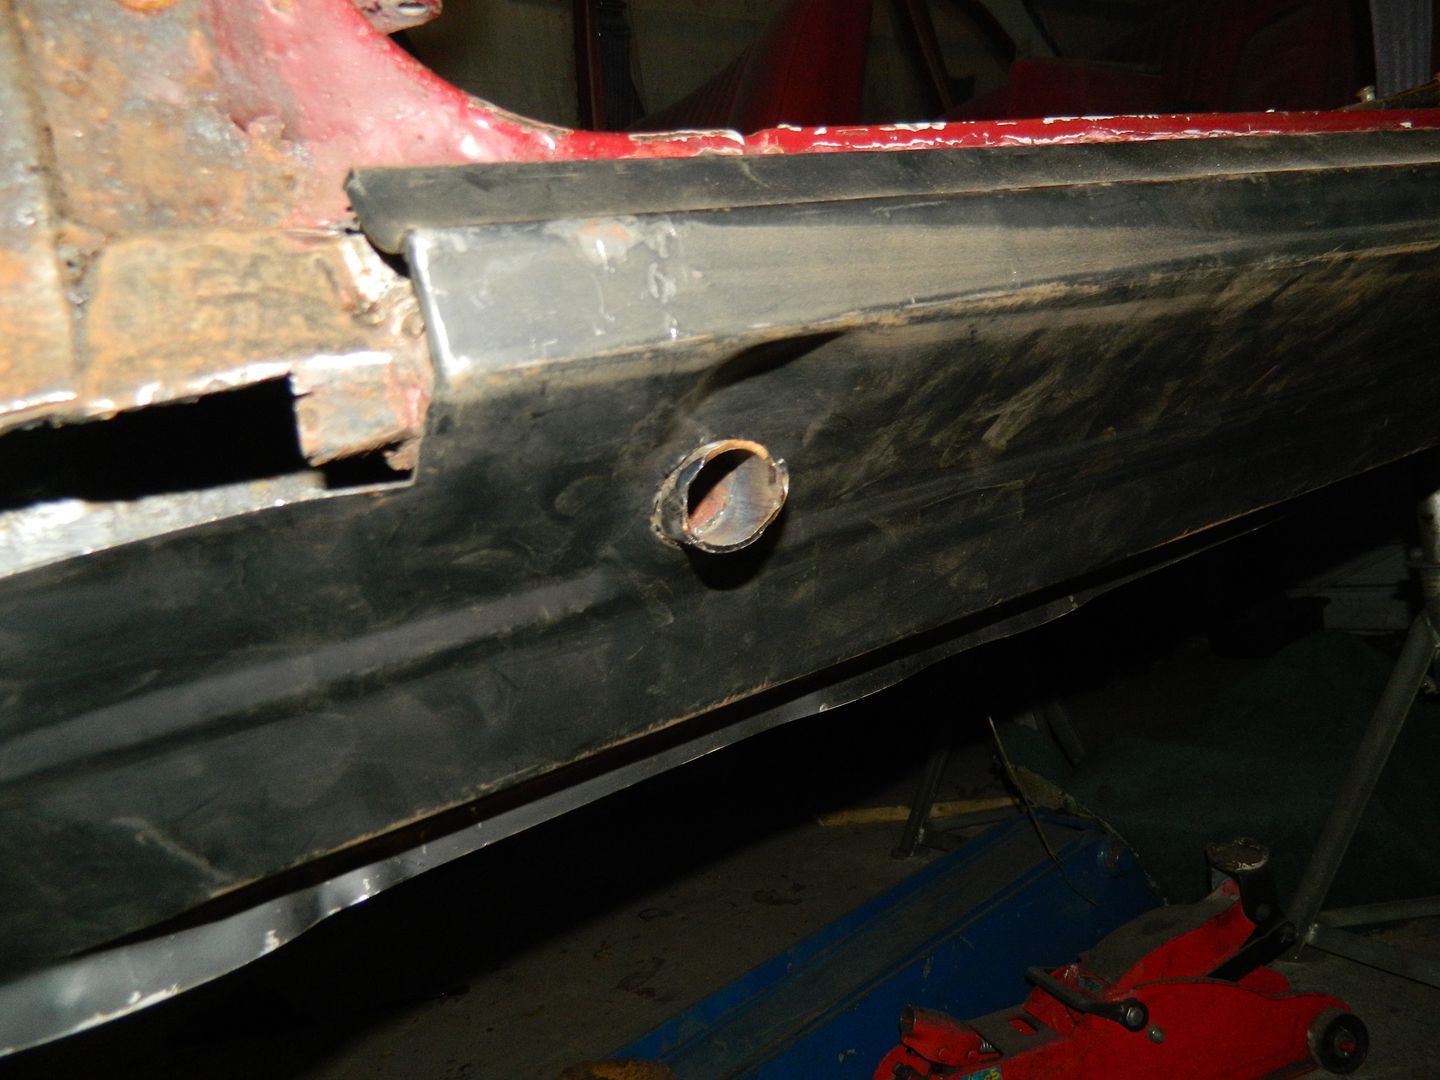 Front. Reluctant to trim this back just yet, as the membrane isn't sitting on the step of the sill yet. I think there might be a bit of a bend front to back. Not a right lot to see, but this has been the most difficult bit of fabrication so far. The end of the tube is cut back at an angle and the new length of tubing is thicker. To get a good solid weld, the tubes need to match pretty closely, so cutting and fitting needs to be quite precise. Did it - needed a lot of buzzing back with the grinder to make it tidy. With a bit of luck, I can get started on the sill tomorrow. Chris. |
|
|
|
Post by dave1800 on Dec 7, 2013 2:35:39 GMT
No comment  David Something must be terribly wrong with my life if the arrival of a length of steel tubing can make me happy. Chris. |
|
|
|
Post by Penguin45 on Dec 8, 2013 0:53:56 GMT
Terrible, isn't it?
The sill is now attached to the centre membrane. It's been a complete cow - most of this afternoon was spent trying to get the bottom edge of the membrane to align to the flat section of the sill. It is now plug welded home along that edge and I'll get the bottom and the top edges tomorrow. As well as some new batteries for the camera.
Chris.
|
|
|
|
Post by Penguin45 on Dec 8, 2013 19:13:34 GMT
Right it's on and it ain't going to come off again. 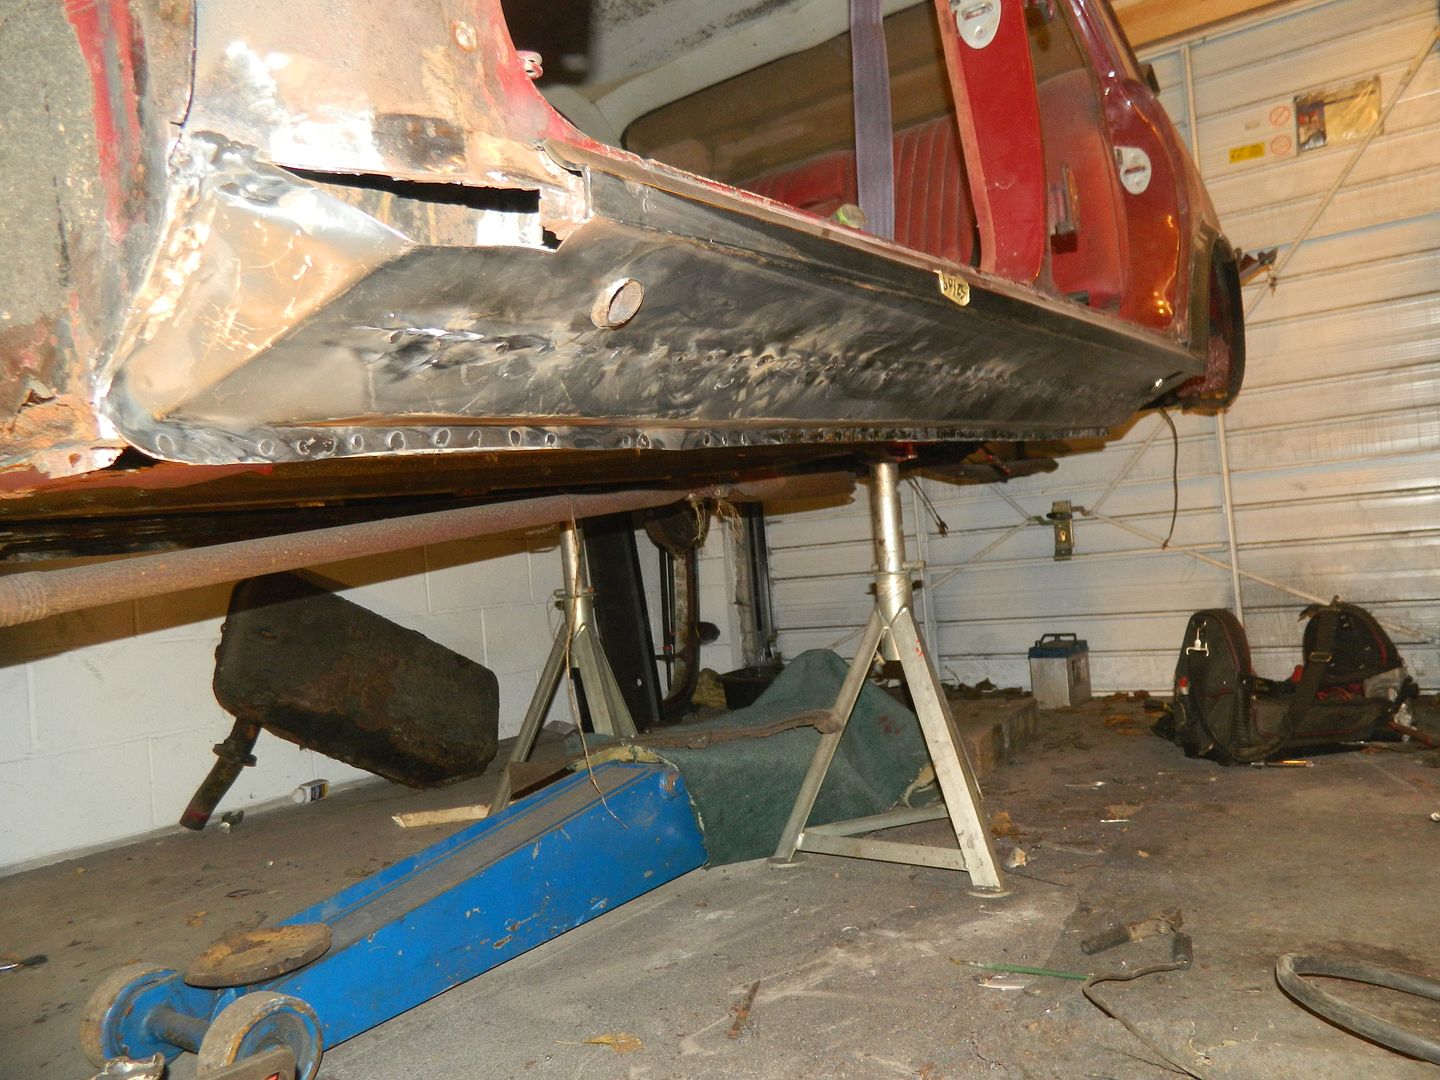 Lots of plug welds. 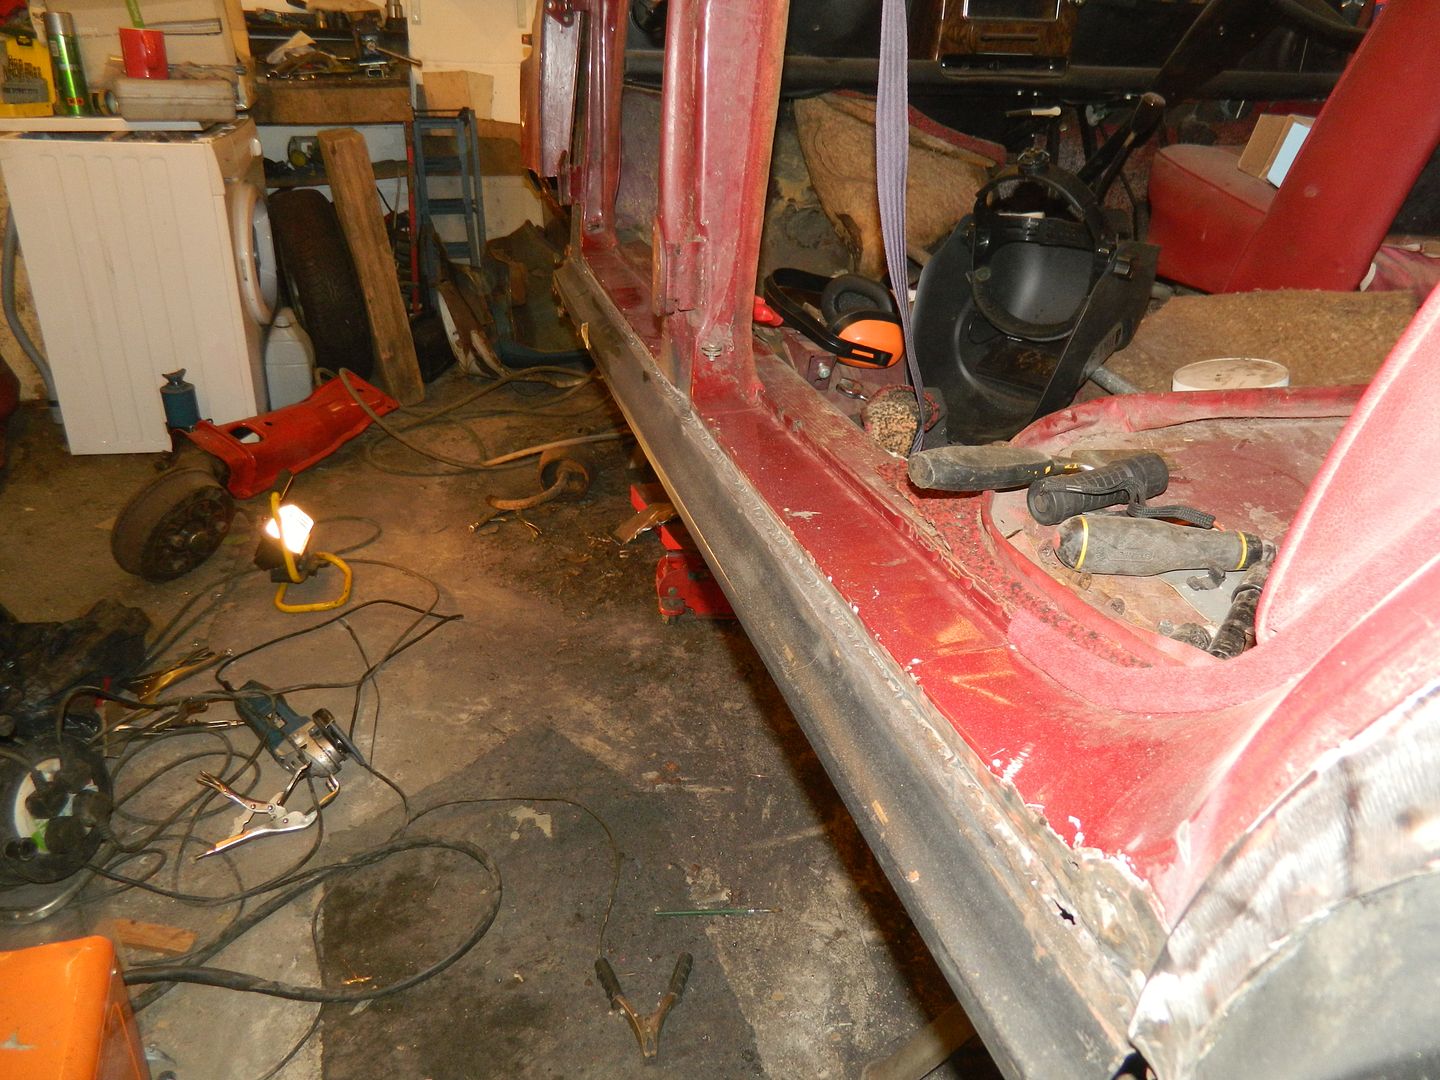 Not very clear, but its lap welded all the way along. 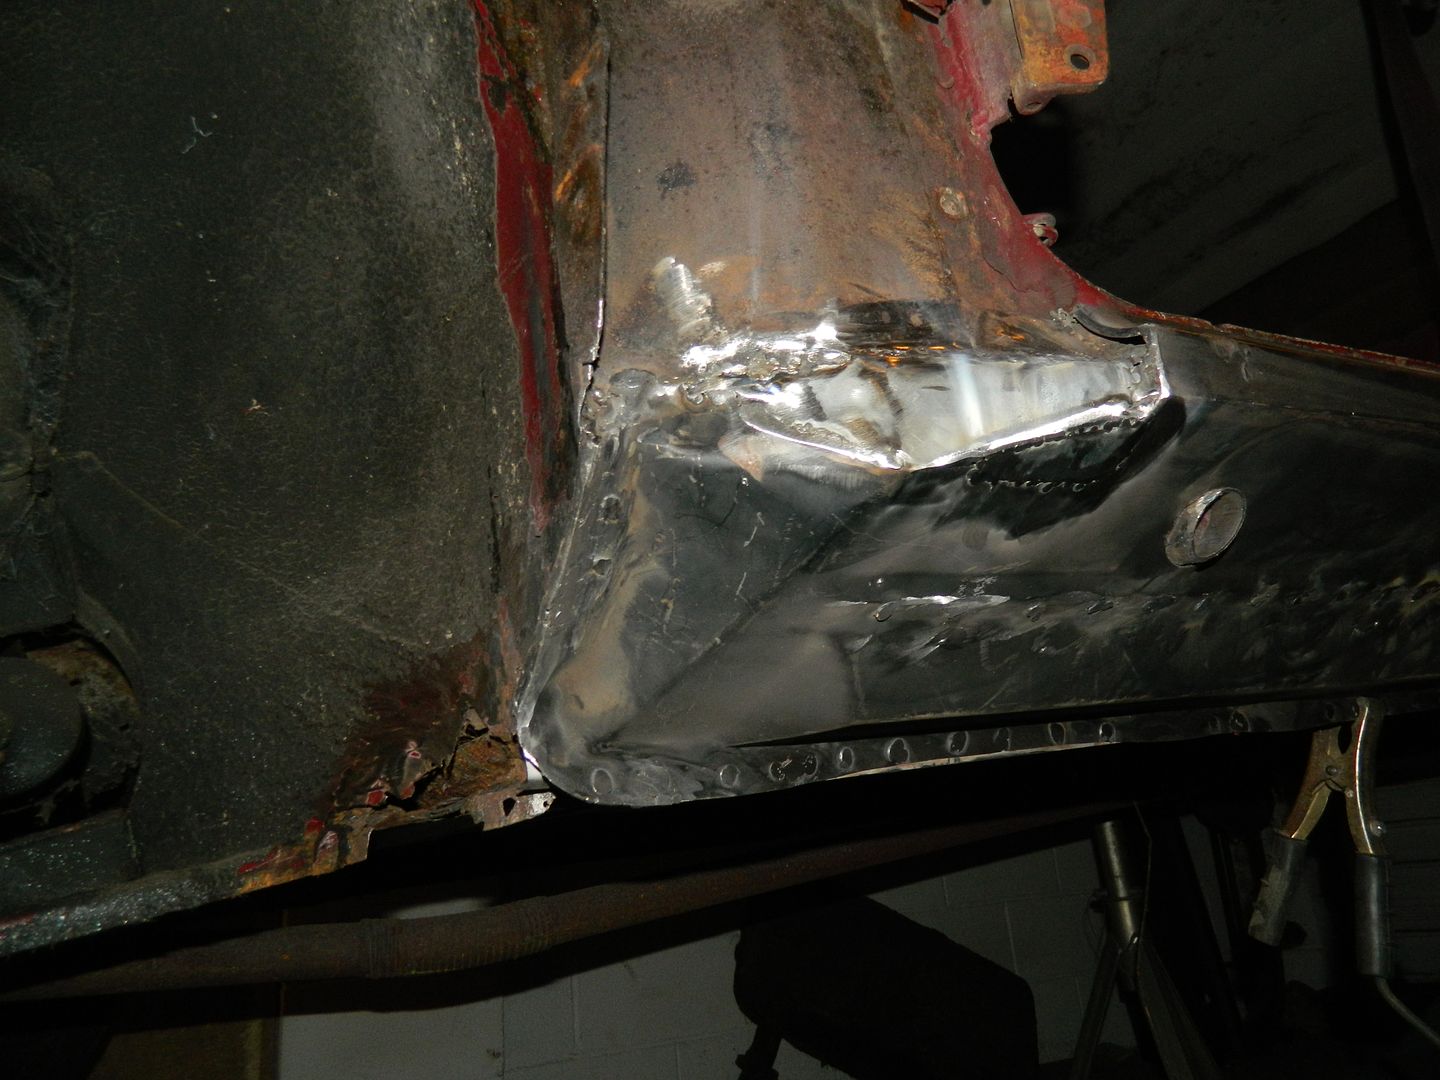 Front closing piece cunningly artificed and attached. It's actually taken more time to buzz everything into "tidy" shape with the flap wheel than it did to do the welding. Chris. |
|
|
|
Post by dave1800 on Dec 8, 2013 23:55:20 GMT
Right it's on and it ain't going to come off again.  It's actually taken more time to buzz everything into "tidy" shape with the flap wheel than it did to do the welding. Chris. Chris, that's a really excellent series of posts describing how to replace the sills. I just wonder how many have been repaired to this standard by bodyshops? Now what will you do / recommend to ensure this type of repair lasts for the next 40 years? regards David |
|
|
|
Post by Penguin45 on Dec 9, 2013 0:39:13 GMT
Thanks, David.
For the moment, I'll carry on with the construction side of things. I've used weld-through primer (very zinc-rich) on the mating surfaces to be welded, but the intention would be to fill the cavities with a wax preservative - Dynax is the one I like - after painting.
Bit of a shame in some ways - membrane is now very solid and has used a lot of time. Now it'll never be seen again...... Progress may now be a bit more rapid. Most of what needs to be done is external, so rear arch next, then the back corner.
The most useful thing to have happened over the weekend is that the last hobby bottle of CO2 finally ran out and I plumbed up the big cylinder of Hobbyweld 5 gas - 95% argon, with a dash of CO2 and oxygen. Instant difference (improvement!) in my welding. Plug welds can be a bit awkward.... MAG welding is really only about 80% under control, when it's working properly.
I might also say that flap wheels are a lot more pleasant to use that grind stones in the angle grinder.
Pretty happy overall with how that's panned out.
Chris.
|
|
|
|
Post by threelitre on Dec 9, 2013 12:45:43 GMT
Chris,
this is coming along nicely - if I could manage this amount of time on the cars my red 3 Litre would be fully restored in no time...
The sills you are using, have these originally been intended as cover panels? They do look rather different from the original panels at the front end and also miss the upper part. How are you going to weld them to the remainder of the original sill in the door openings and under the A-, B- and C-post?
Regards,
Alexander
|
|
|
|
Post by Penguin45 on Dec 10, 2013 22:00:28 GMT
Couple of pics below, Alexander. Don't know about them being cover sills - the metal is 0.85mm, so reasonably thick and now that it's on the car it seems really solid. However, they are "pattern" parts, not genuine BMC so are not a perfect match. 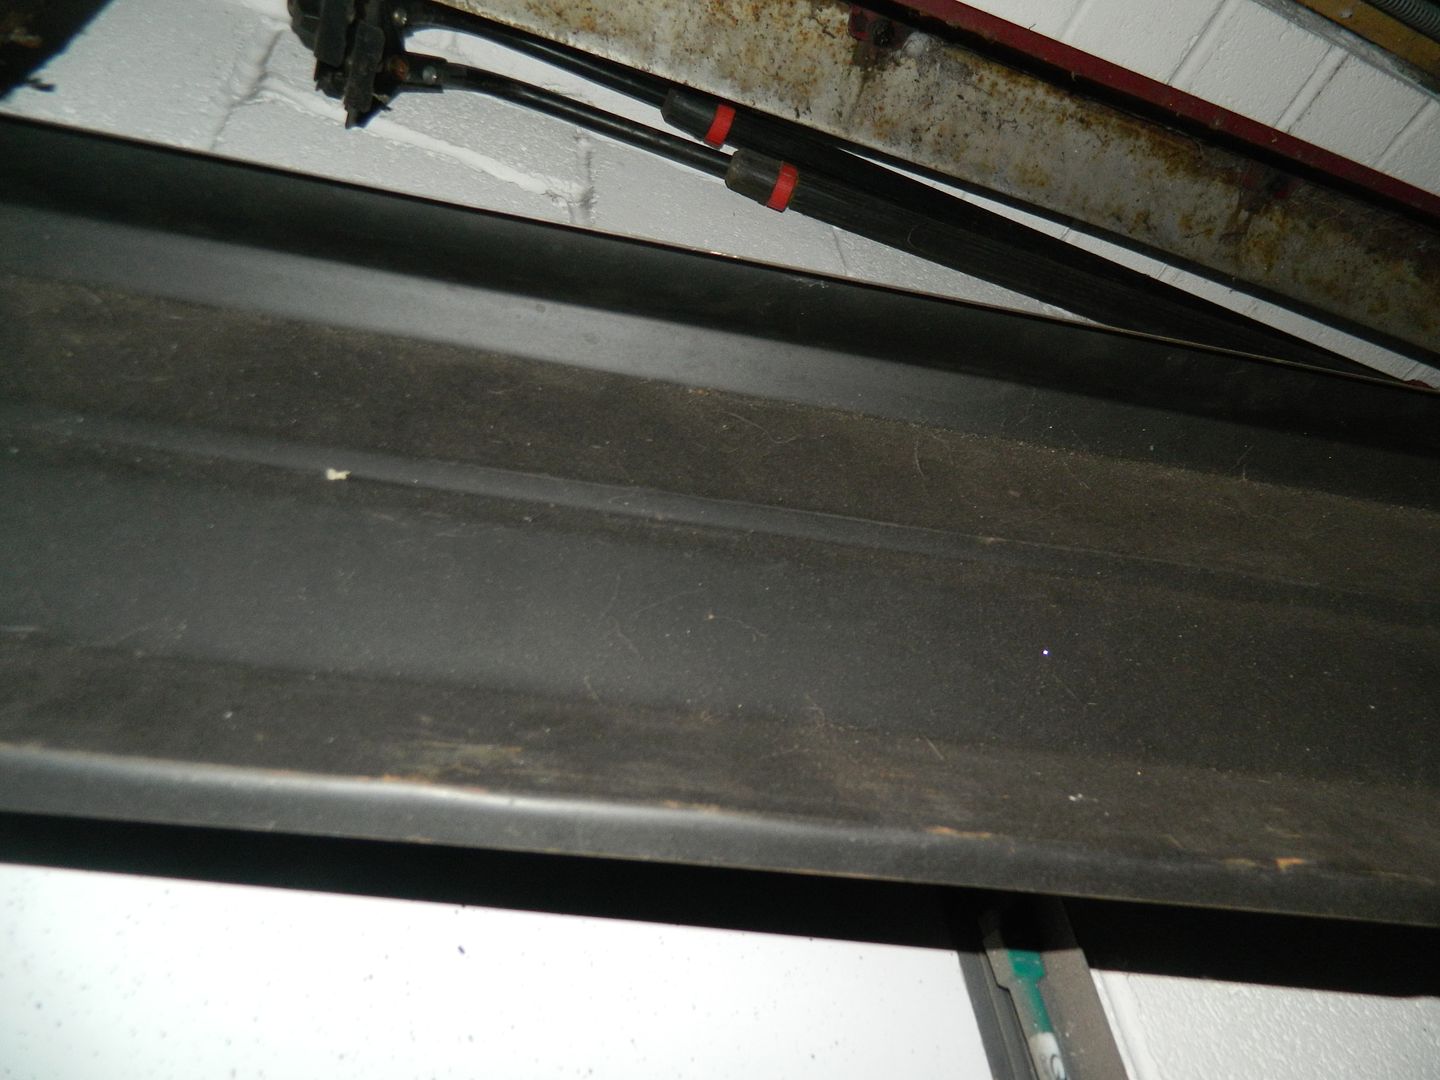 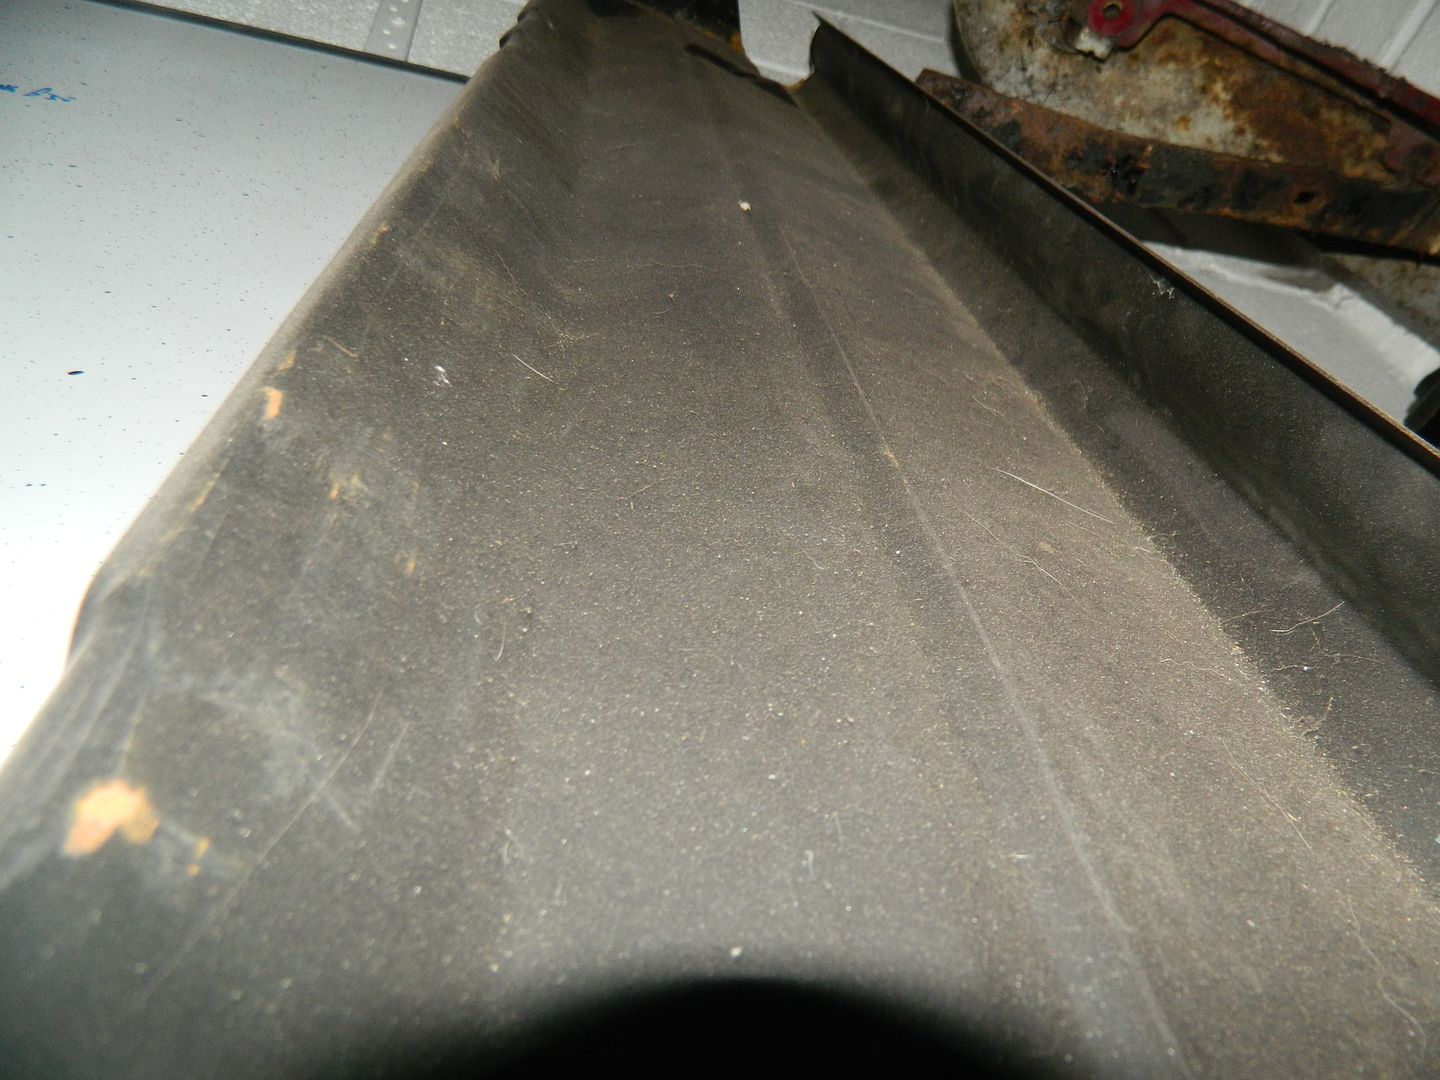 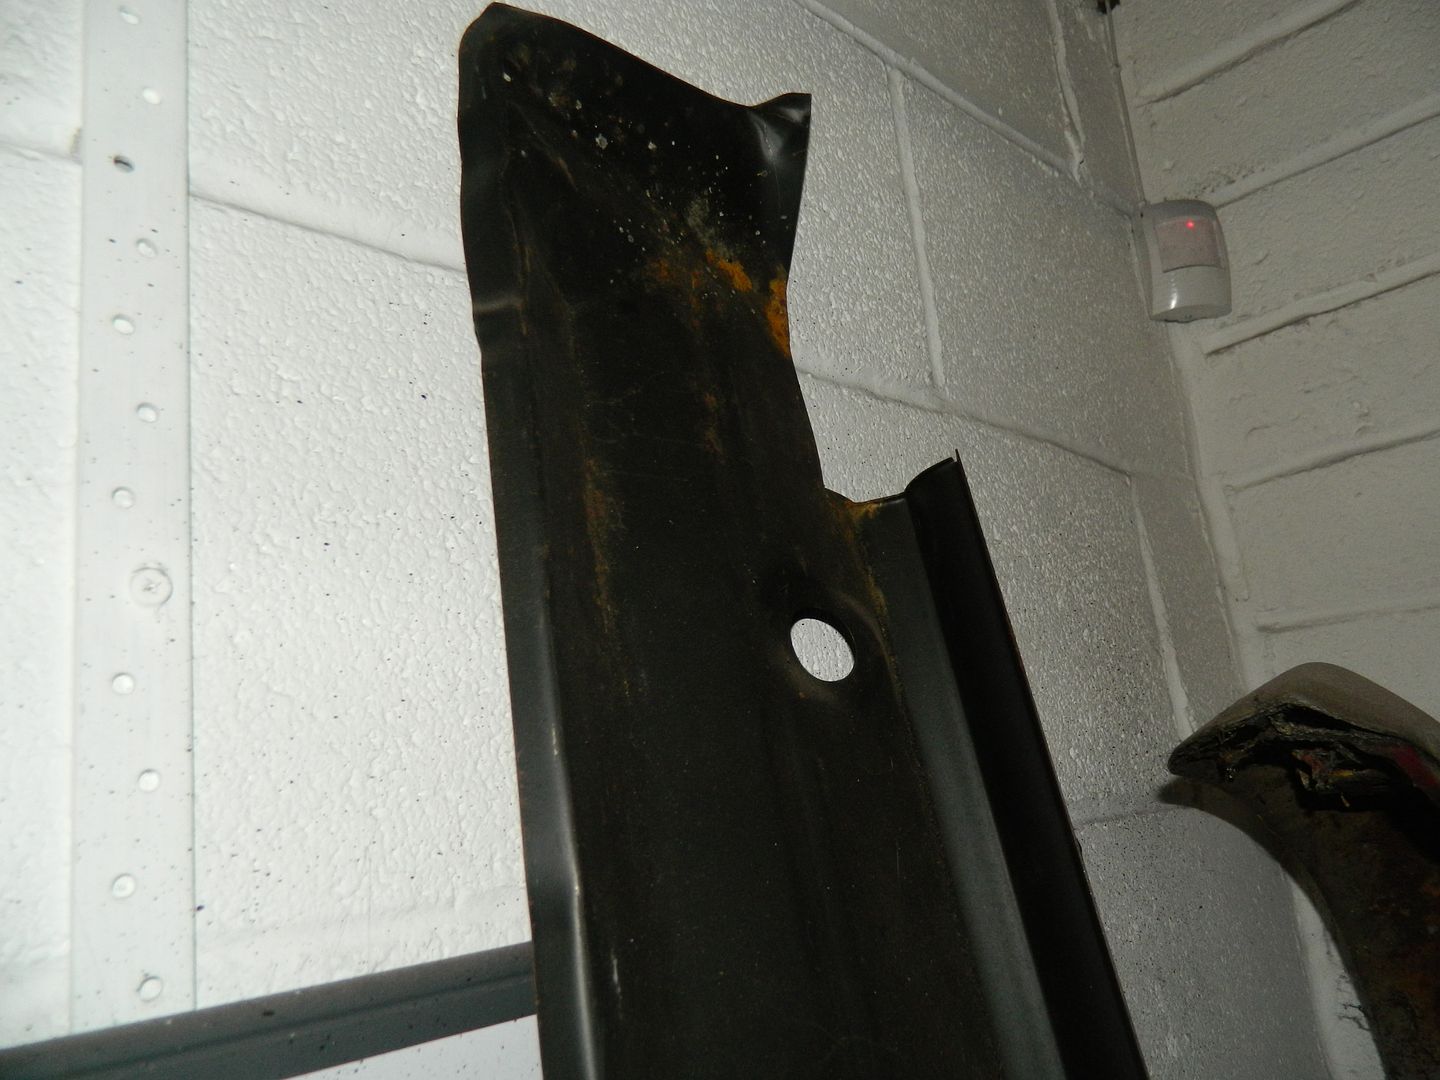 Some views up the inside of the offside sill. You can see that the top edge turns over to allow it to be welded along the outer part of the step below the doors. Which is what I've done. Also, there is a "bite" missing at the front end. To be honest, it took about 20 minutes to fabricate the closing piece and not much longer than that to attach and finish it. These were made by Hadrian Panels, who have now ceased manufacture, so no doubt will become in short supply soon. LOCI has sills and Ray House has genuine BMC ones. Chris. |
|
|
|
Post by Nick RS on Dec 10, 2013 22:23:34 GMT
Chris,
Is the offside sill going to be an easier job do you think? Also I notice the fuel tank on the floor in one of the pics, are you going to have to source another?
As David has said, this well illustrated thread will become a really good reference for anyone undertaking a similar project. Many thanks for taking the time and trouble to post.
Nick
|
|
|
|
Post by Penguin45 on Dec 11, 2013 0:36:12 GMT
Hi Nick. Tank's out for access - I haven't really had a good look at it yet. The bottom is intact - there were several gallons of very dead fuel in there - and the neck joint seems OK. If there's a problem, it will probably be perforations on the top, like the Wolseley. I will bare metal it eventually and see what we've got. I'm not sure if the off side sill will actually be required. Apart from the area back by the displacer, the floor to sill area doesn't look bad and the sill appears to be fully attached, so fingers crossed on that one. Give me a shout when you're next heading up - come and share the horrors.  Chris. |
|
|
|
Post by Penguin45 on Dec 23, 2013 16:05:57 GMT
Week two of my recovery - time to start doing stuff. One hour at a time is allowed, so this little bit has taken several days. 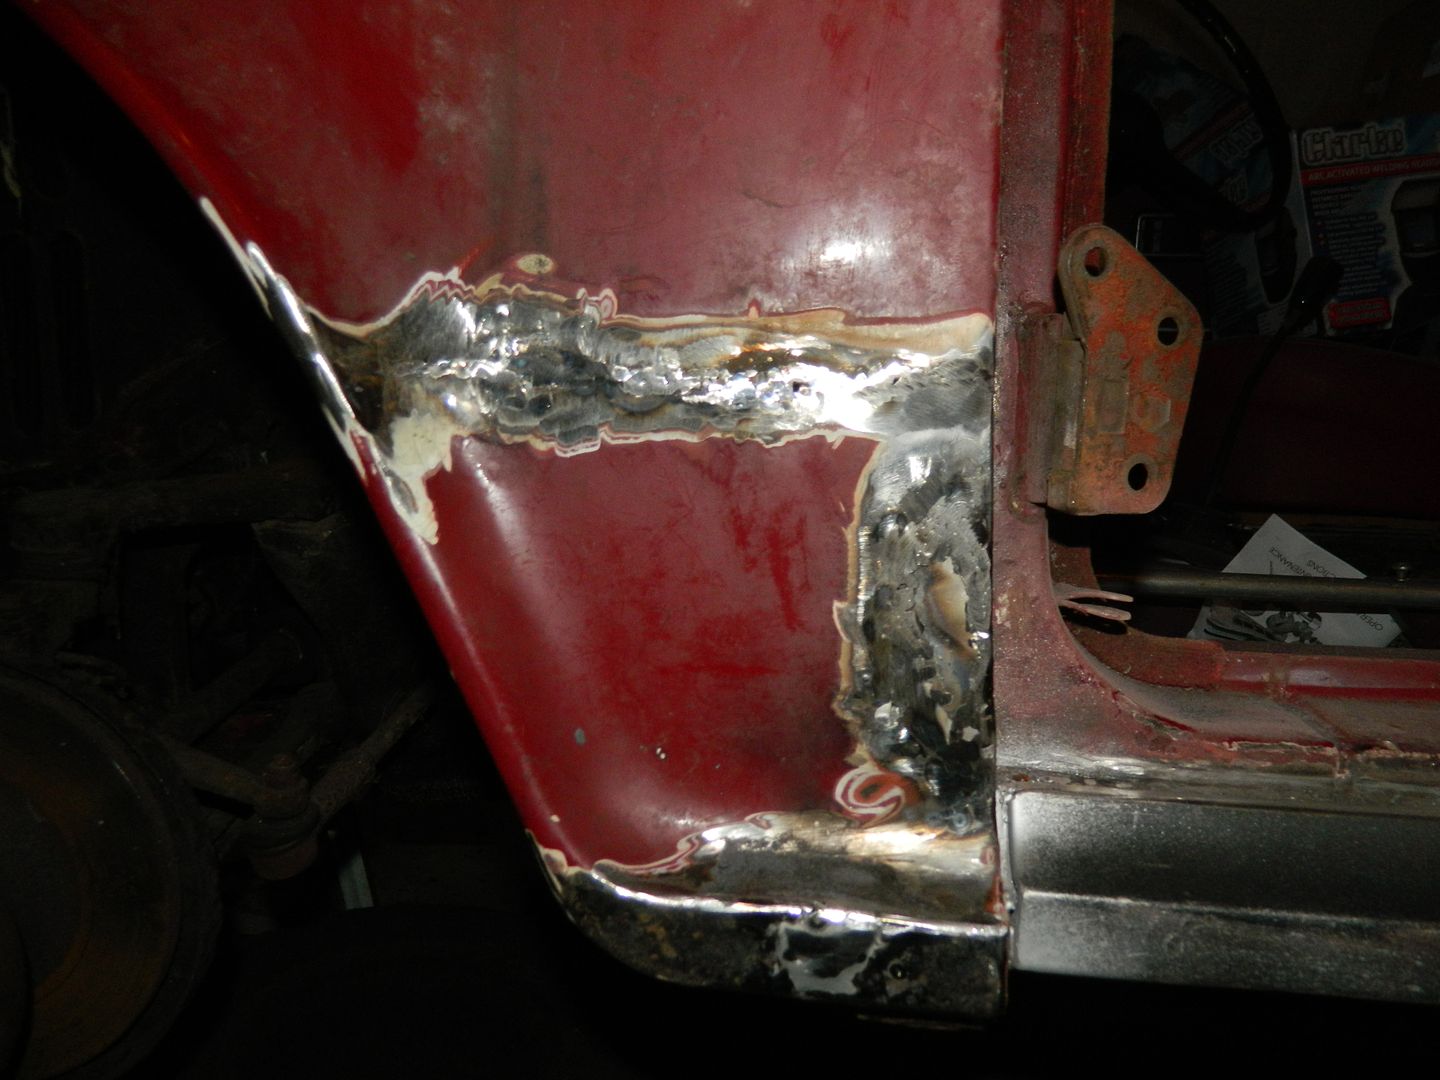 Metal let in for the holes. 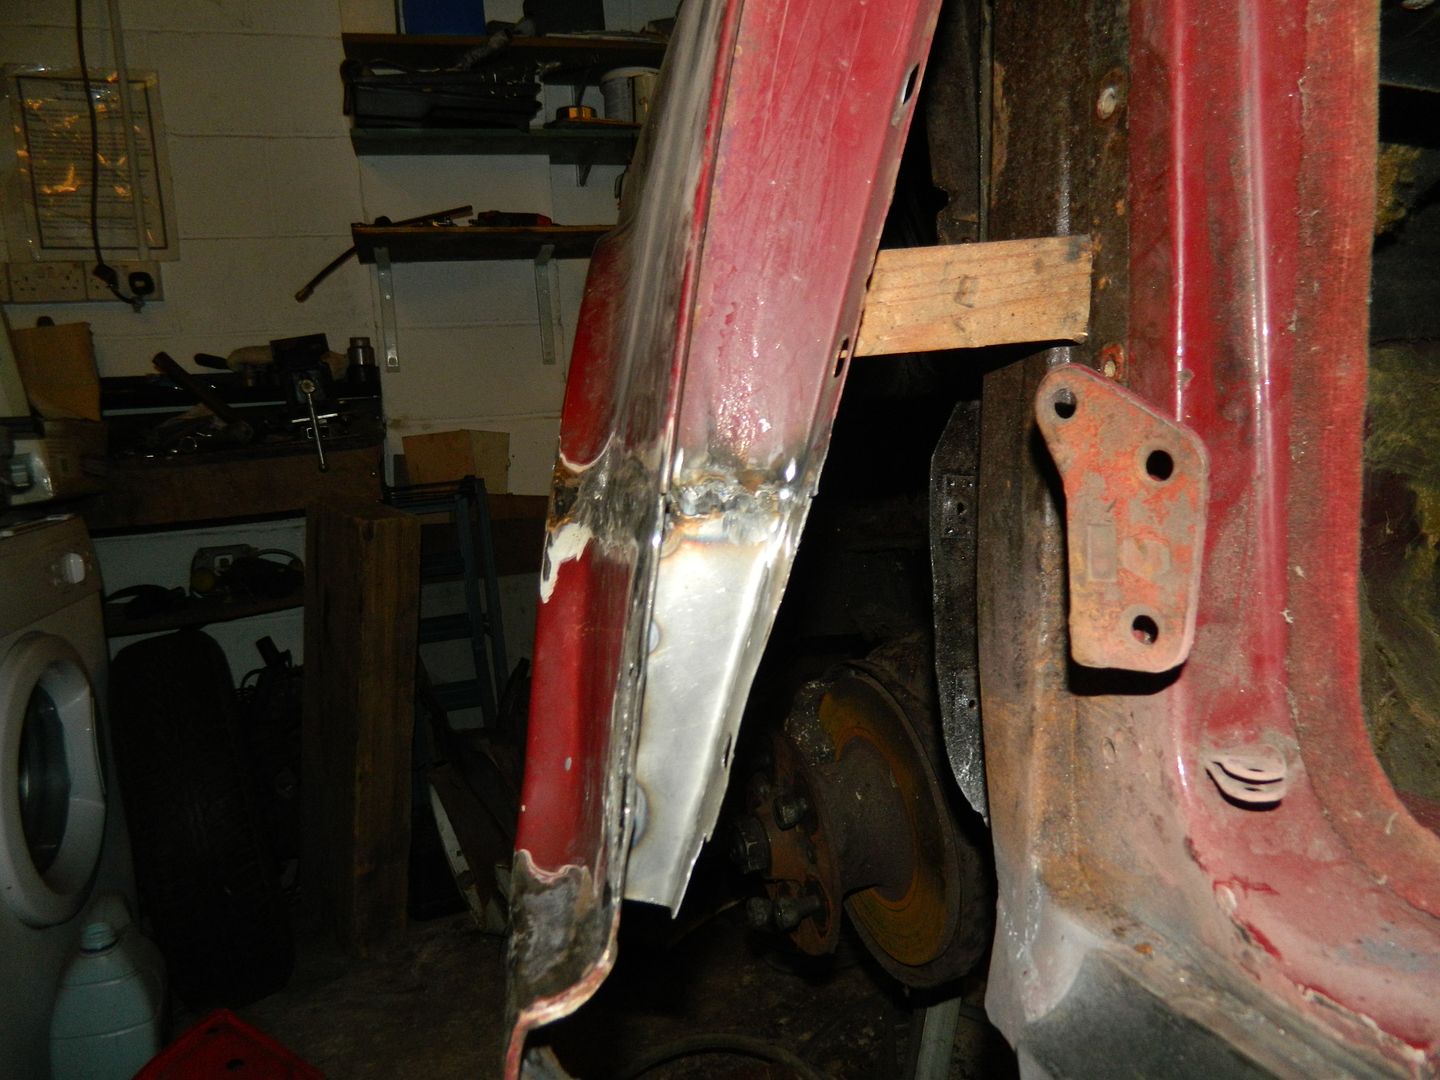 New bracket behind and crimped into seam. 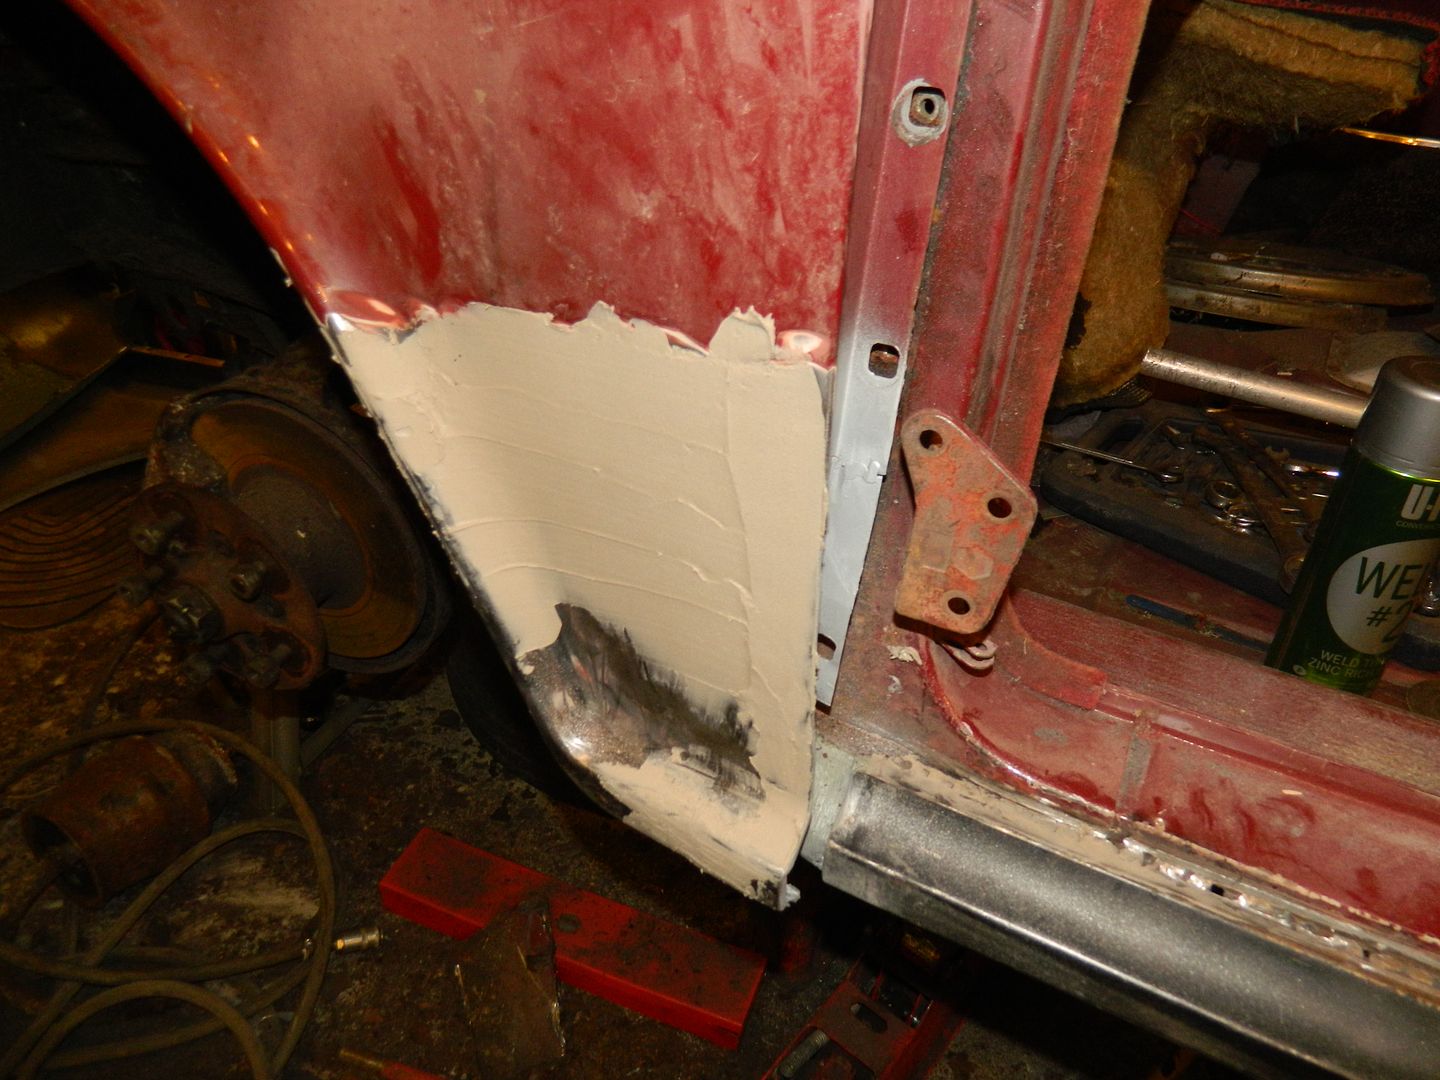 Wire wheeled surface clean and the inevitable layer of filler applied. I was a bit disappointed as I got a lot more distortion than I thought I would. Still, back underway again, albeit slowly and from the comfort of a stool. Chris. |
|
|
|
Post by Penguin45 on Dec 29, 2013 22:46:02 GMT
Bit more progress. 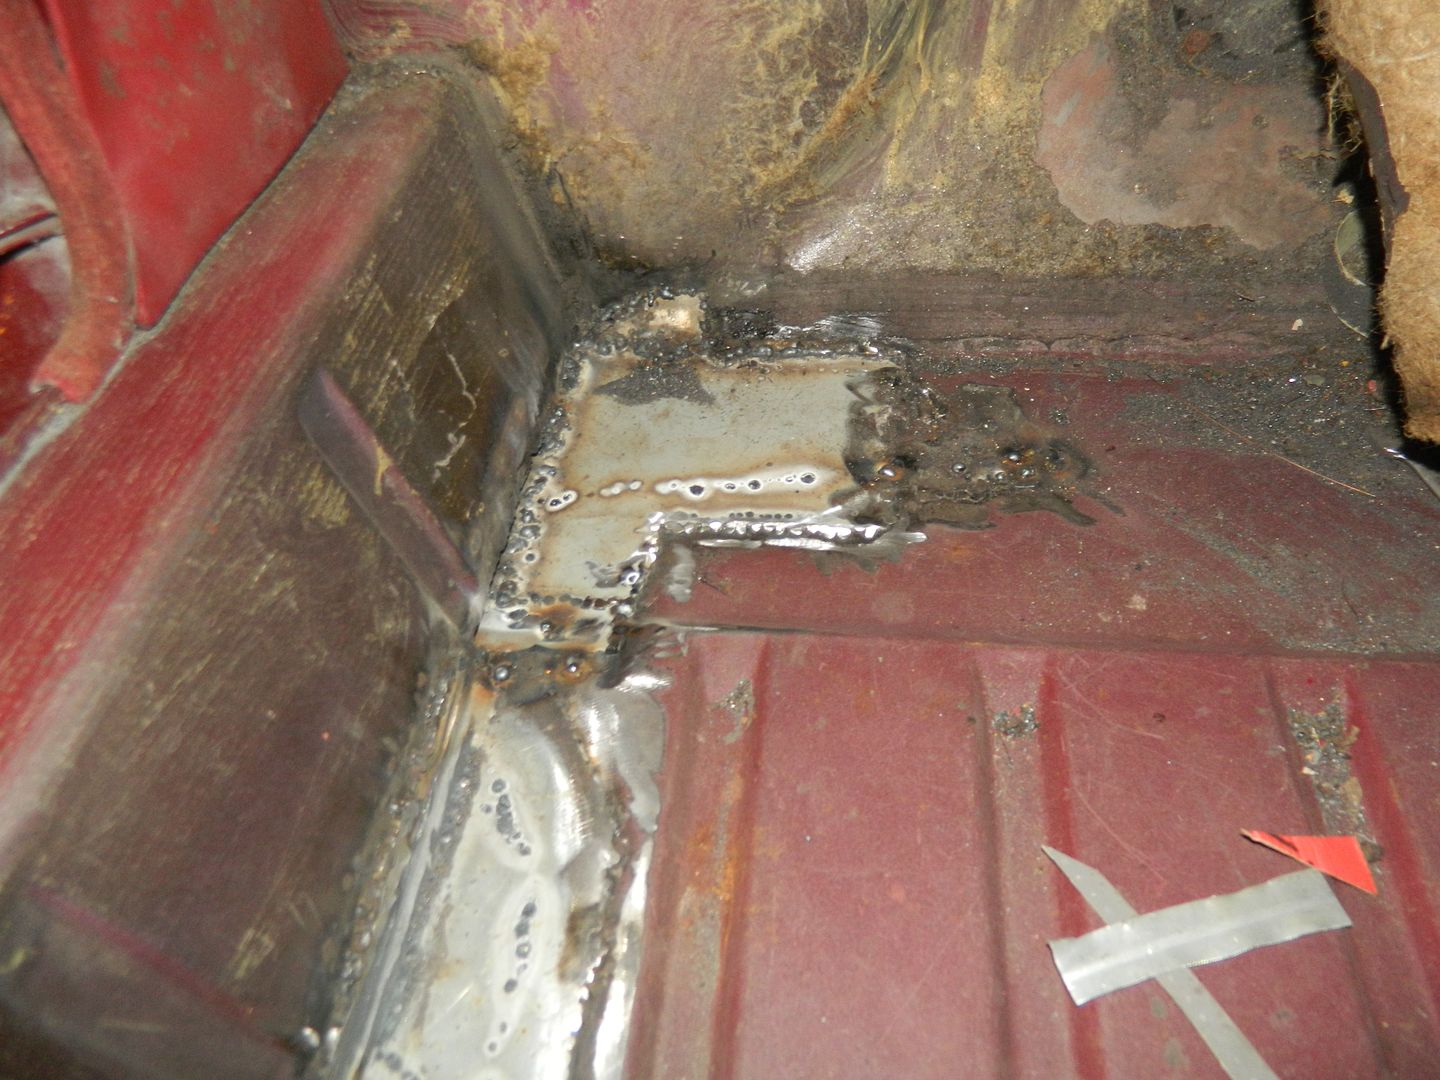 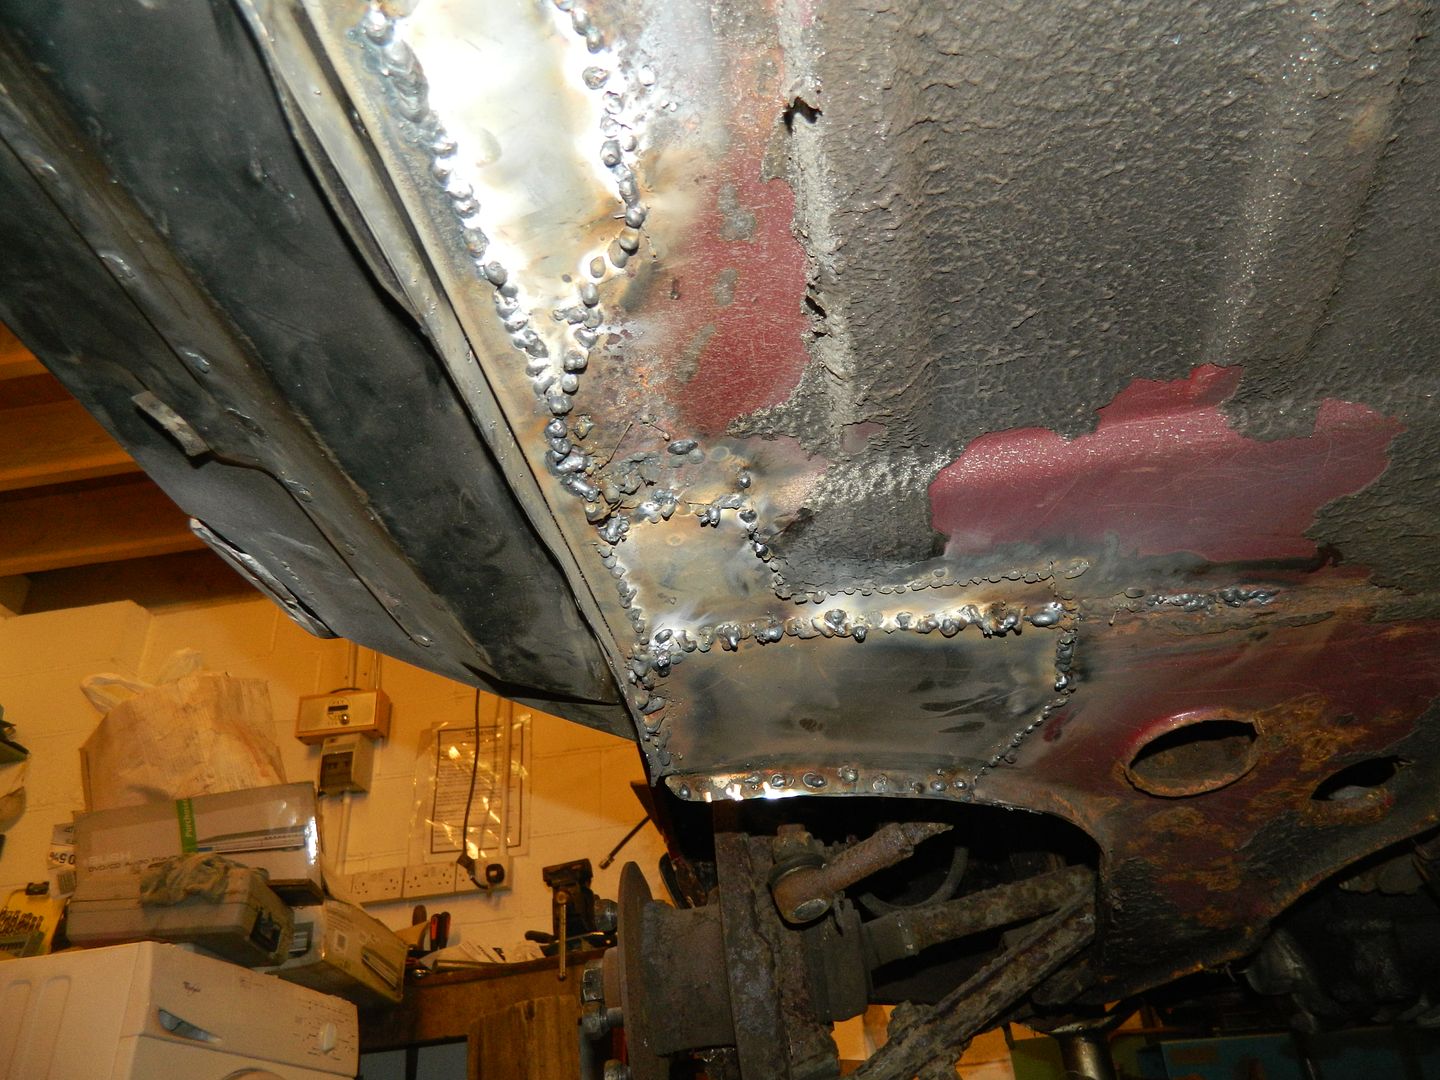 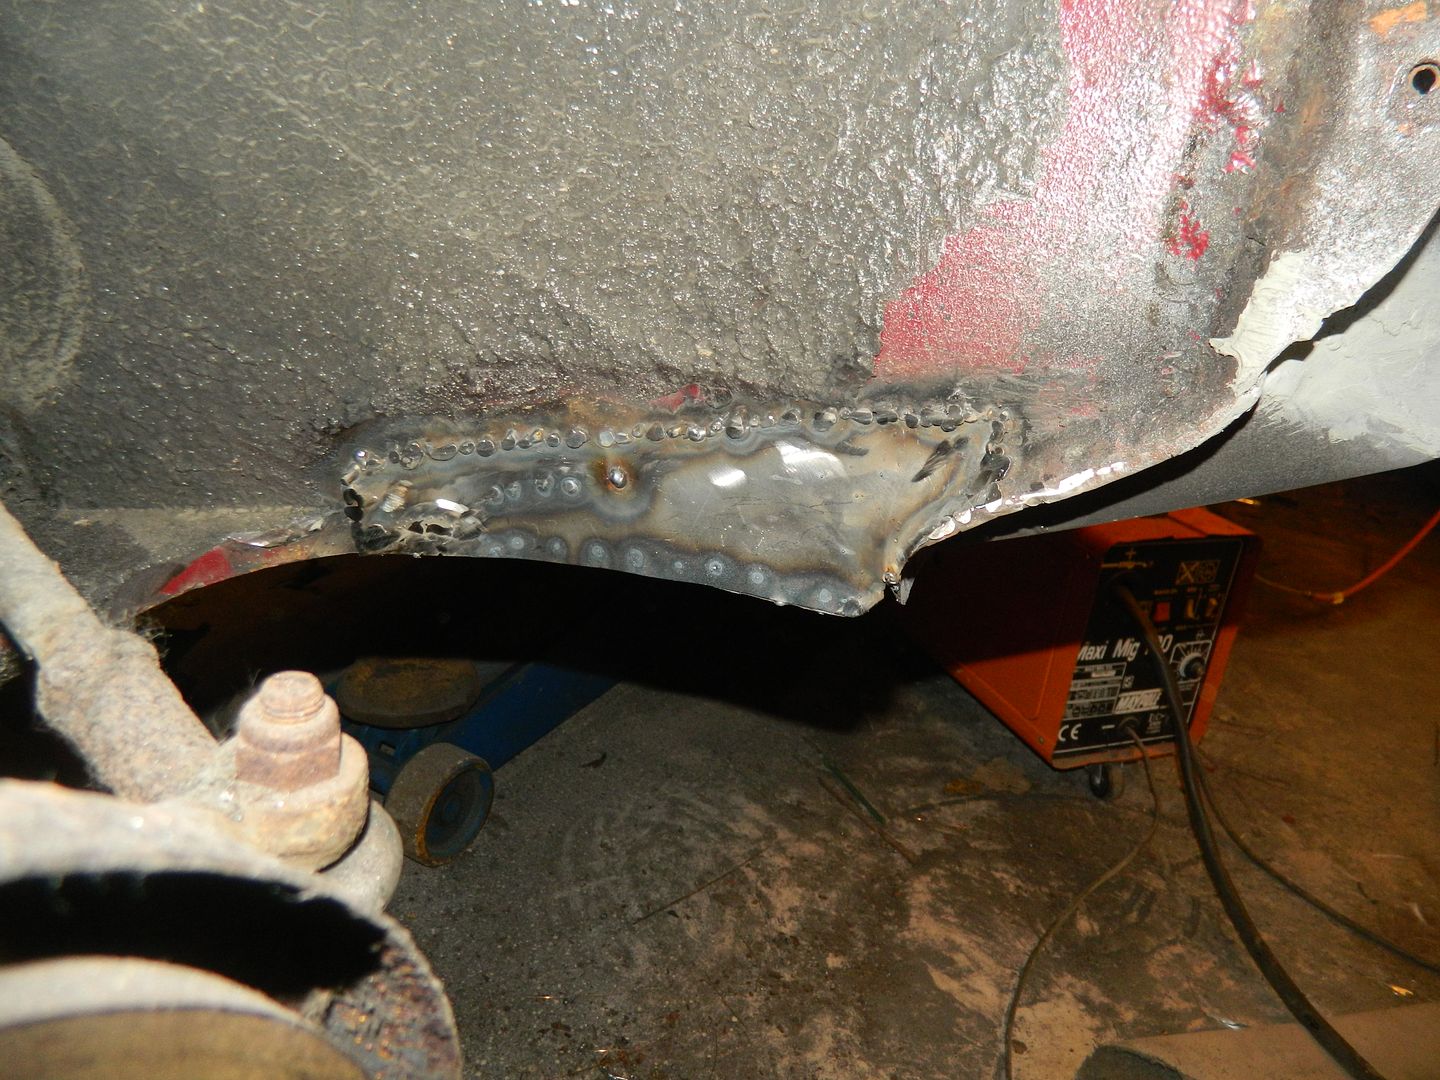 Near side floor repaired. Three sections required - floor, underfloor and lower section of bulkhead in wheel arch. This seems to be immensely strong now that it is completed. It's all got to be ground back, but that will have to wait until my strength comes up a bit. I kept the two panels welded in earlier, but reverse welded them through for extra strength. 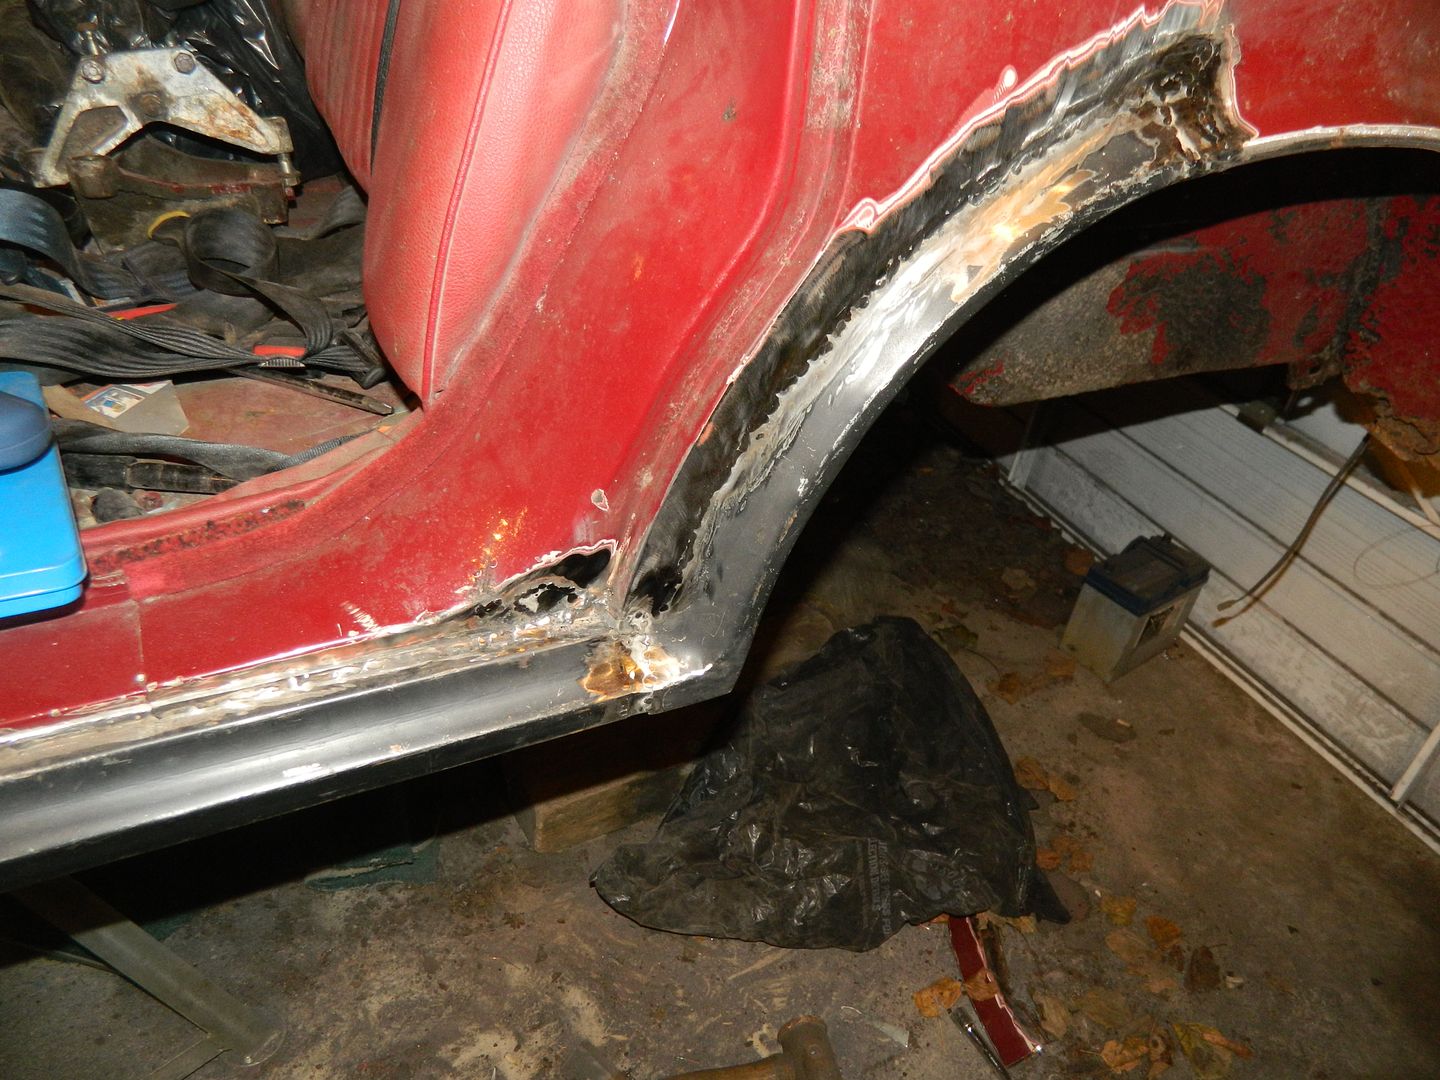 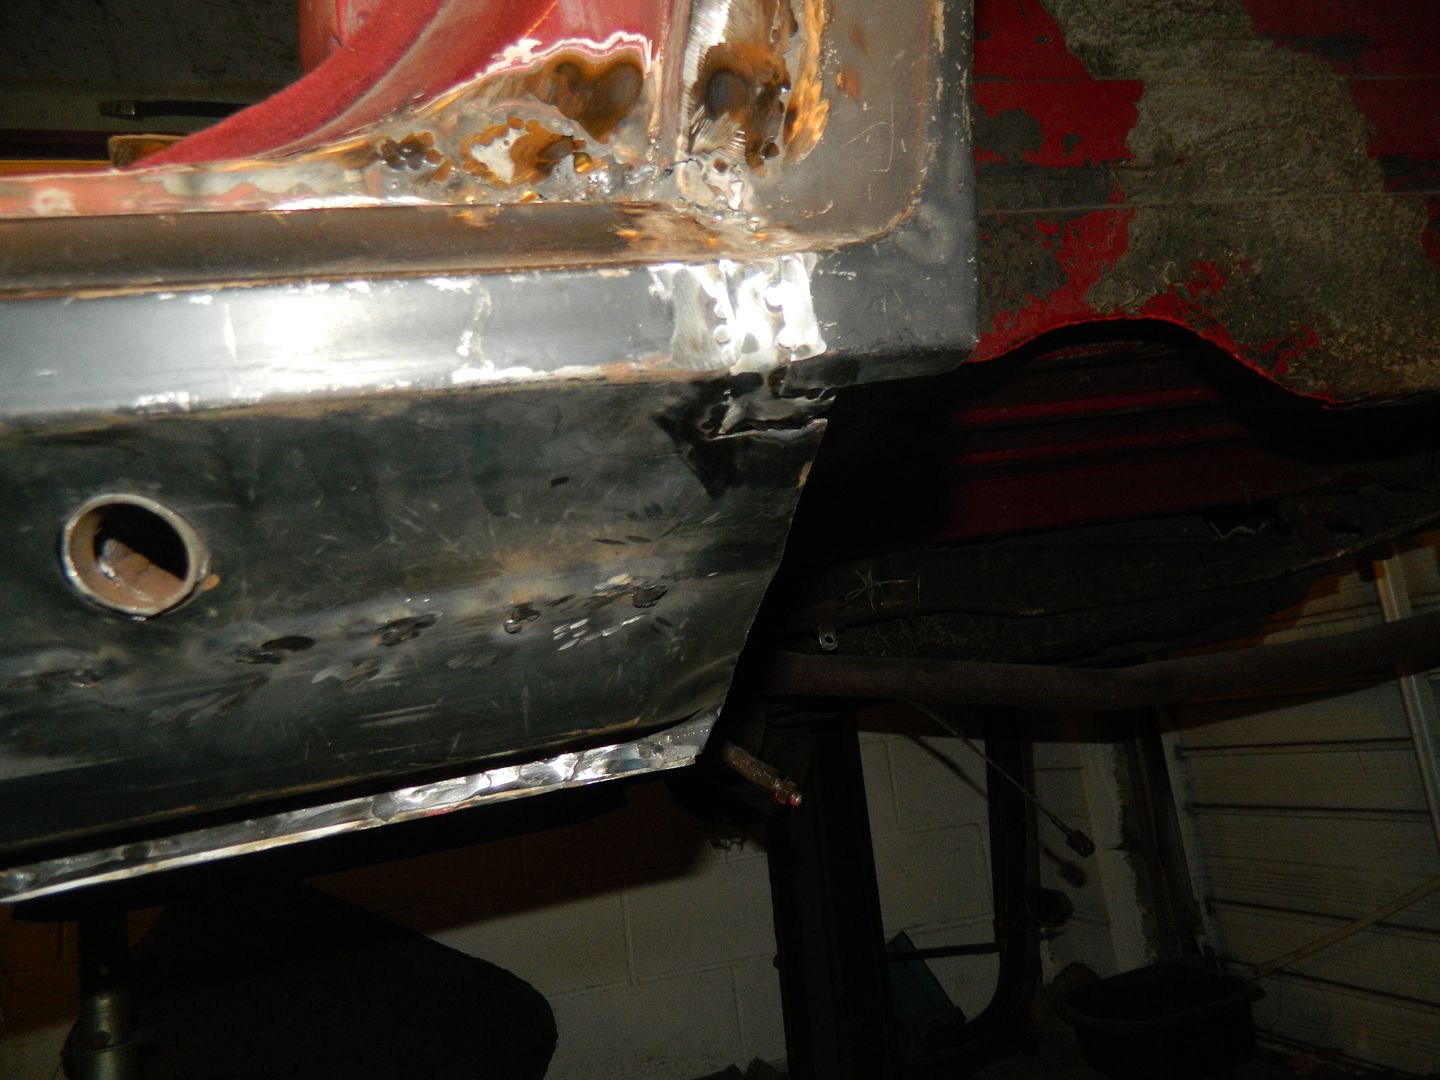 Rear arch section is now welded in and finnicky little finishing pieces made to fill the gaps. Now that they're done, I hope to start on the closing panel for the end of the sill tomorrow. MrsP is being very strict - I'm allowed to do about an hour and a half before she makes me take a rest. Getting there. Chris. |
|
|
|
Post by indianajones on Dec 29, 2013 23:29:15 GMT
Looking good mate  And listen to Mrs P, we need you rested up and back in shape! _b -Andrew |
|
|
|
Post by dave1800 on Dec 30, 2013 2:01:54 GMT
Yes, take it easy Chris! The cold weather isn't good it increases the load on your body's circulatory system. I went to the monthly classic car meeting here yesterday and one of the members in his late forties suffered the same as you a couple of weeks ago, scary.
|
|


