|
|
Post by tony on Dec 15, 2014 14:46:18 GMT
|
|
|
|
Post by tommydp on Dec 15, 2014 16:31:32 GMT
Well done!
Excellent work and great photos!
Tommy
|
|
|
|
Post by Penguin45 on Dec 15, 2014 18:13:59 GMT
Agree.
Have you got a Maxi as well, or just the displacer?
Chris.
|
|
|
|
Post by tony on Dec 16, 2014 1:06:18 GMT
Hi, Chris. We don't have a Maxi. If I understand what you mean, is it called Austin Maxi 1750? I googled and found some pictures of it. There used to be some Austin Maxi 1750s in TAIWAN. And I believe there is still a very very very good white one in Taipei, northern of TAIWAN, 375 km far from here. The car owner always drove his Maxi to our garage from Taipei when he felt there was something wrong on his Maxi. In 1996 I bought two rear displacer units in London for his Maxi. Just a few years ago, he sold his lovely vehicle to someone as he was getting older and his children seemed it wasn't good for him to drive a vehicle. Two months later the new car owner phoned me if I could buy it from him. I considered and replied I couldn't. Now we have just the second hand displacer unit from another abandoned Maxi. We have kept it for a long time. There is an orange Austin 1500 in Tainan, 40 km from here. It is kept in a Car Museum. We had it and gave it to one of my uncles. Many years later it went to the museum when it was still in good condition. The museum owner liked it very much. Regards Tony Agree. Have you got a Maxi as well, or just the displacer? Chris. |
|
|
|
Post by tony on Dec 16, 2014 1:12:08 GMT
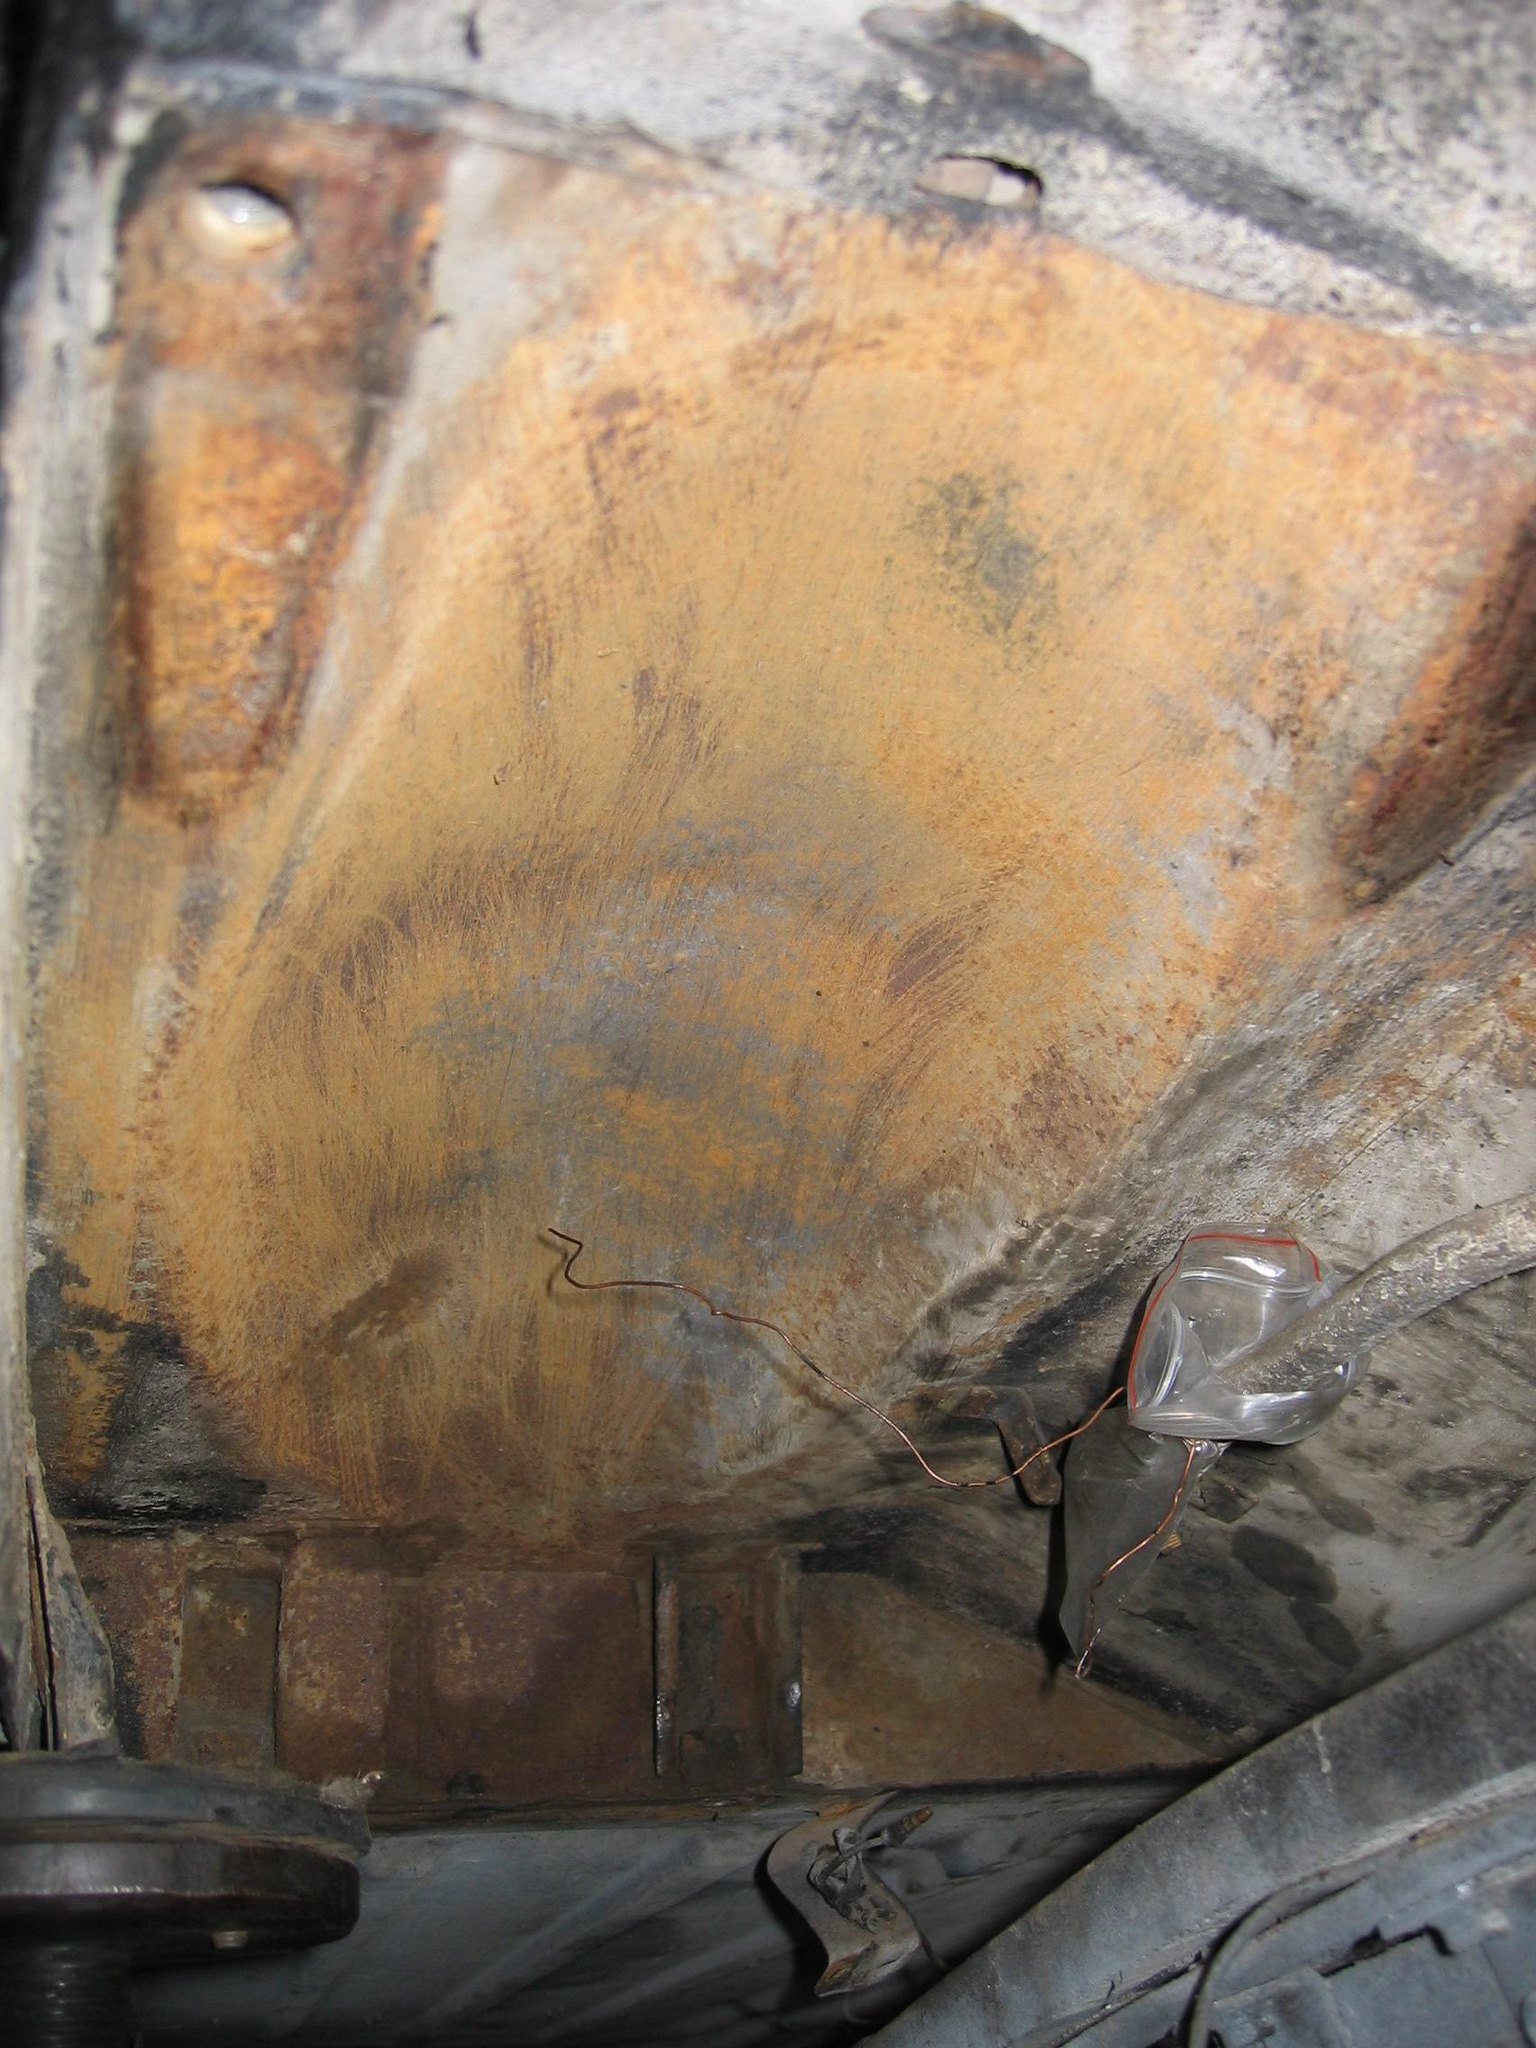
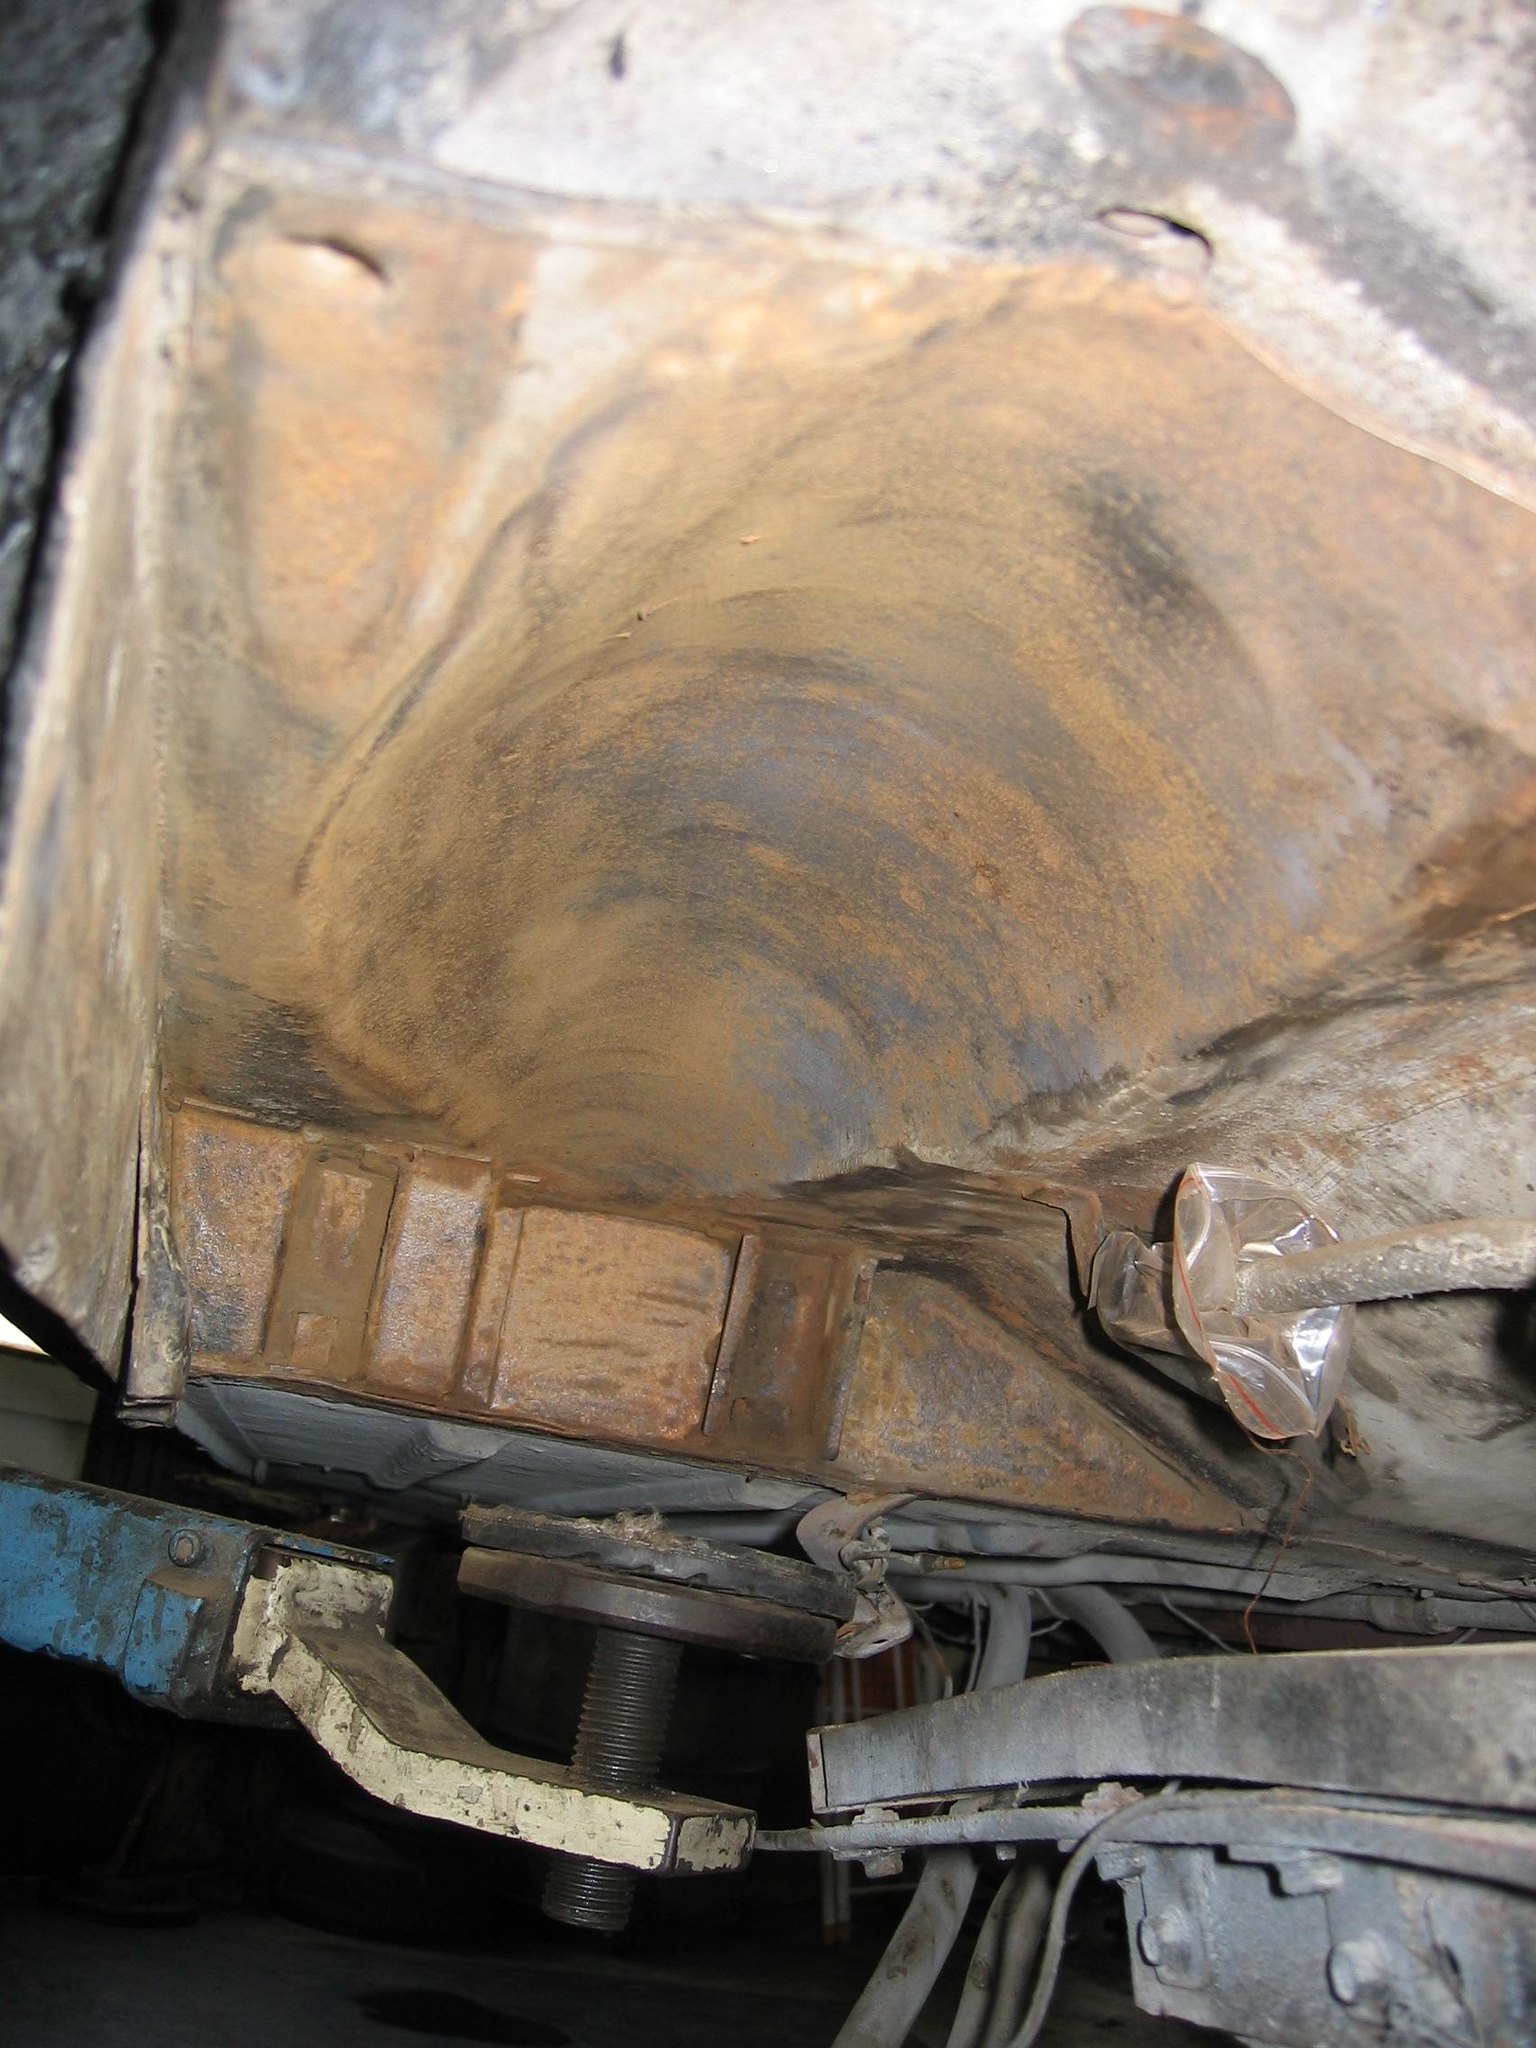
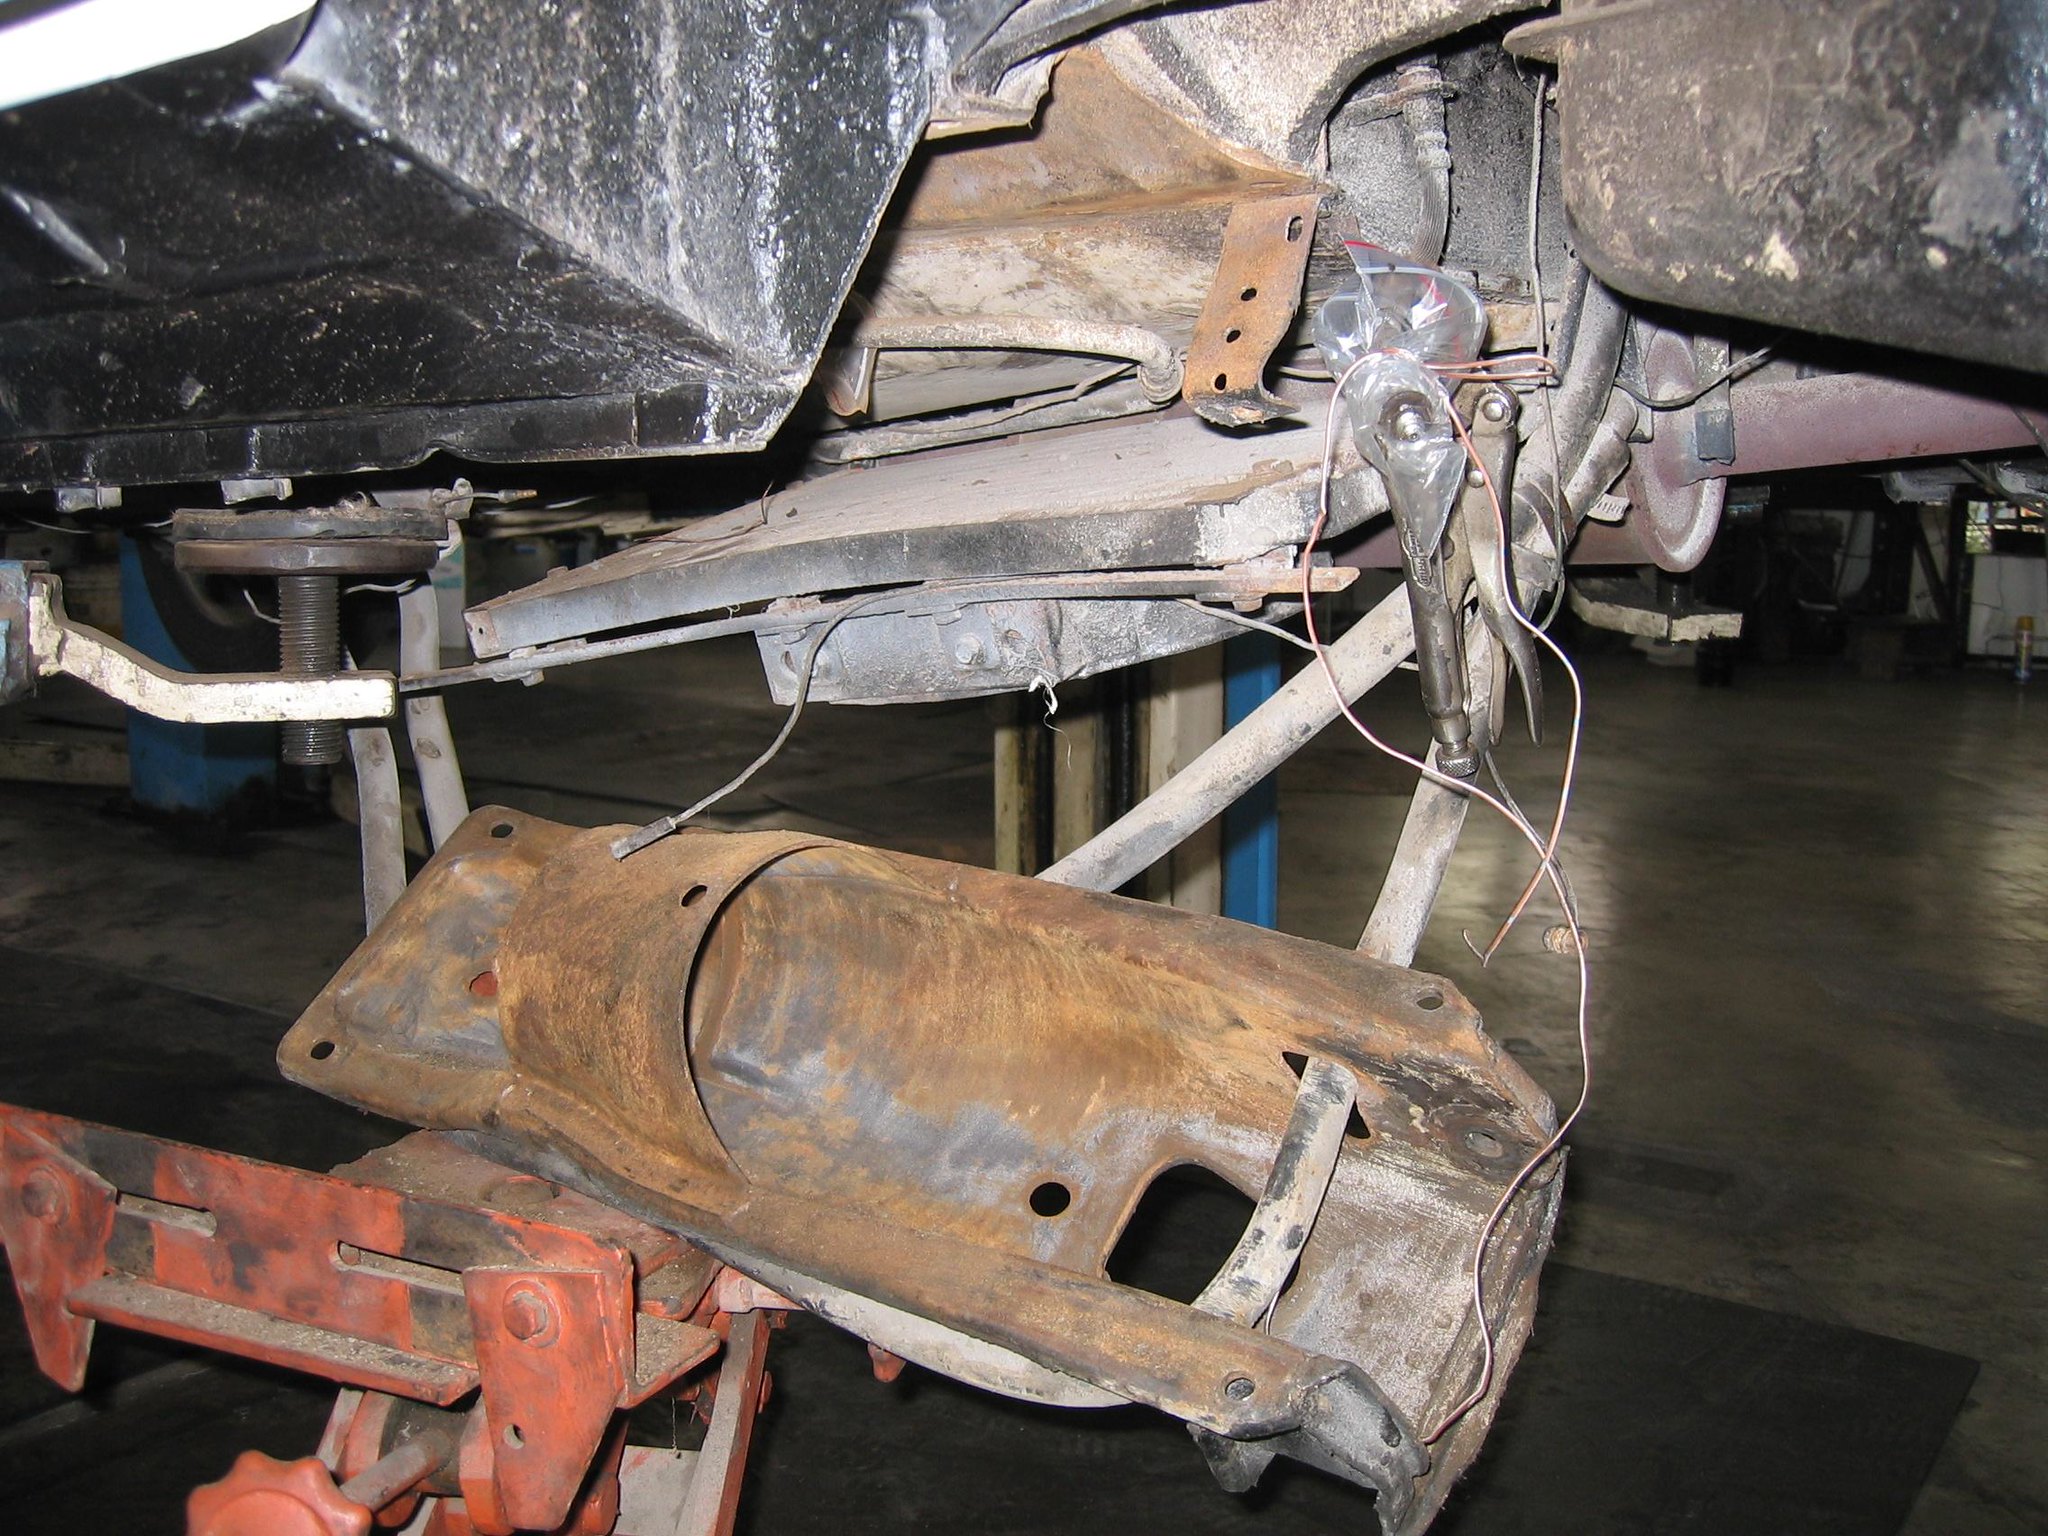
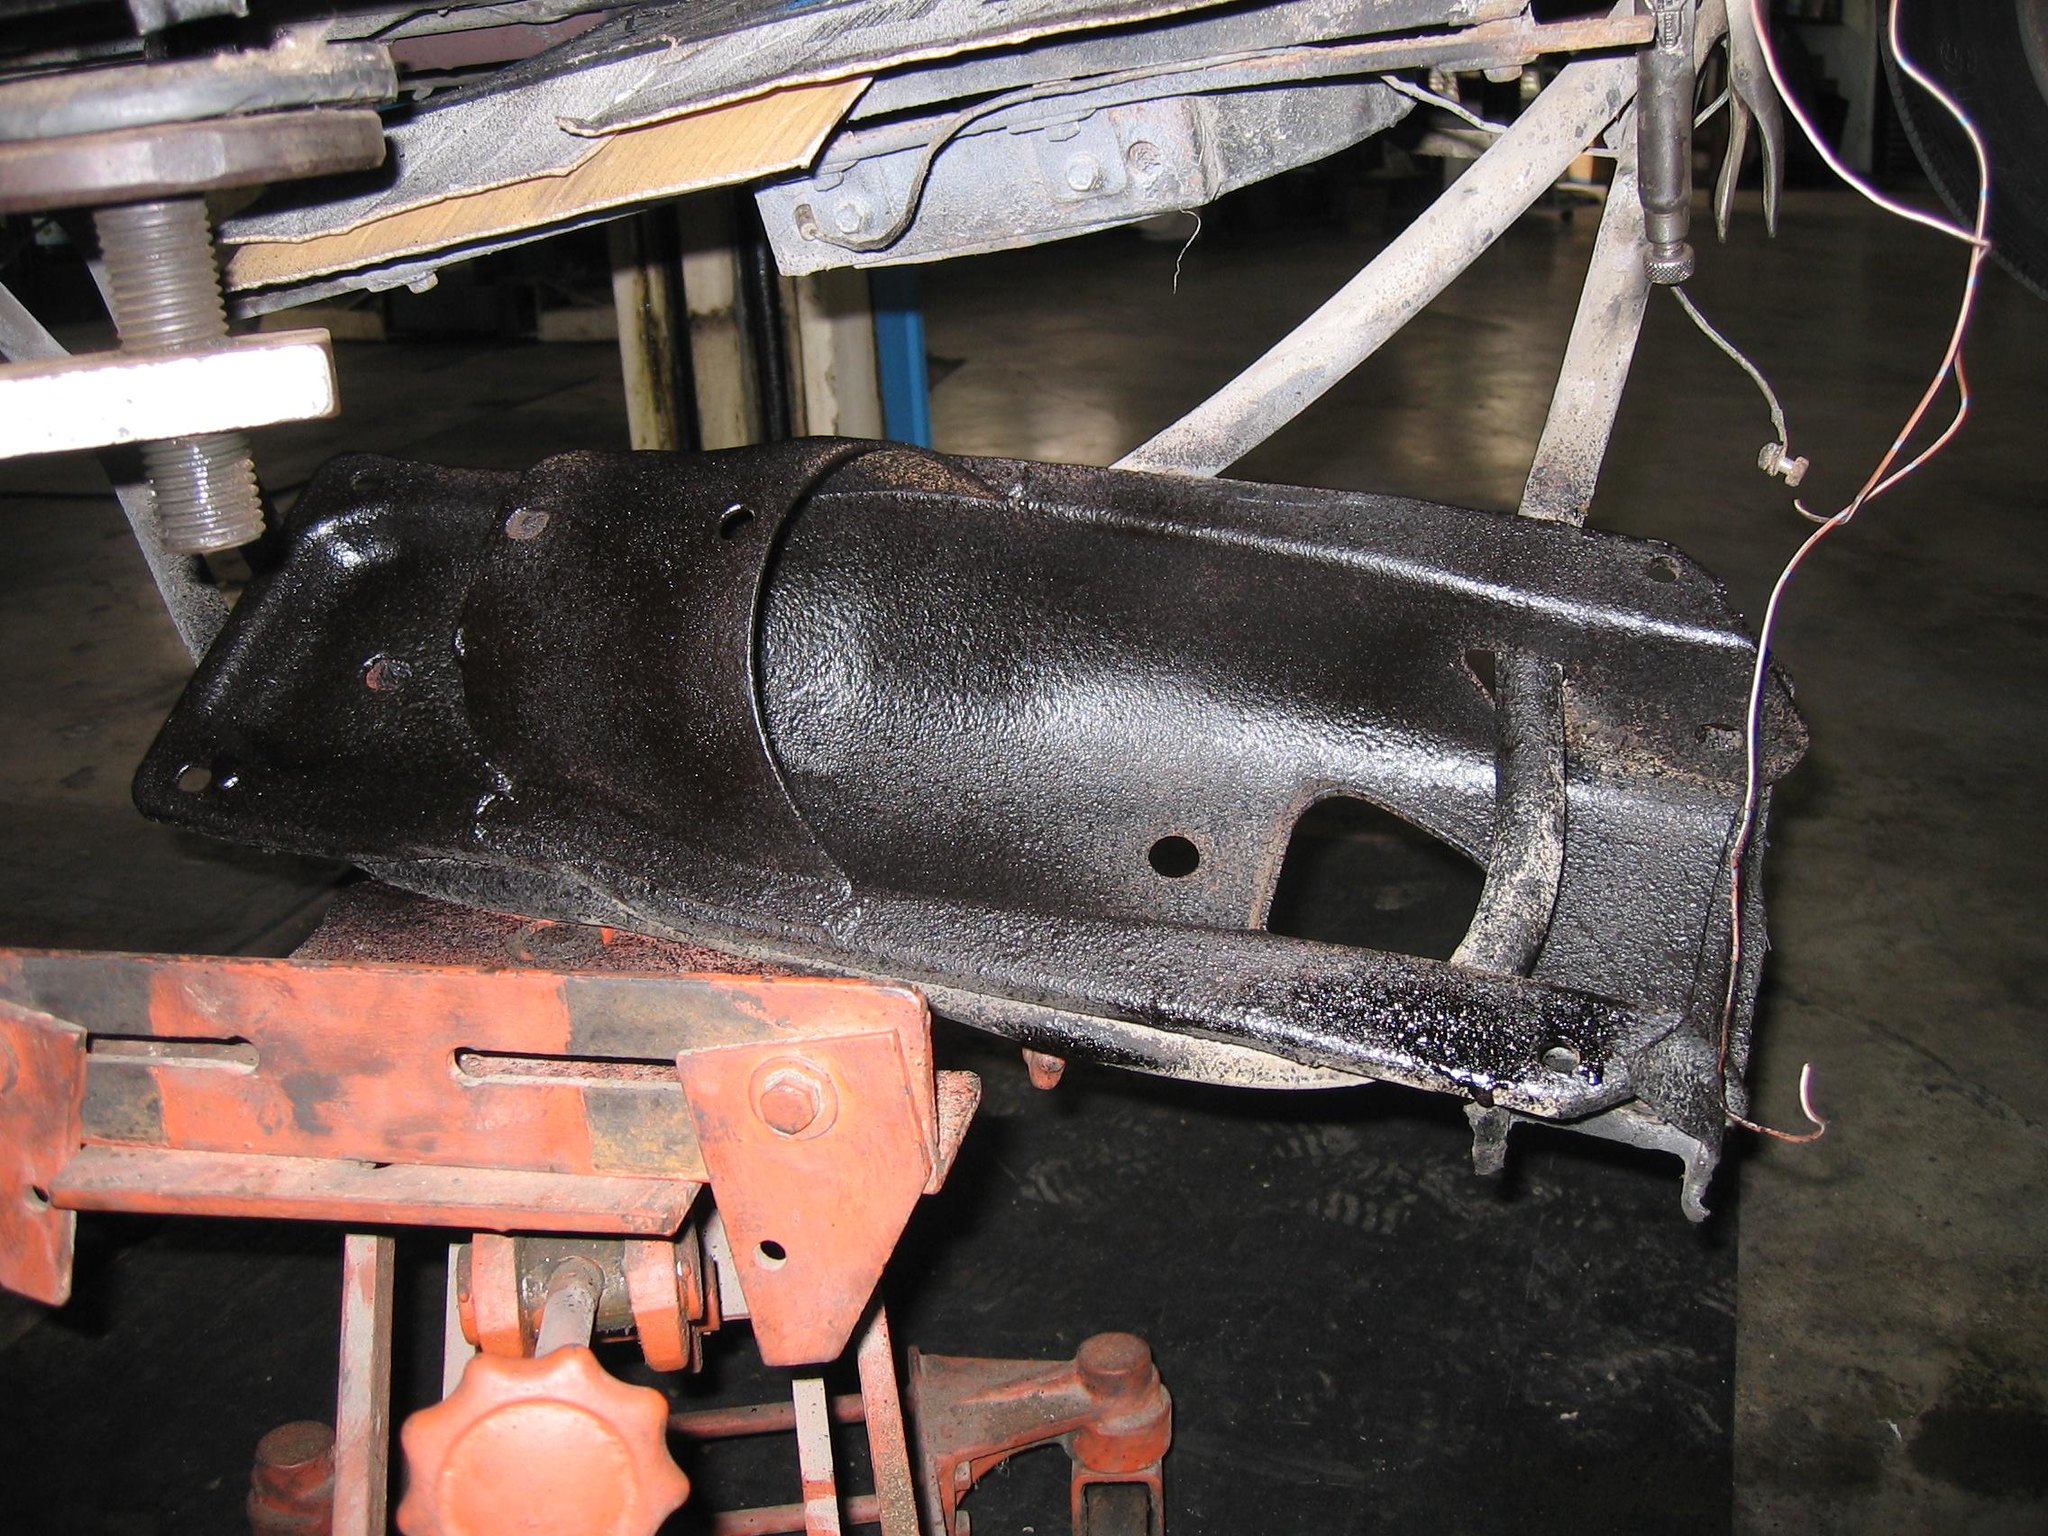
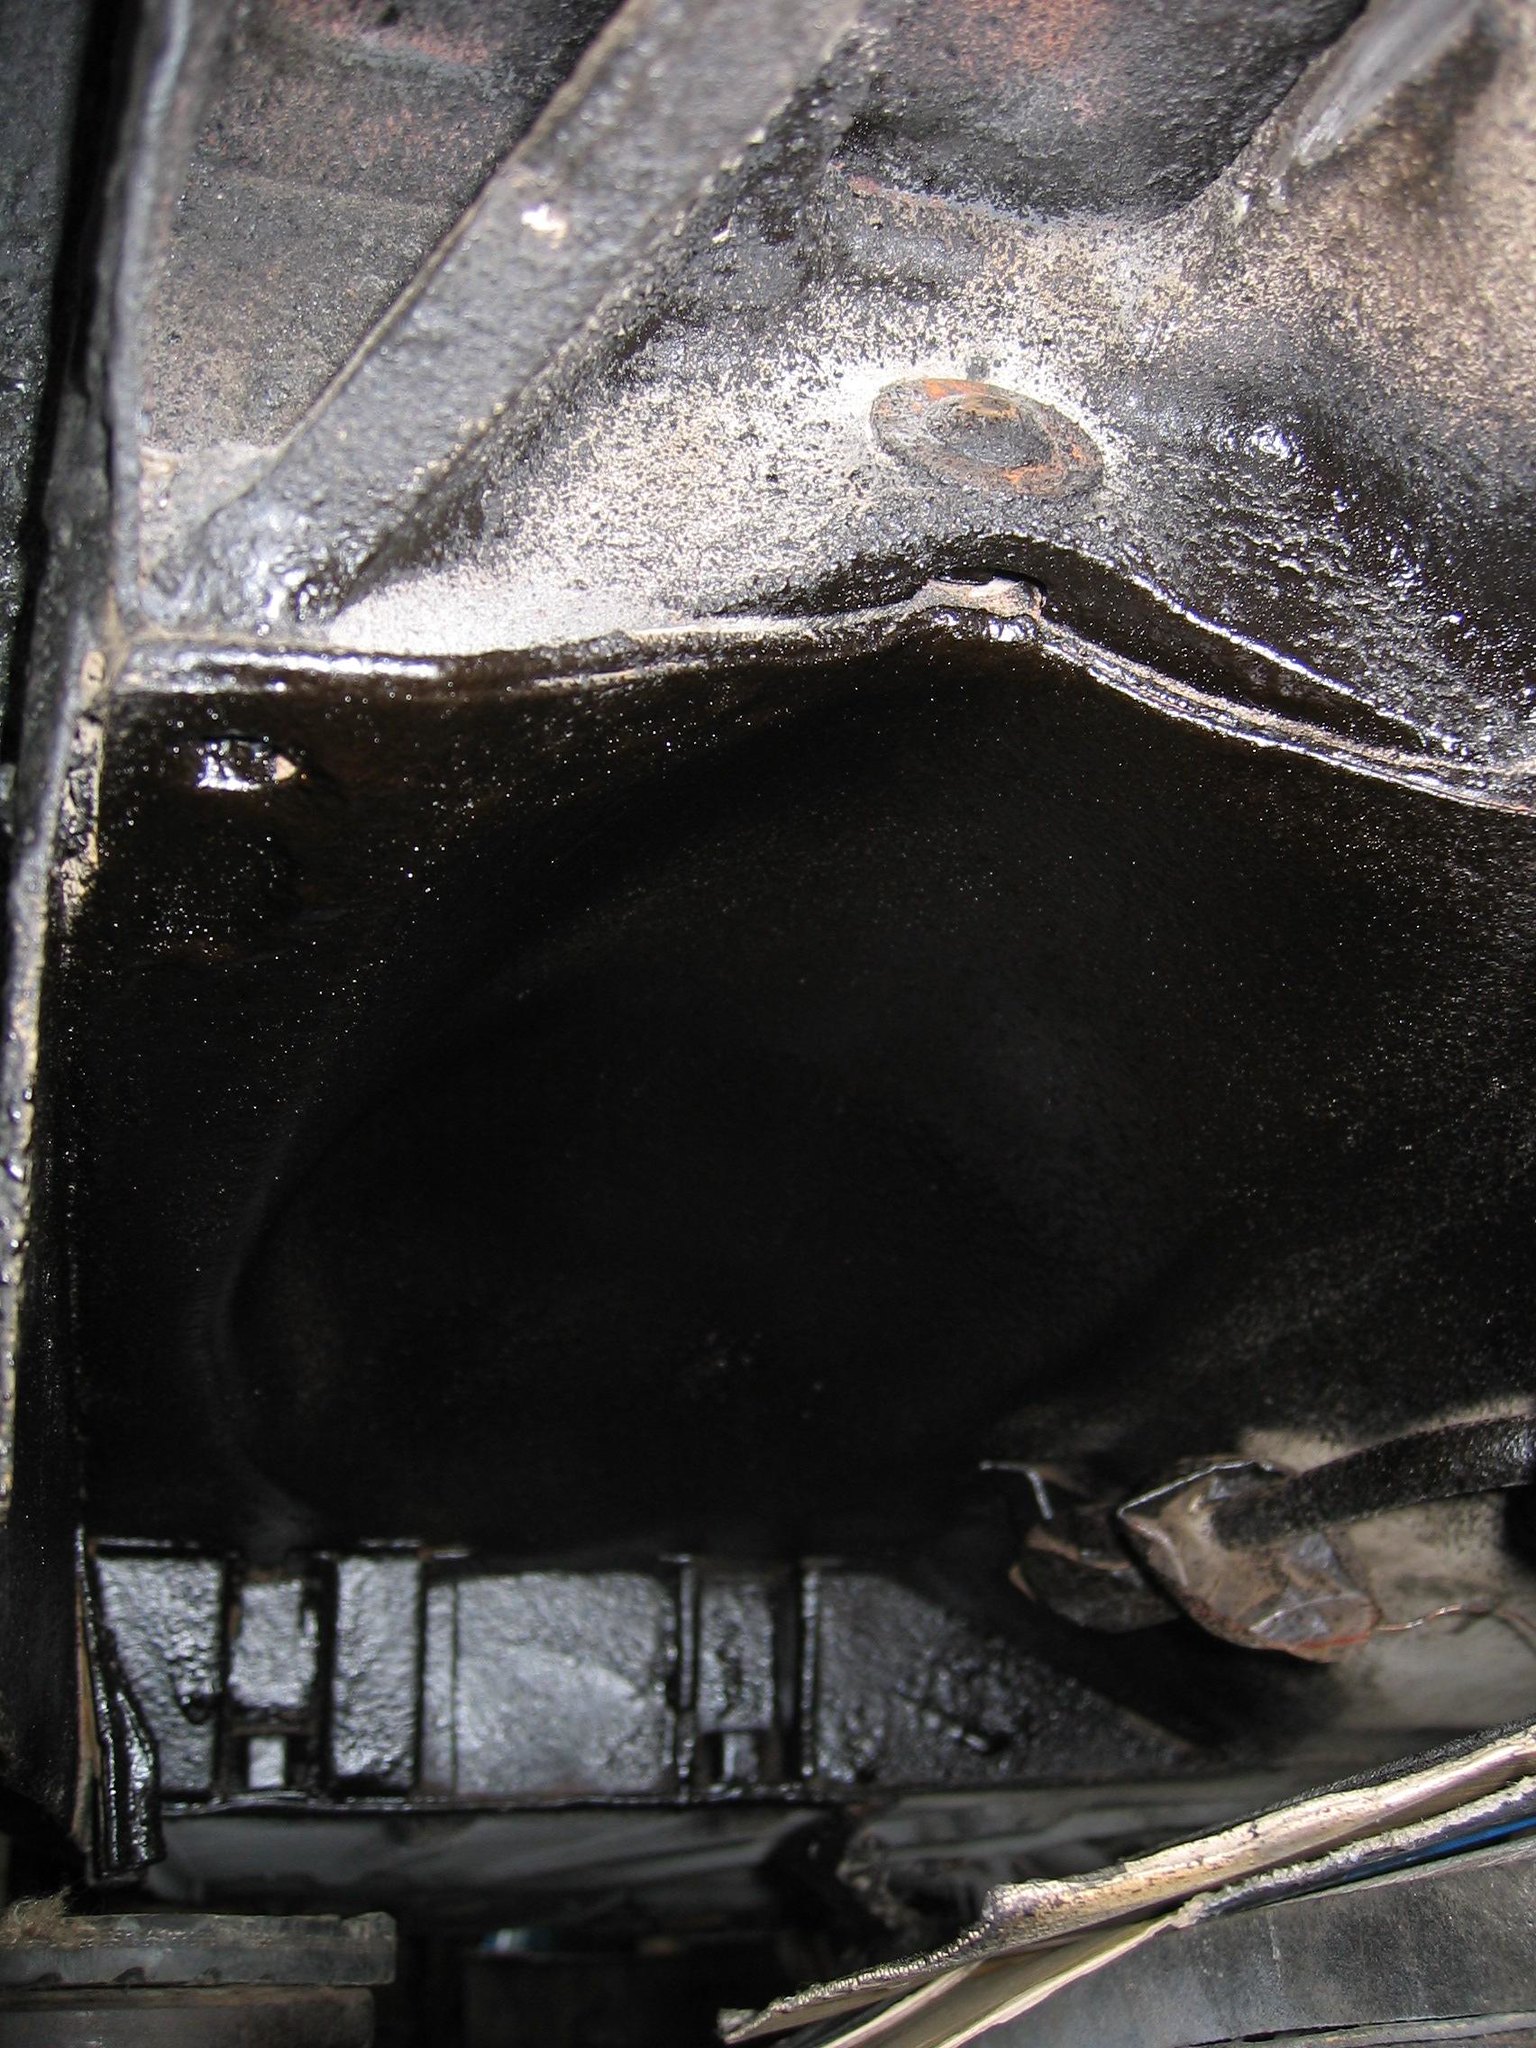
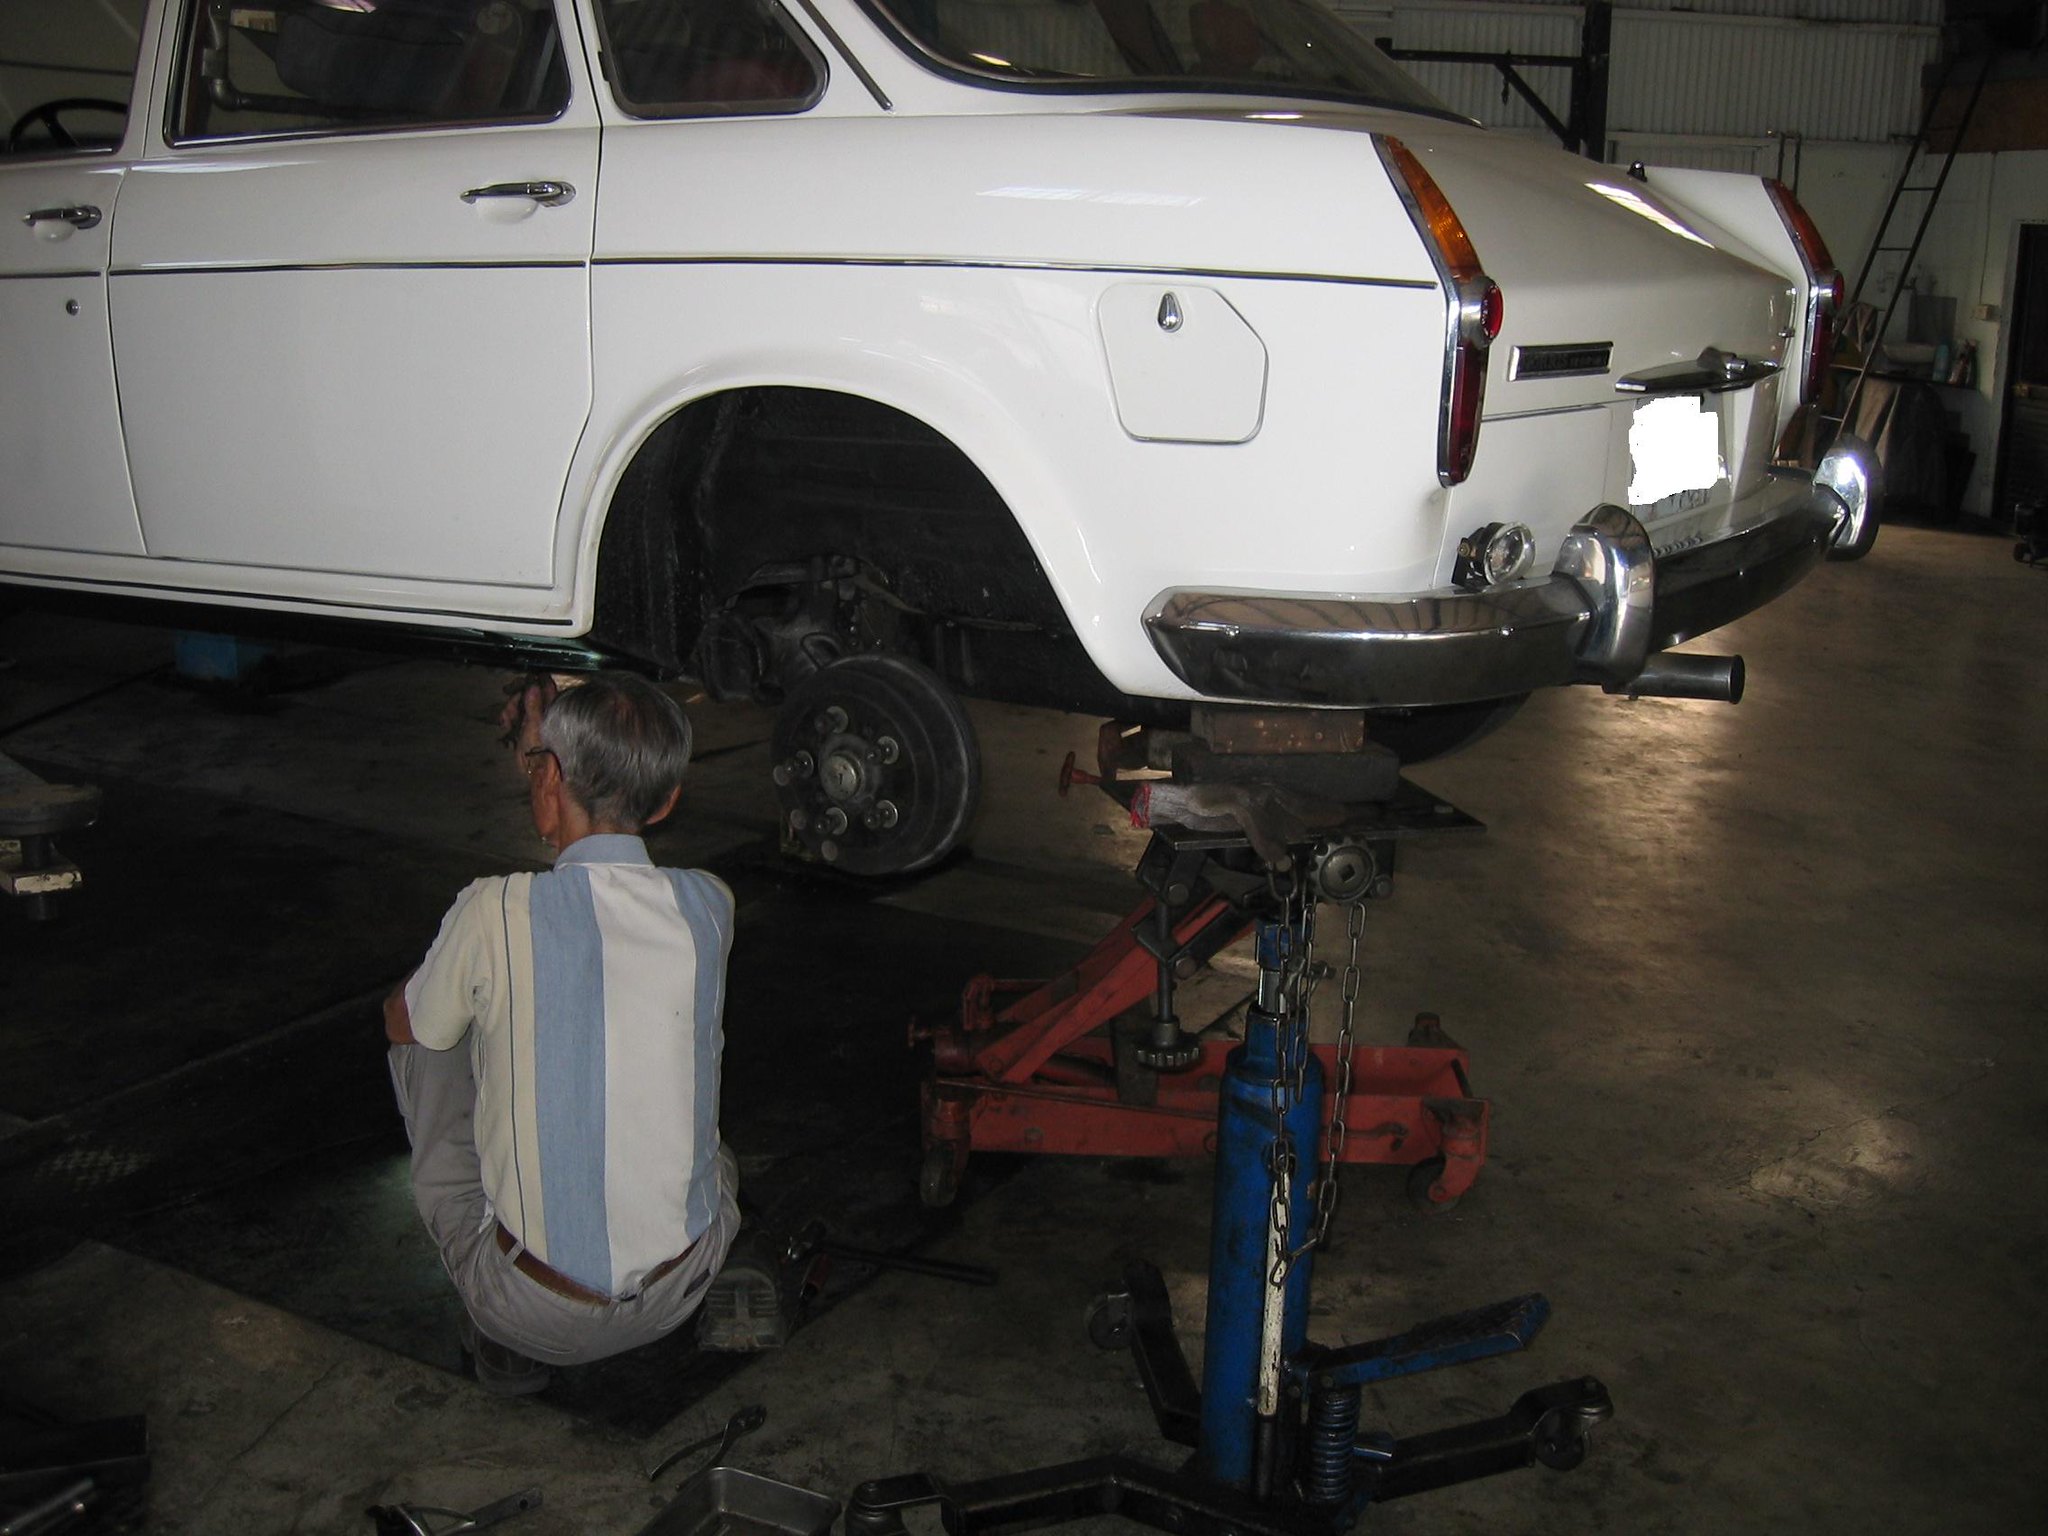
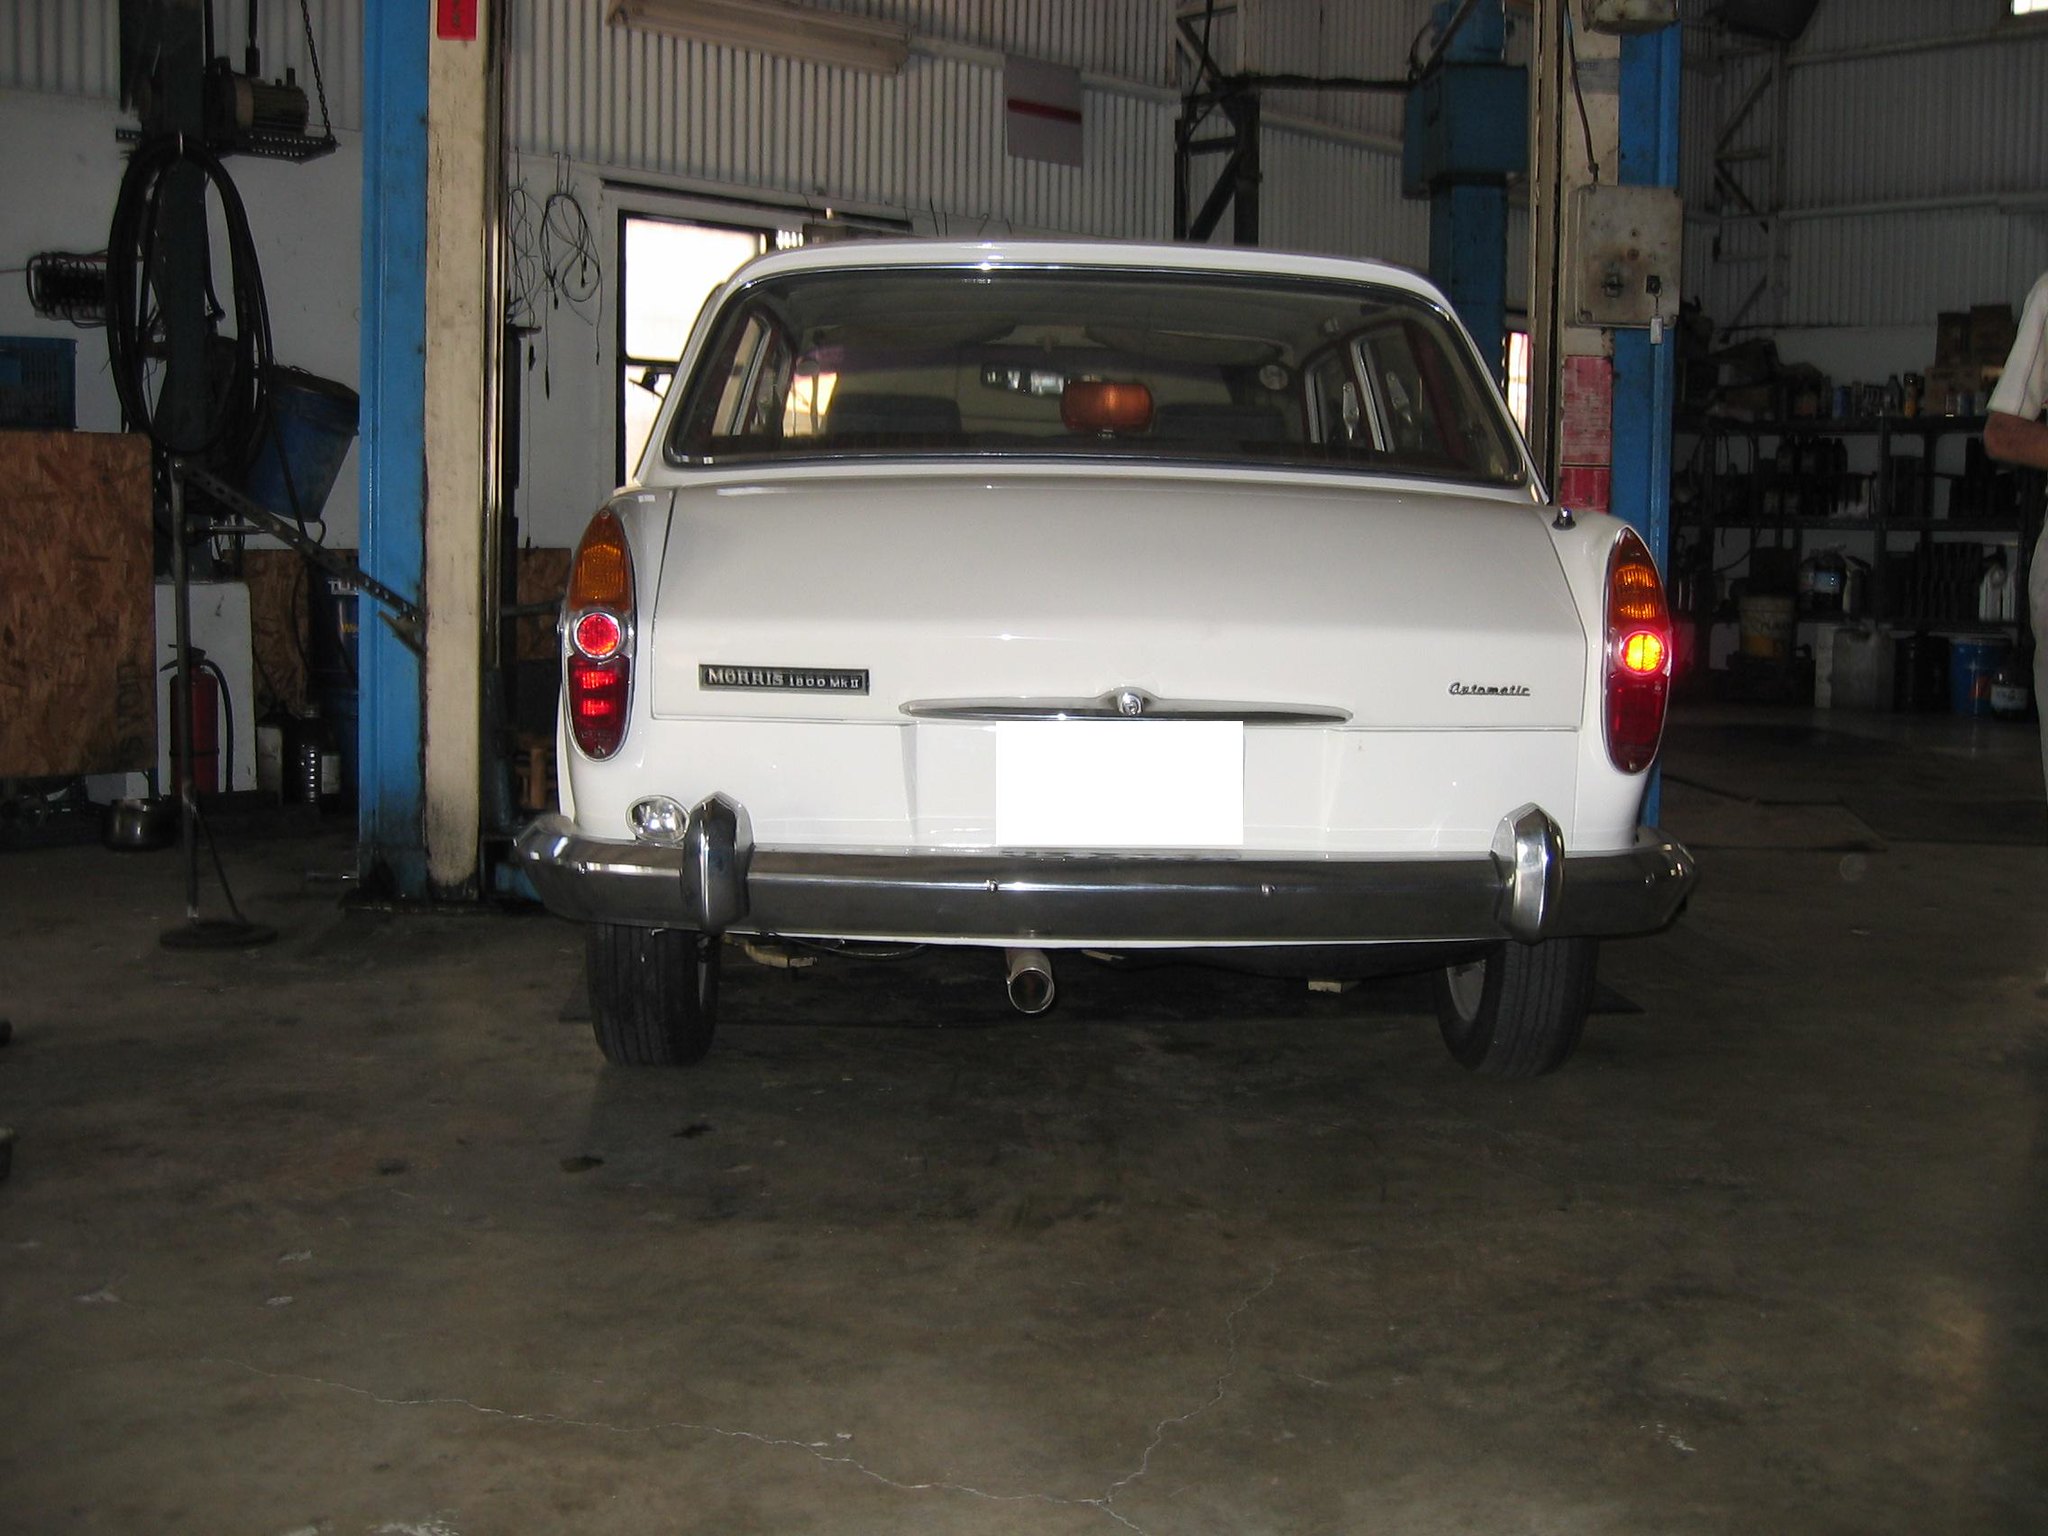
We father has been driving the landcrab many times since we installed the modified rear left displacer unit last month. It was nearly a month ago. Very surprisingly the displacer unit still works.
|
|
|
|
Post by dave1800 on Dec 17, 2014 0:23:39 GMT
Hope it continues that way. Well done, David We father has been driving the landcrab many times since we installed the modified rear left displacer unit last month. It was nearly a month ago. Very surprisingly the displacer unit still works. |
|
|
|
Post by tony on Apr 27, 2015 9:33:20 GMT
Our Morris got a noise recently that came from the water pump, which father found and had made sure by examining. There was no water leak from the water pump. Actually I didn't hear that even on the road. Yesterday father and I took her to attend a meeting and I found it was OK and easy to reach the speed of 60 kilometer per hour. This morning father decided to remove the water pump and check its condition. After removing it, it sounds to run fine by hand, just a little bit noise I thought. This item was new and bought in 1997 in London by me and we wonder what caused it. It has been just installed recently just for a few years. A few mileages. Leave it! We started to installed another repaired spare water pump, which result comes fine. No noise nor coolant leak! This afternoon we tried to disassemble the making noisy water pump like we have done before. We found the bearing was a little bit rusty and seal is not in a good condition. Our water pump is a sealed type here. 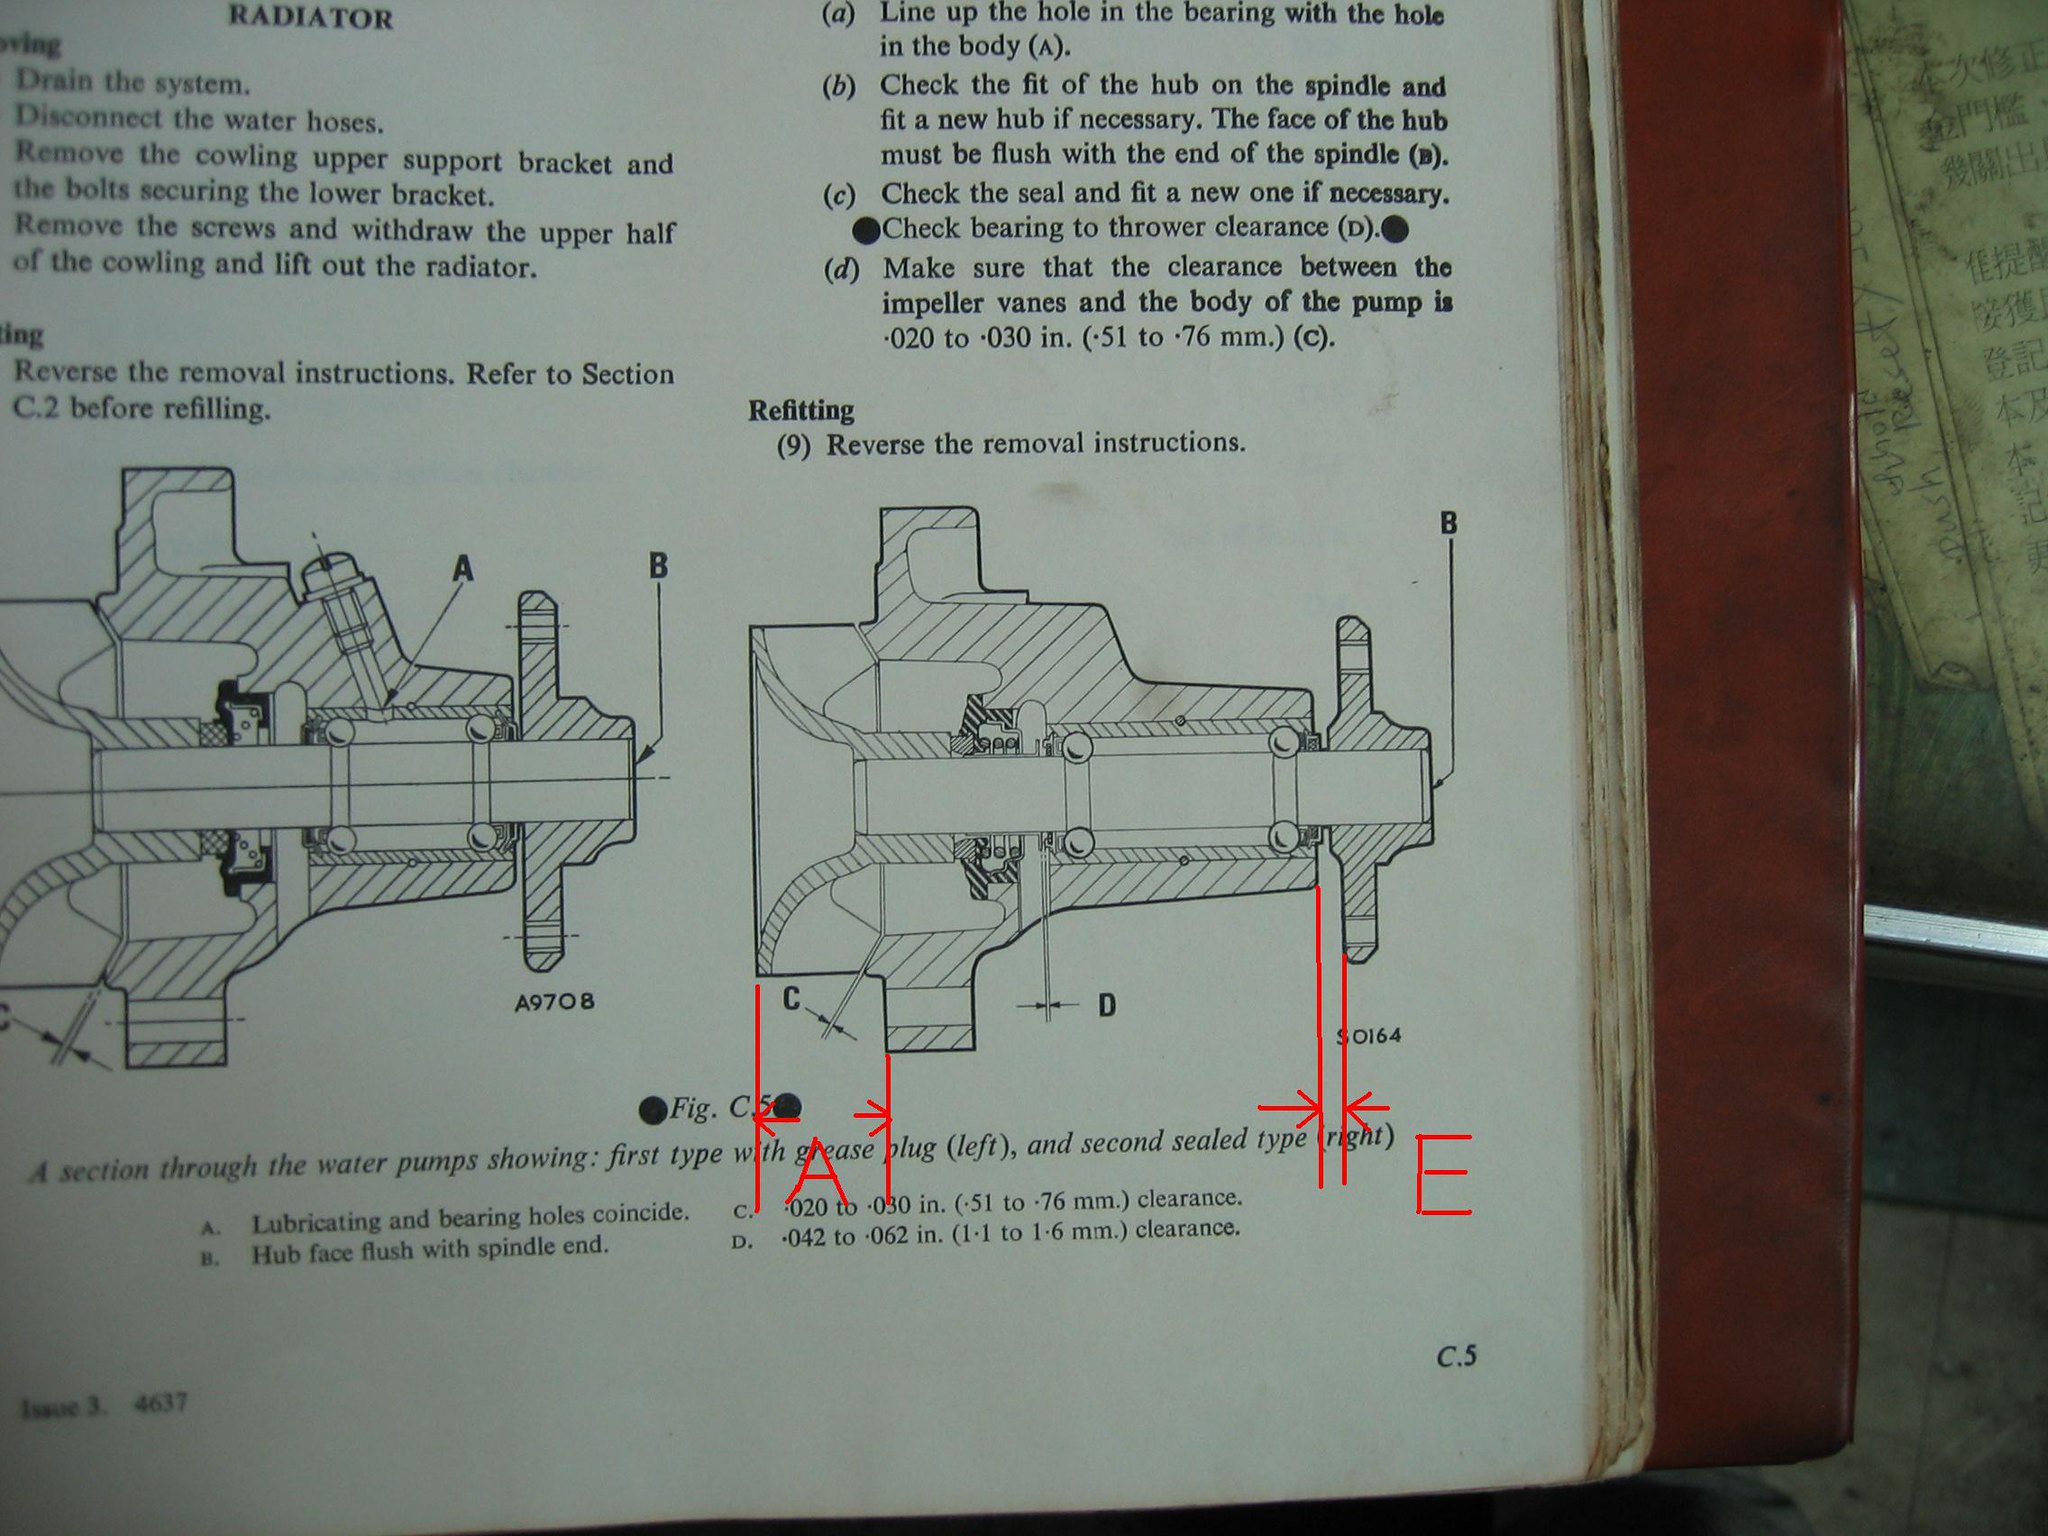 I am very sorry that I have to add some information here before doing the work. The picture above shows there are 2 figures we have to measure before disassembling the water pump. I first took the measures of A and E. In fact you shall measure the gaps of C and D. But in the end we did some modification on the surface of impeller, which reduced the gap of C a little bit.
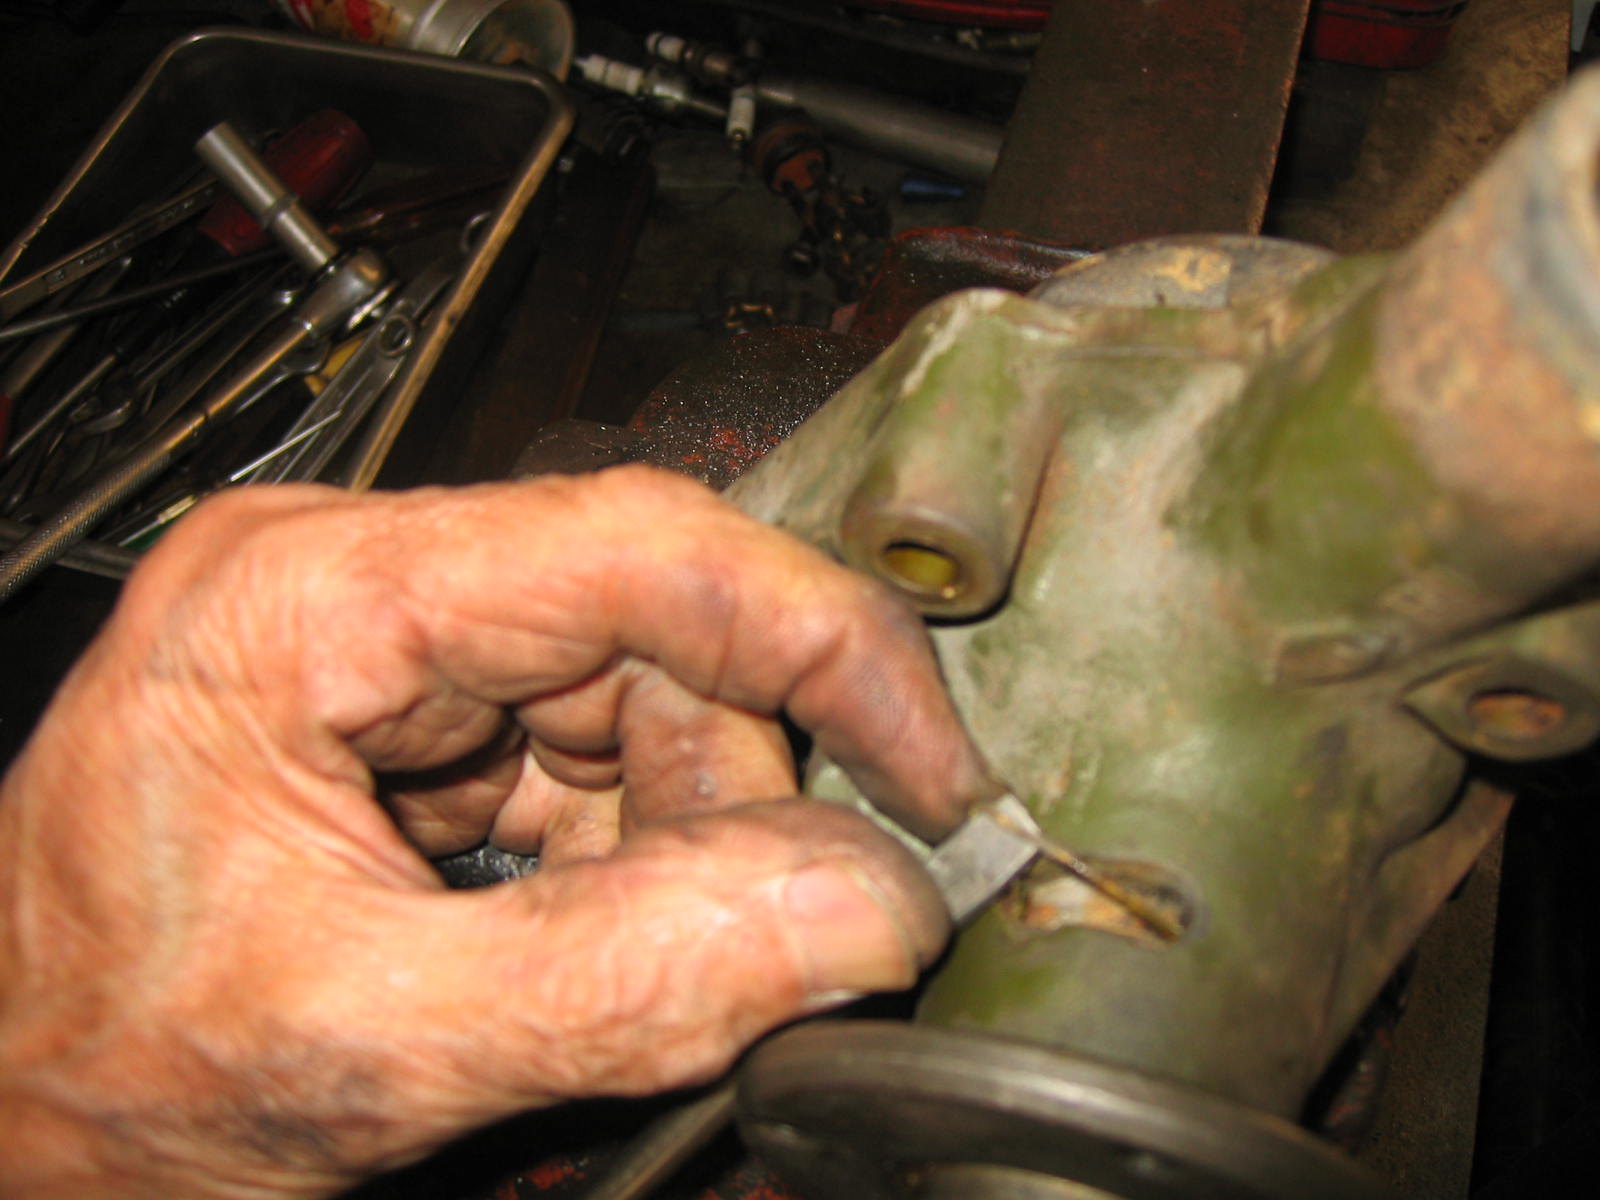 First of all, remember to remove the inserted pin of this kind of water pump. 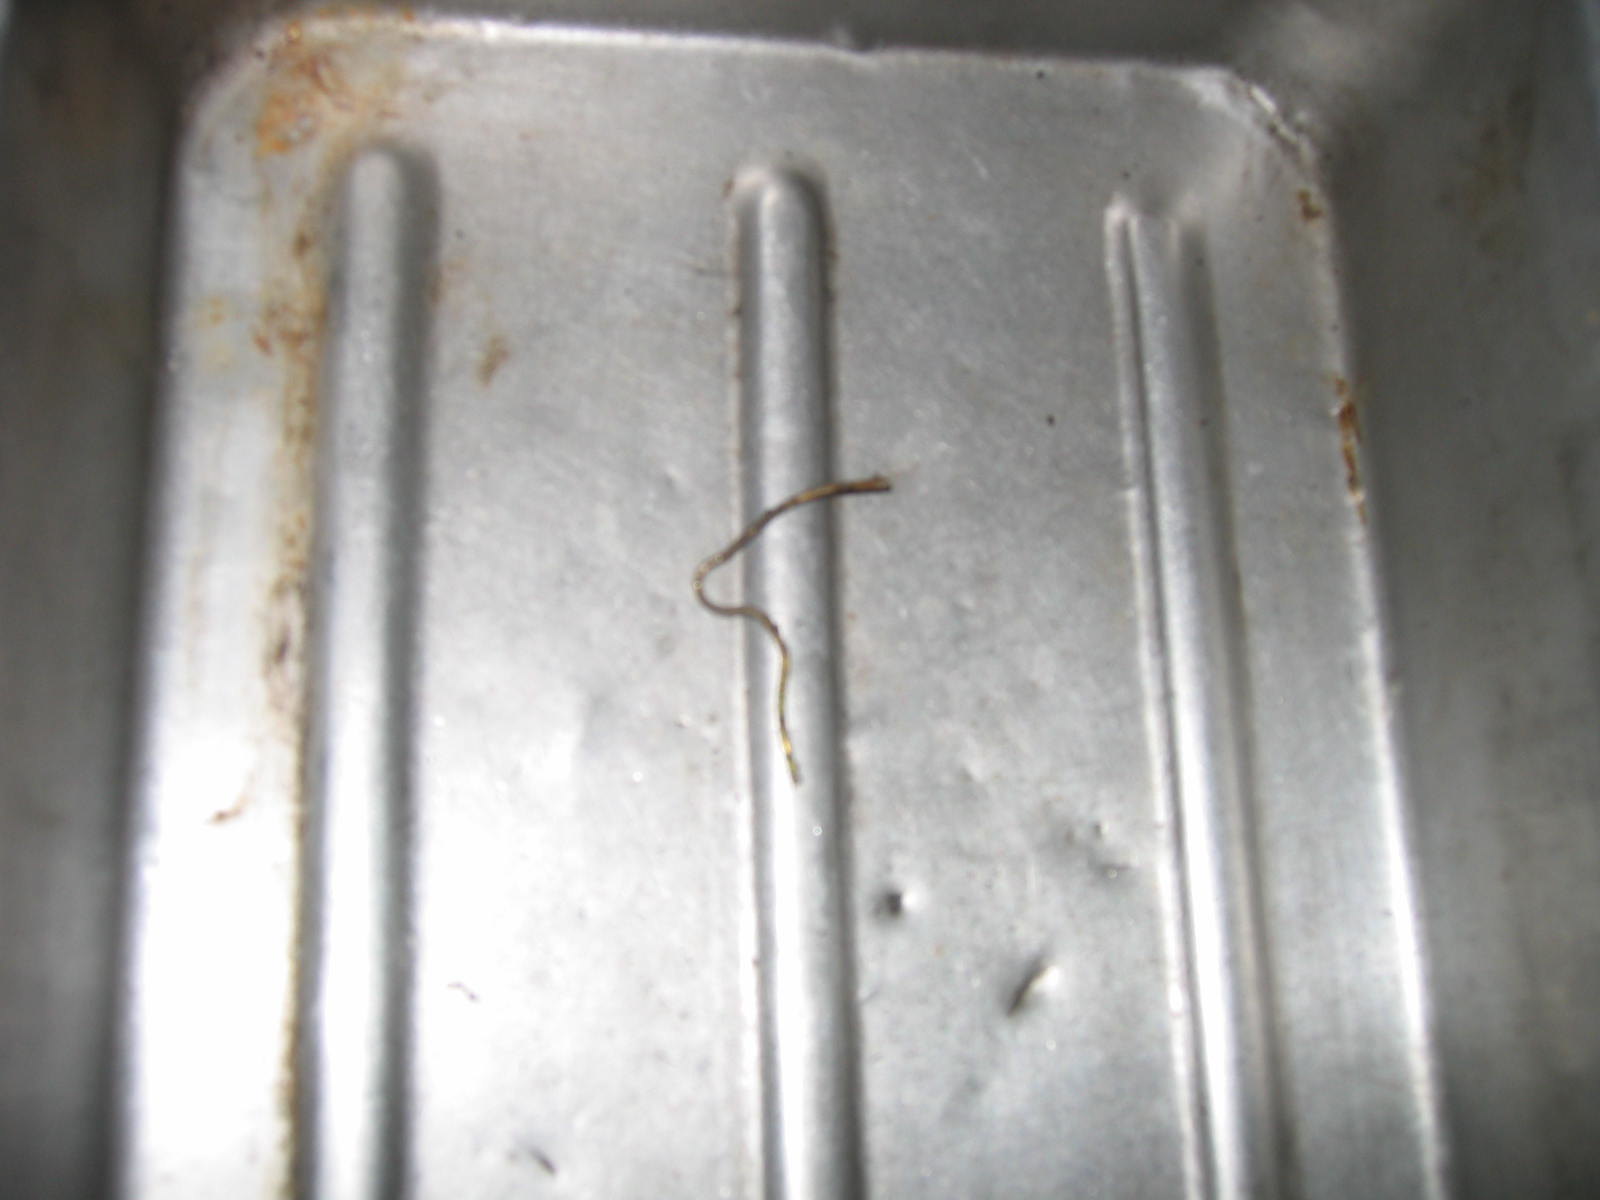 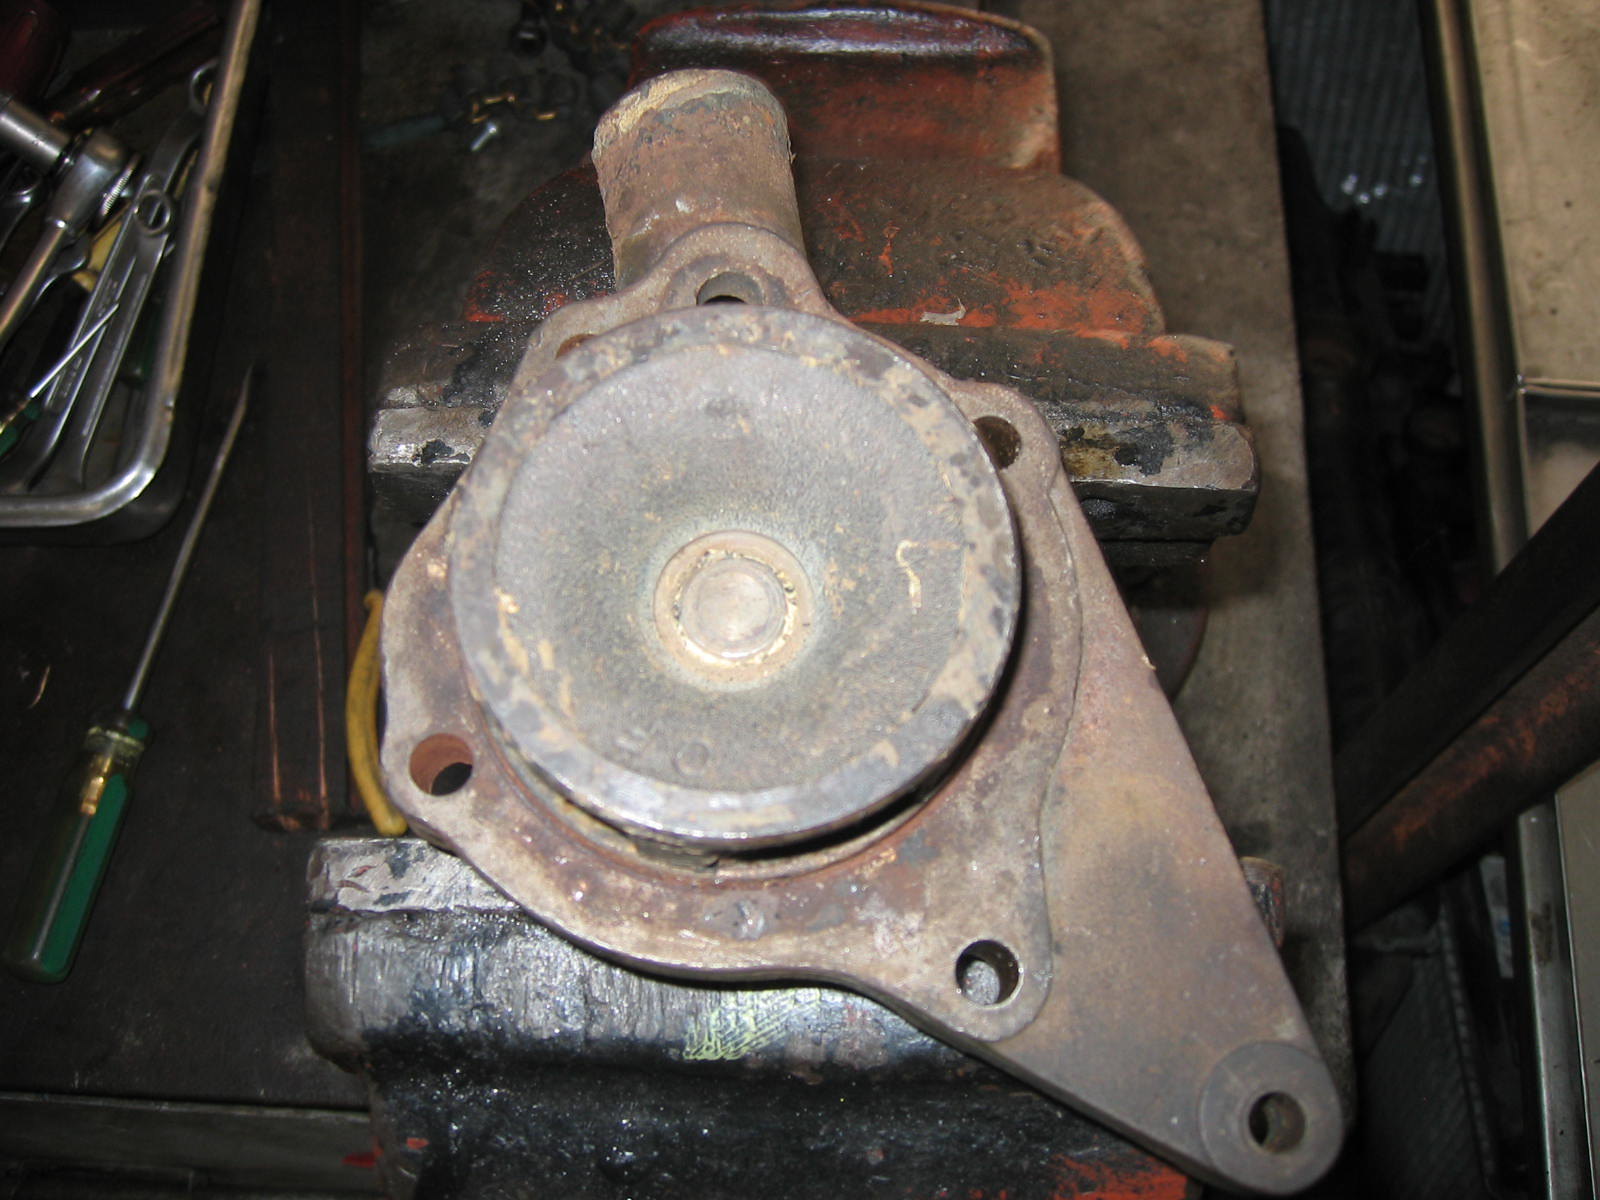 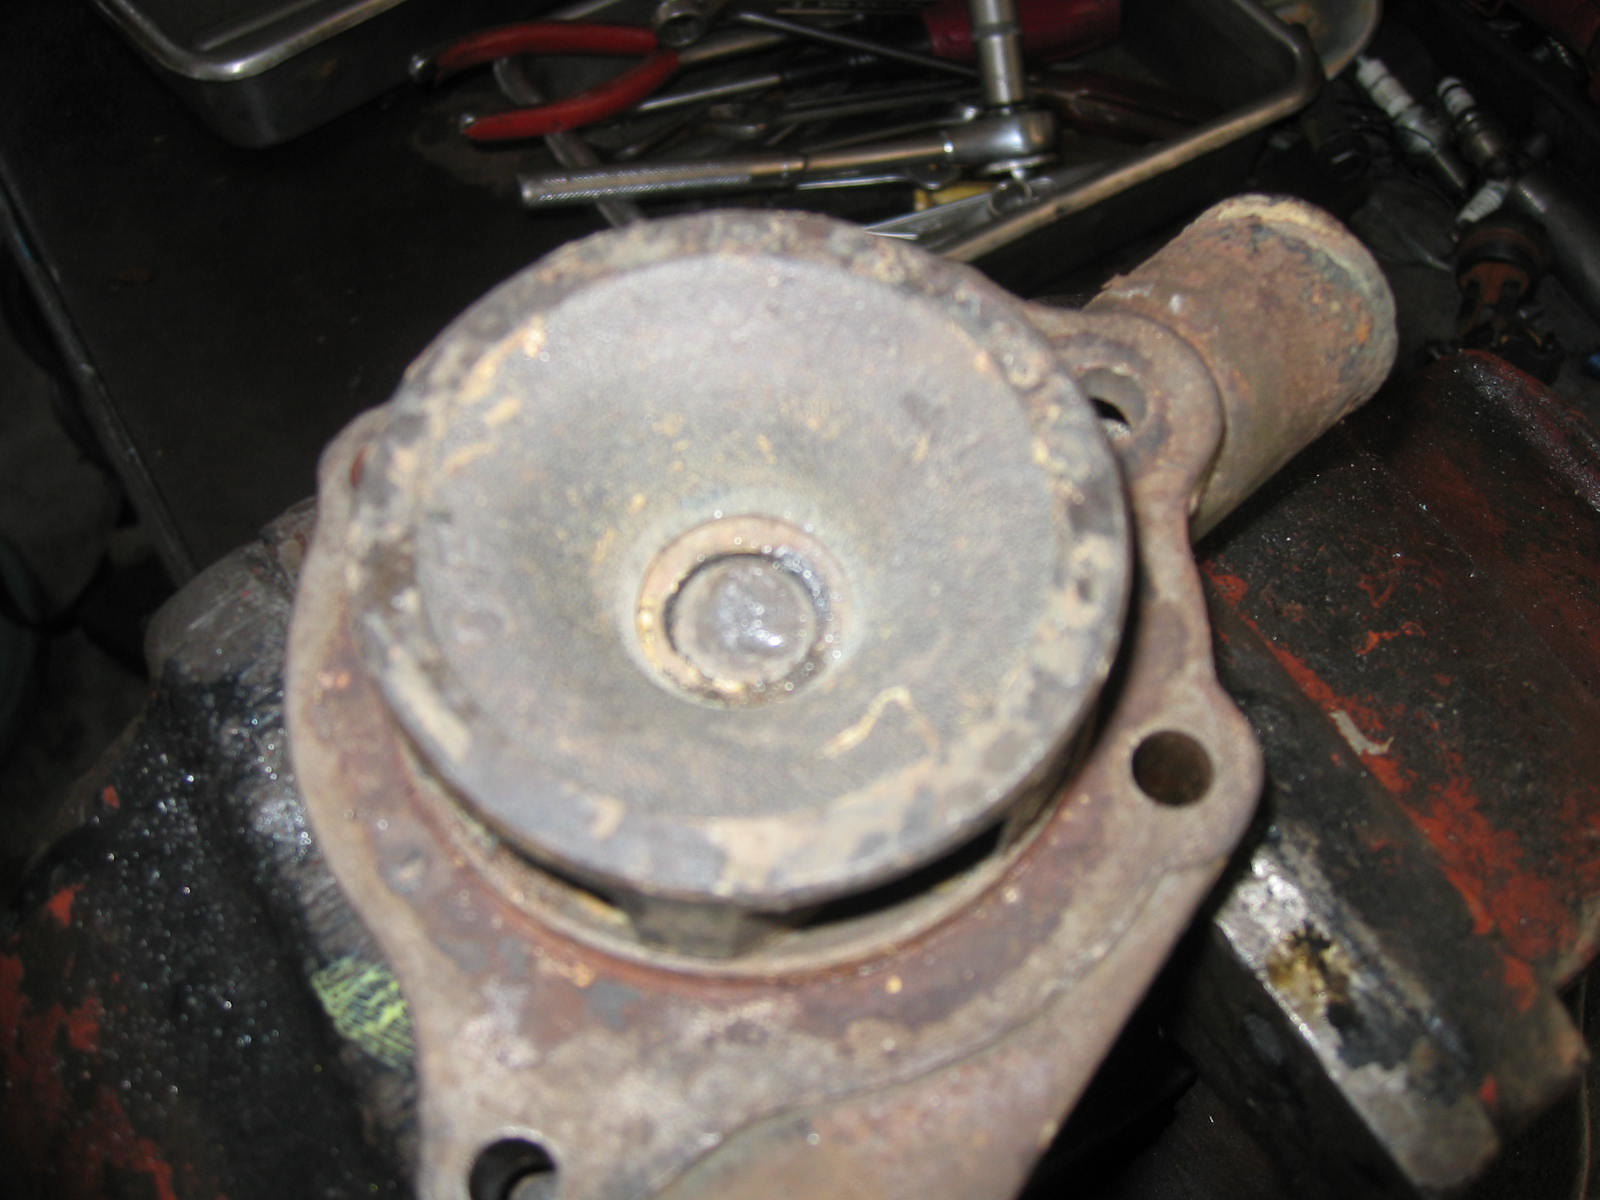 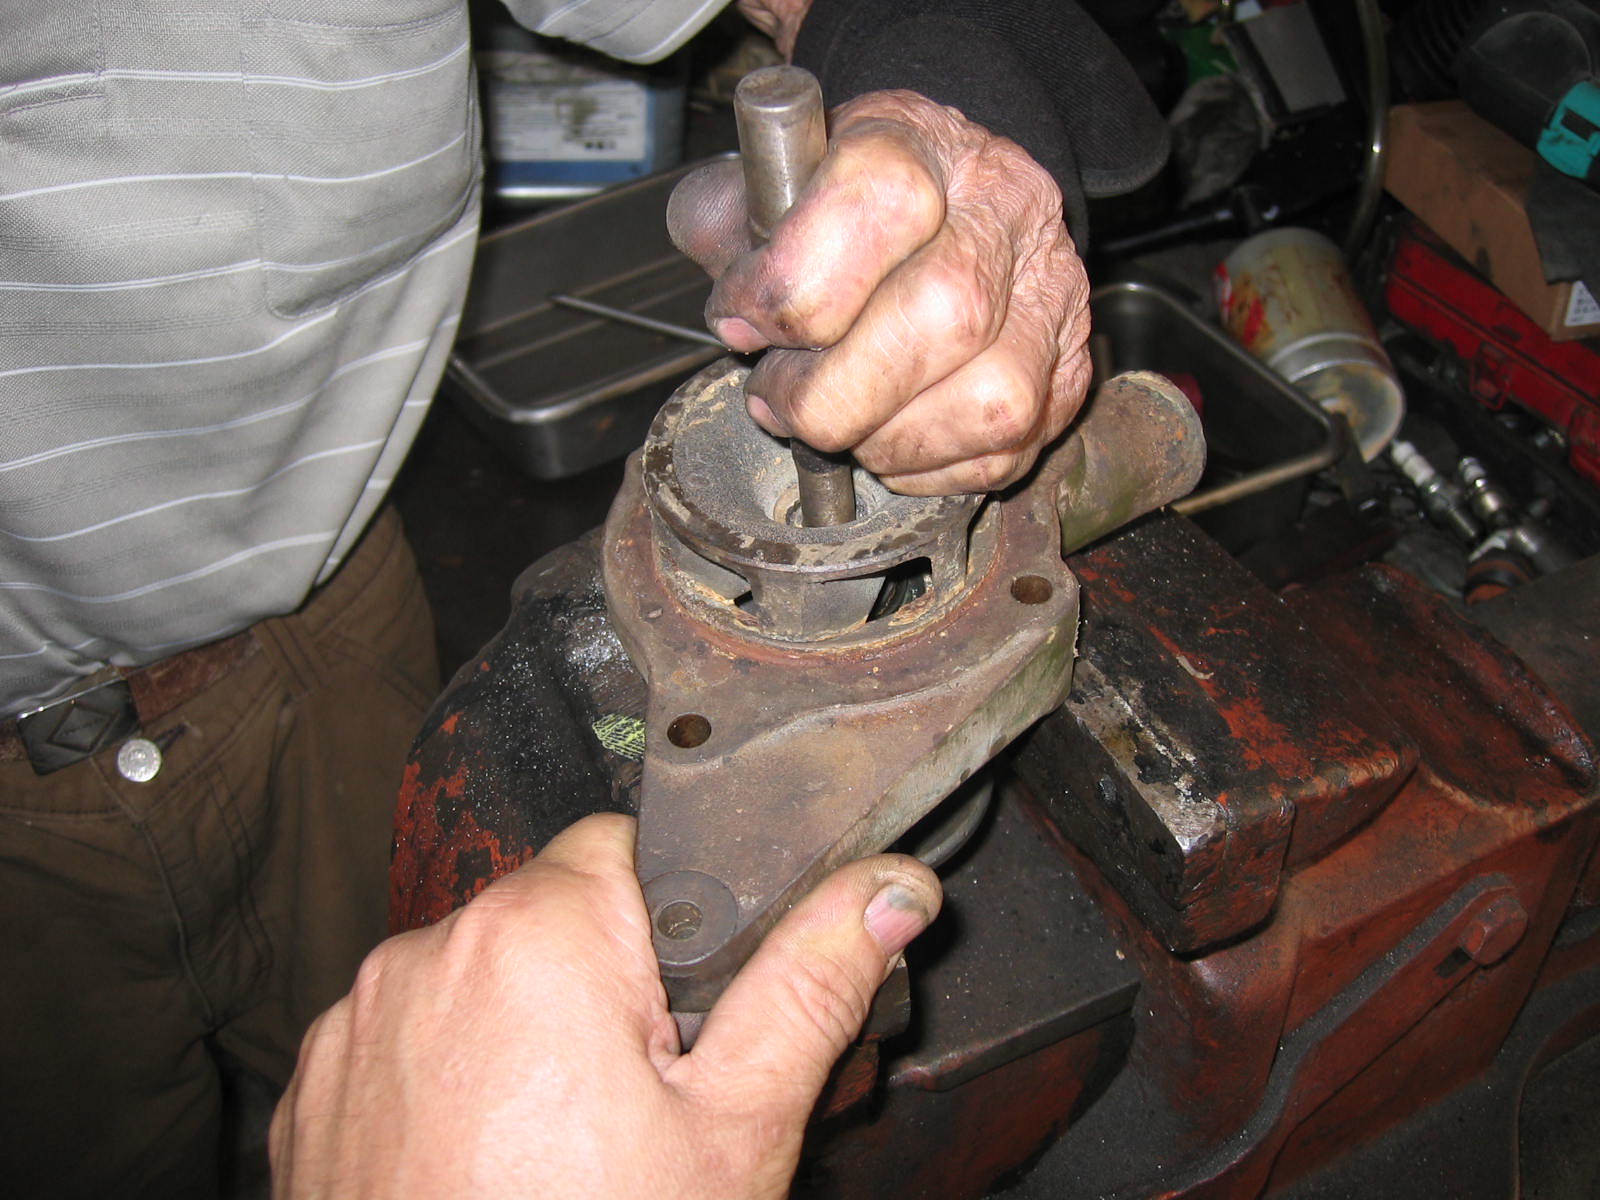 Now you need to remove the impeller, which is not difficult to do so. If not, you need to put the water pump at the right angle in a pressing machine and try to heat the impeller with fire and than press the bearing down very slowly. This time we just got it out by hammer and a little tool with a little force as we have done it before. But we never do the same job on a RR or Jaguar as the material has to be taken into account. 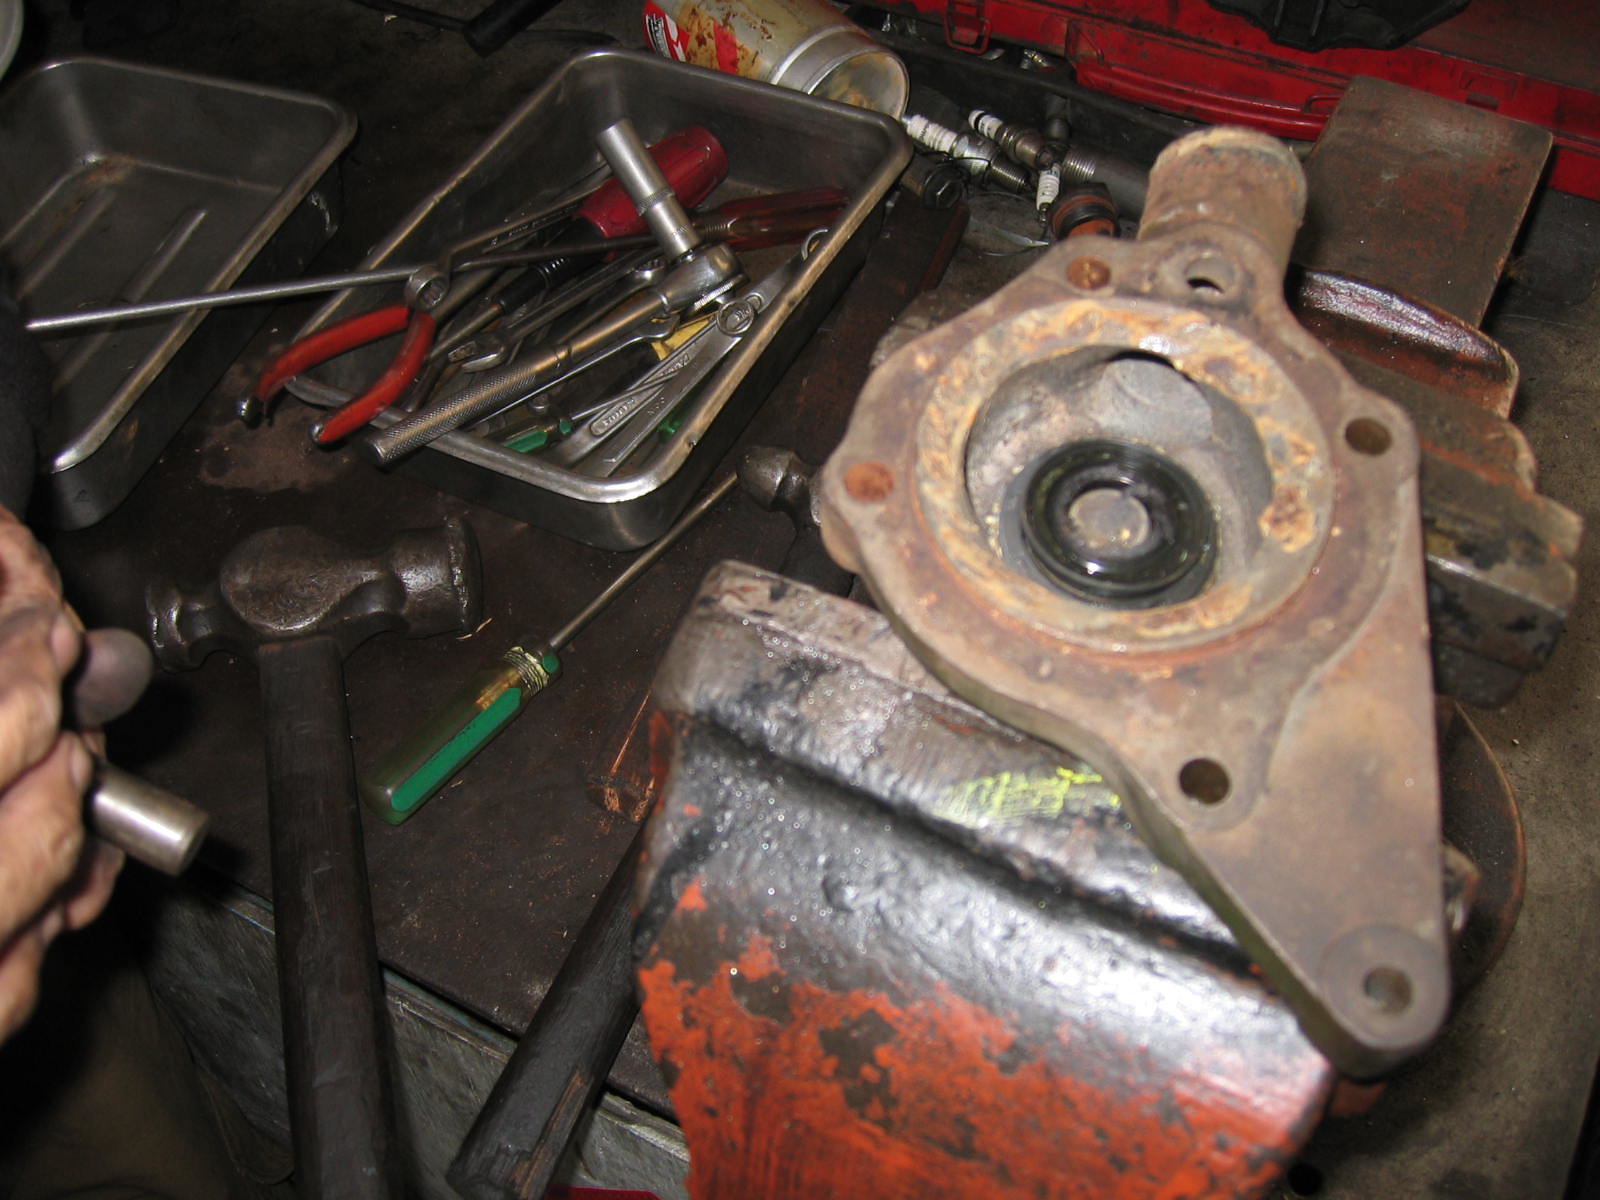 The impeller is removed. You can continue to hit the bearing very slowly with a hammer and a tool until the bearing with pulley boss comes apart. Or you use a pressuring machine to do so very slowly. Sorry for not having pictures of taking them apart here.My both hands holded the water pump tight in the air and father did the hitting job slowly. 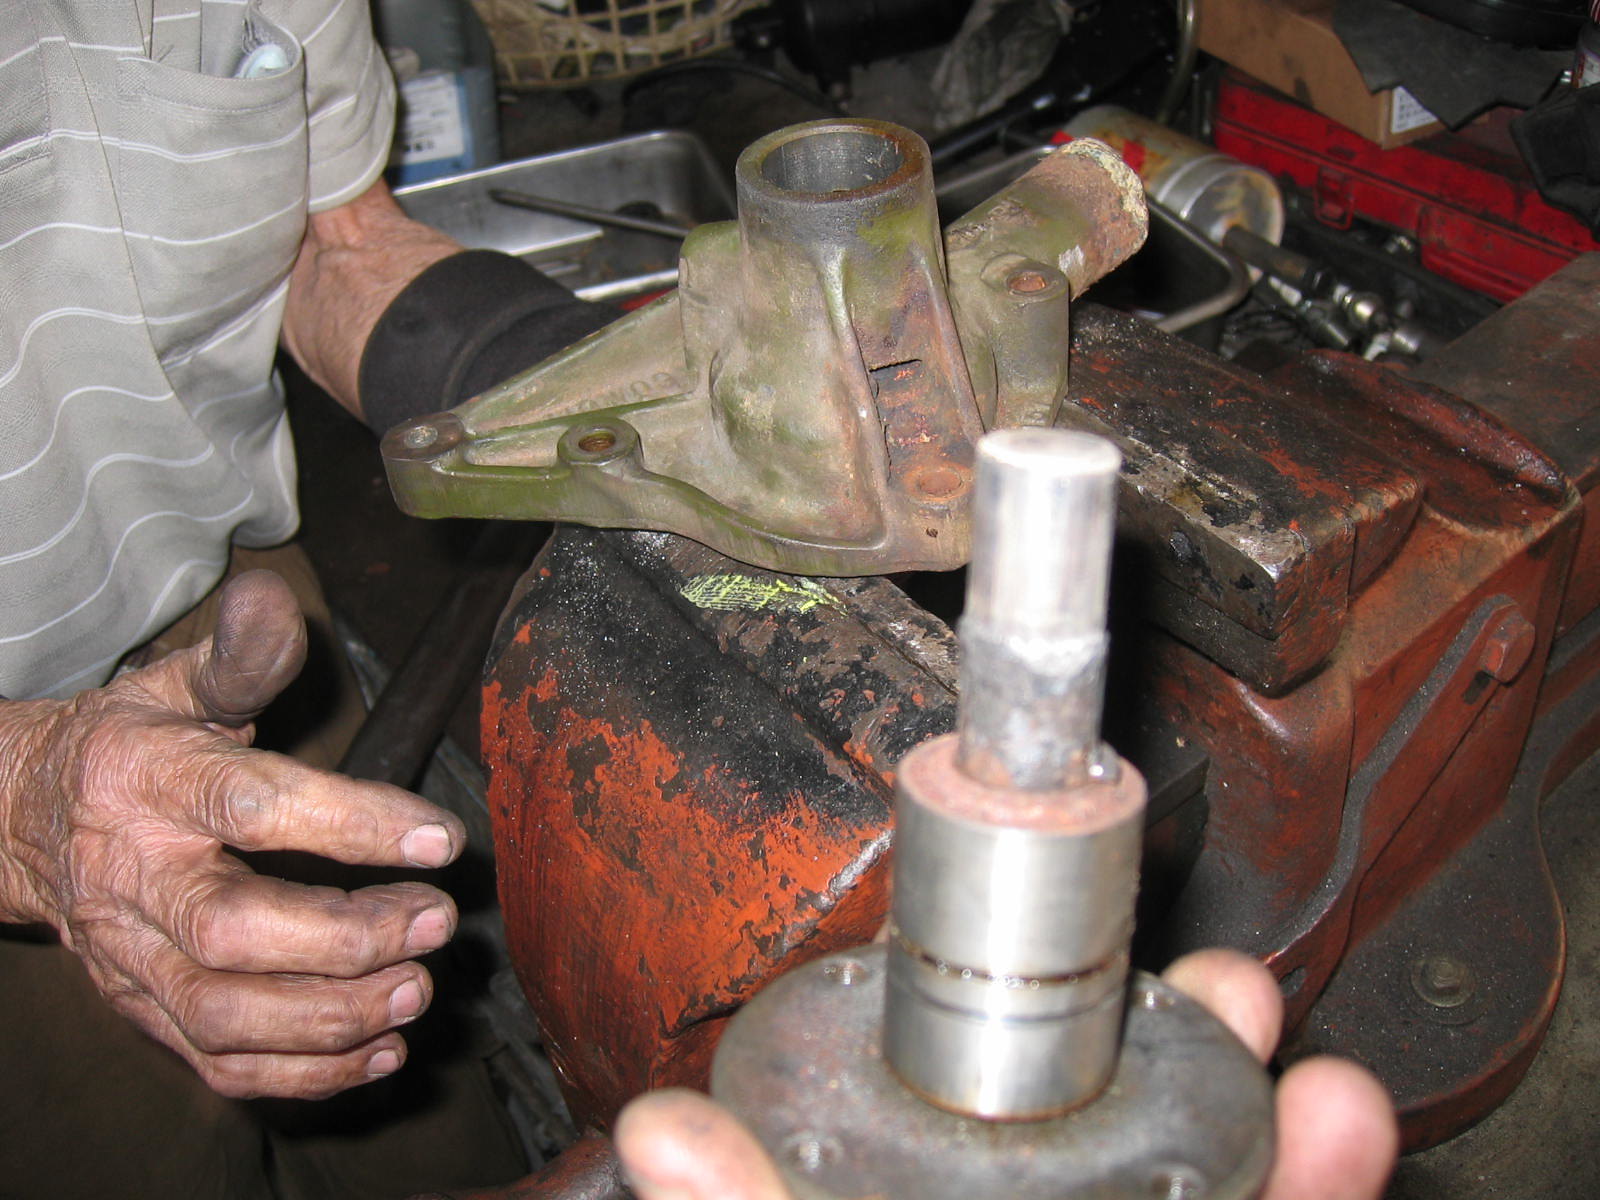 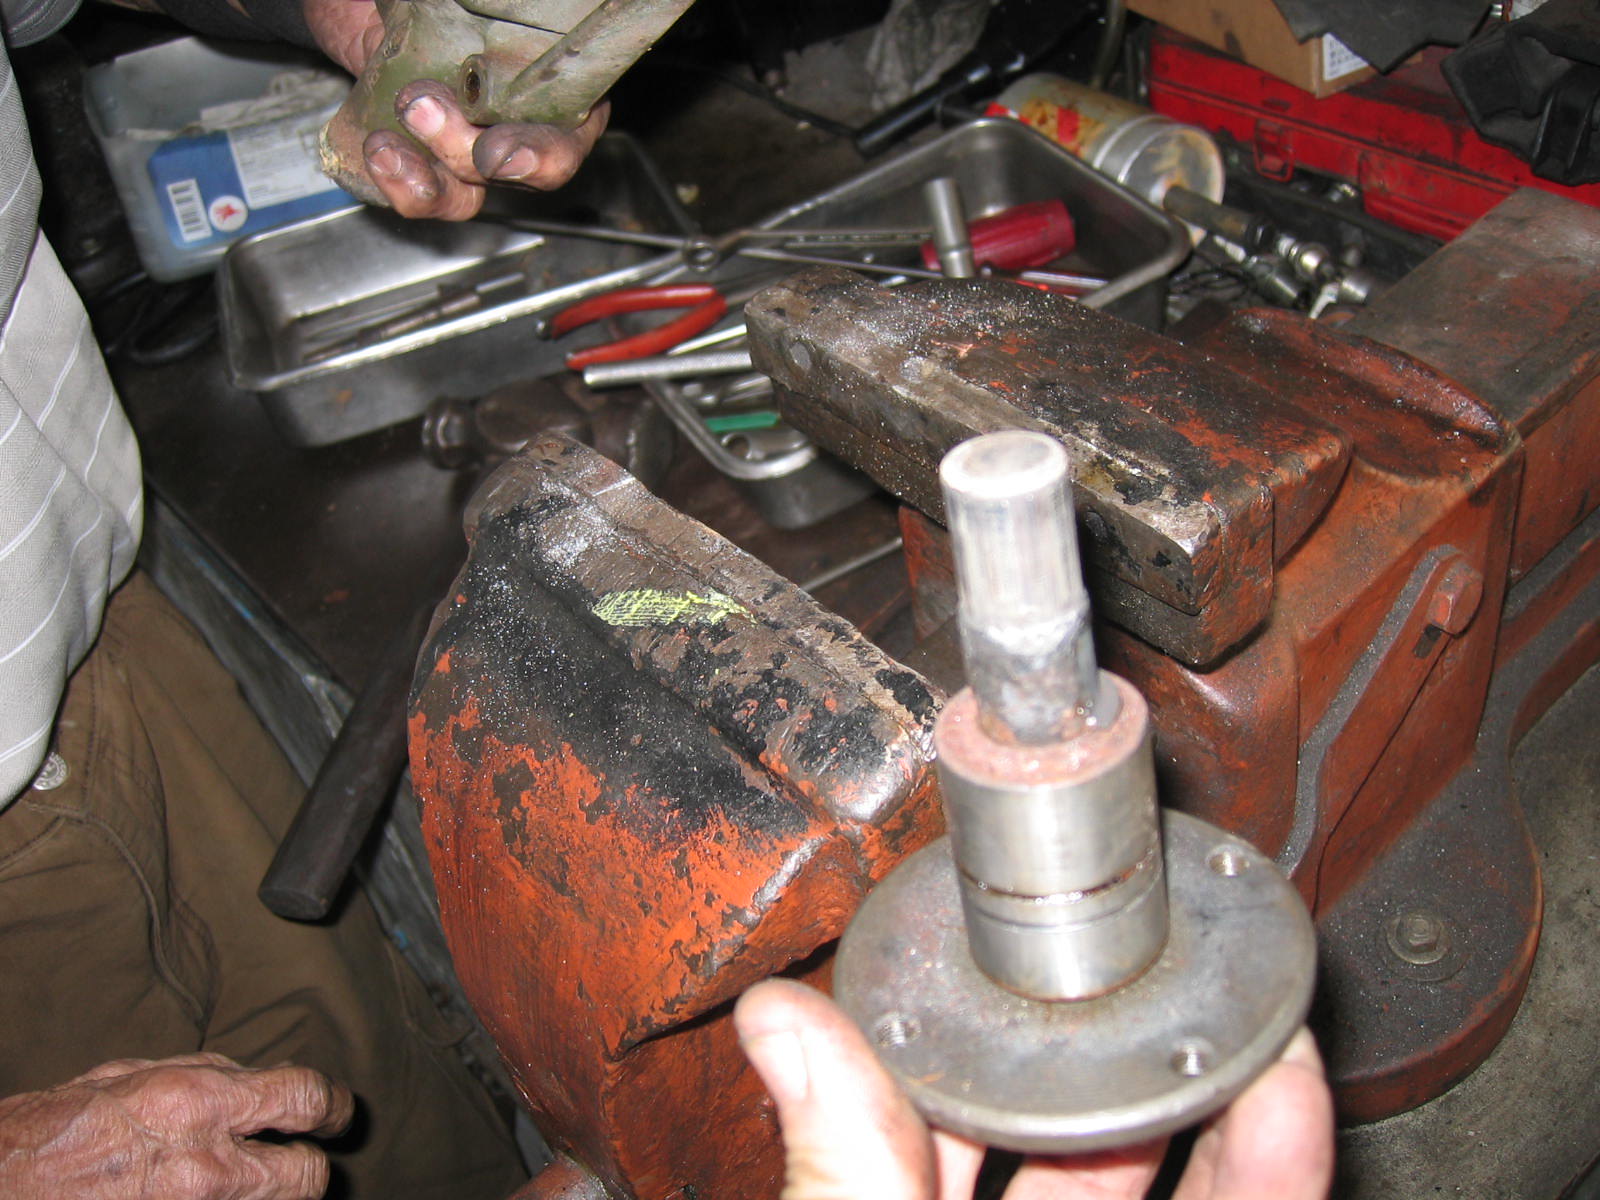 The bearing and pulley boss are also taken off together. 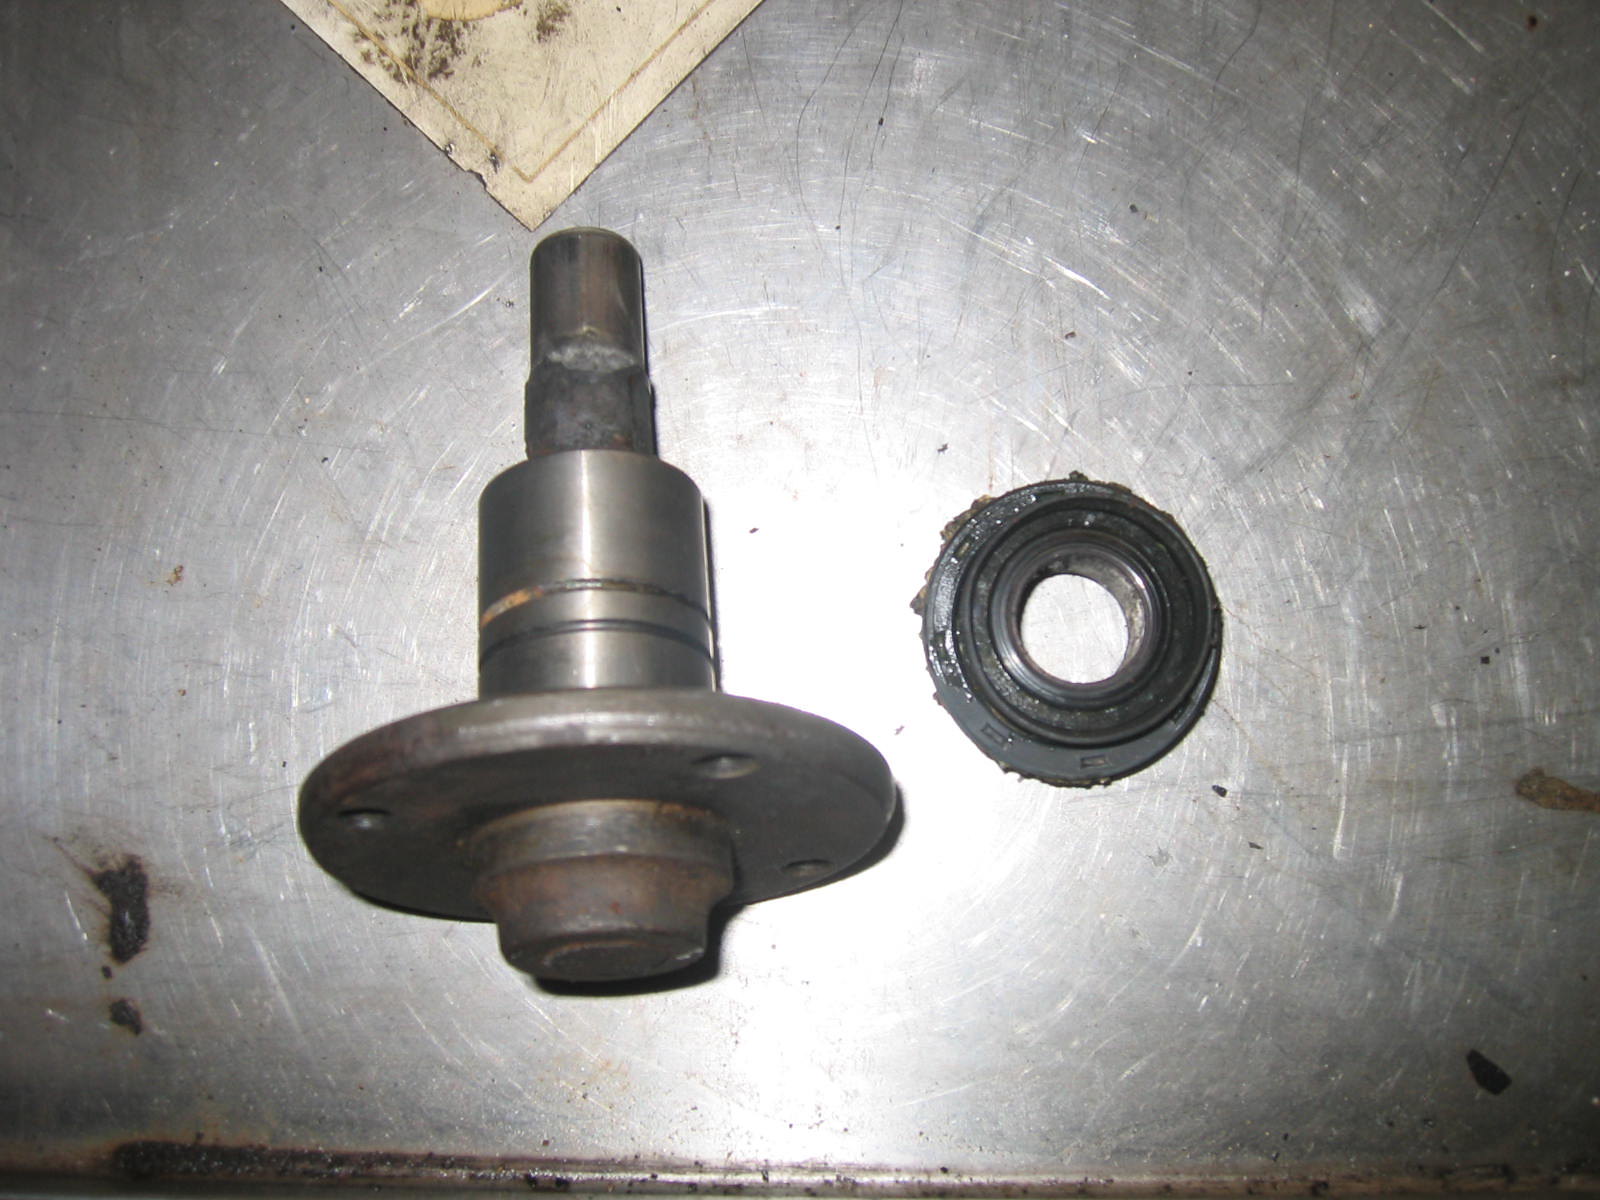 Bearing with pulley boss and the seal. Now the next is to remove the pulley boss from the bearing. 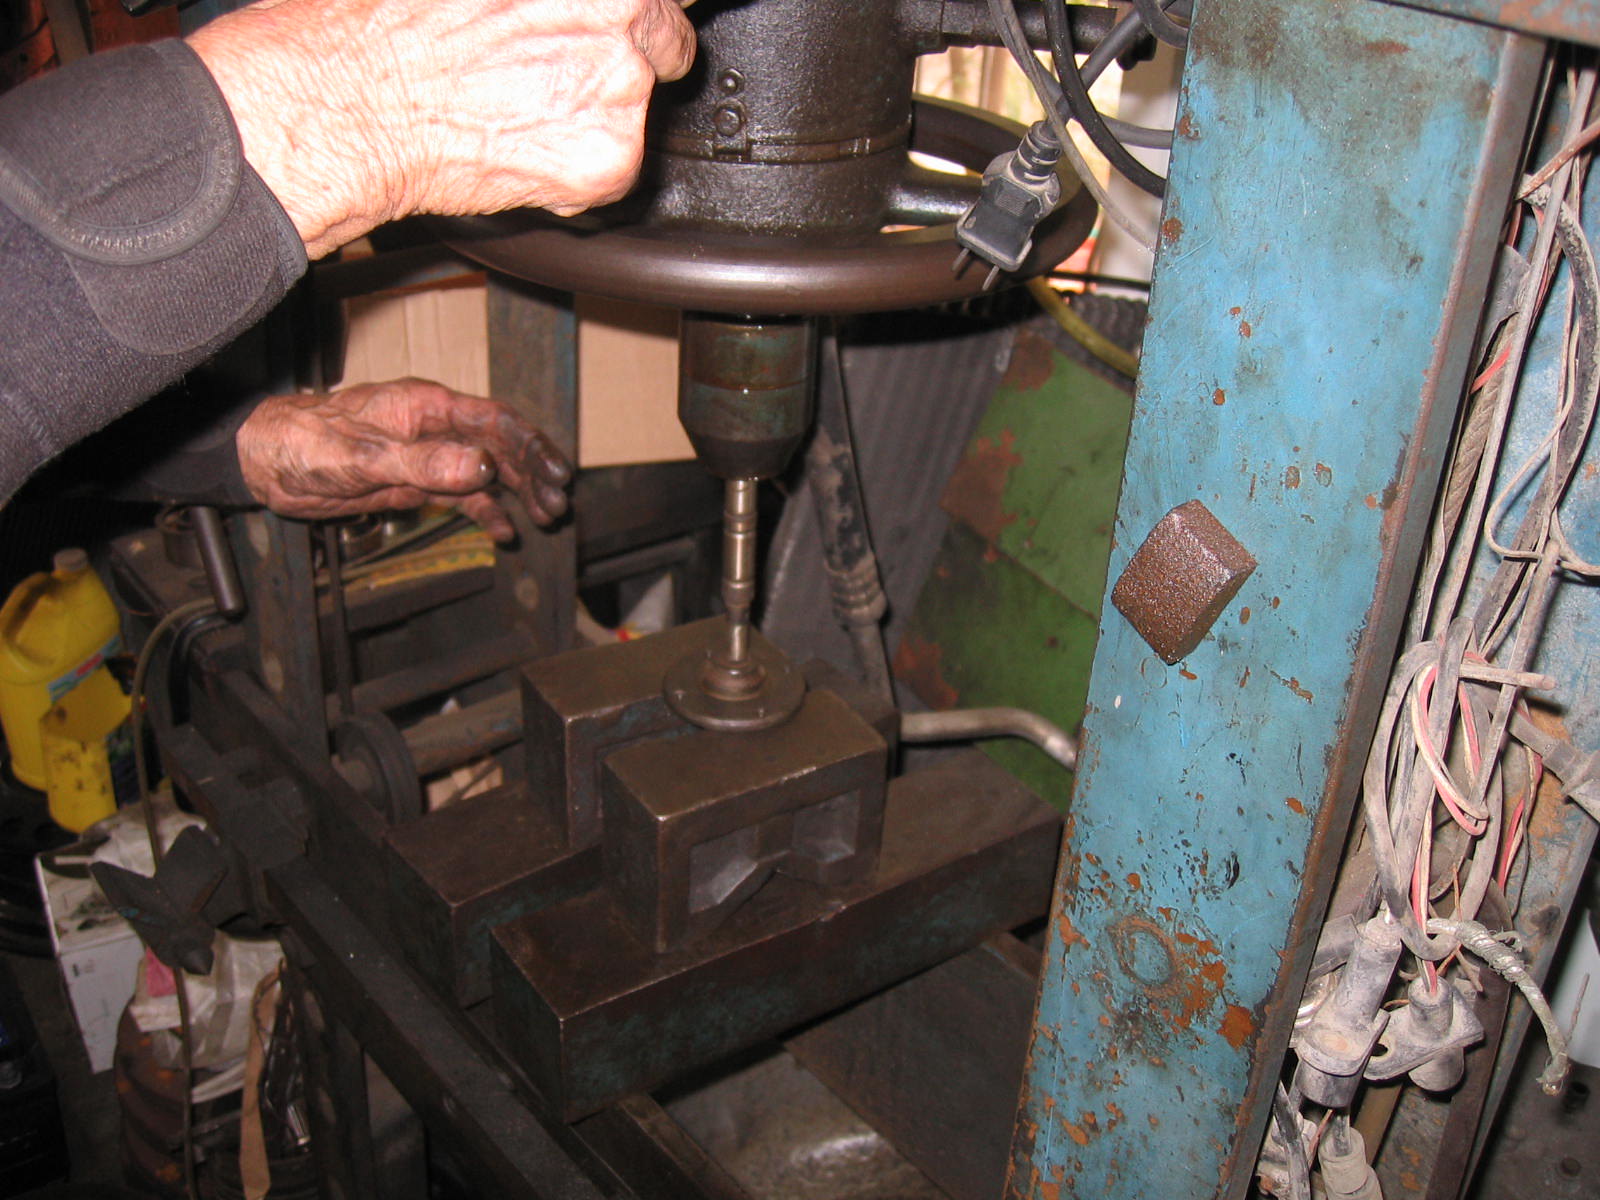 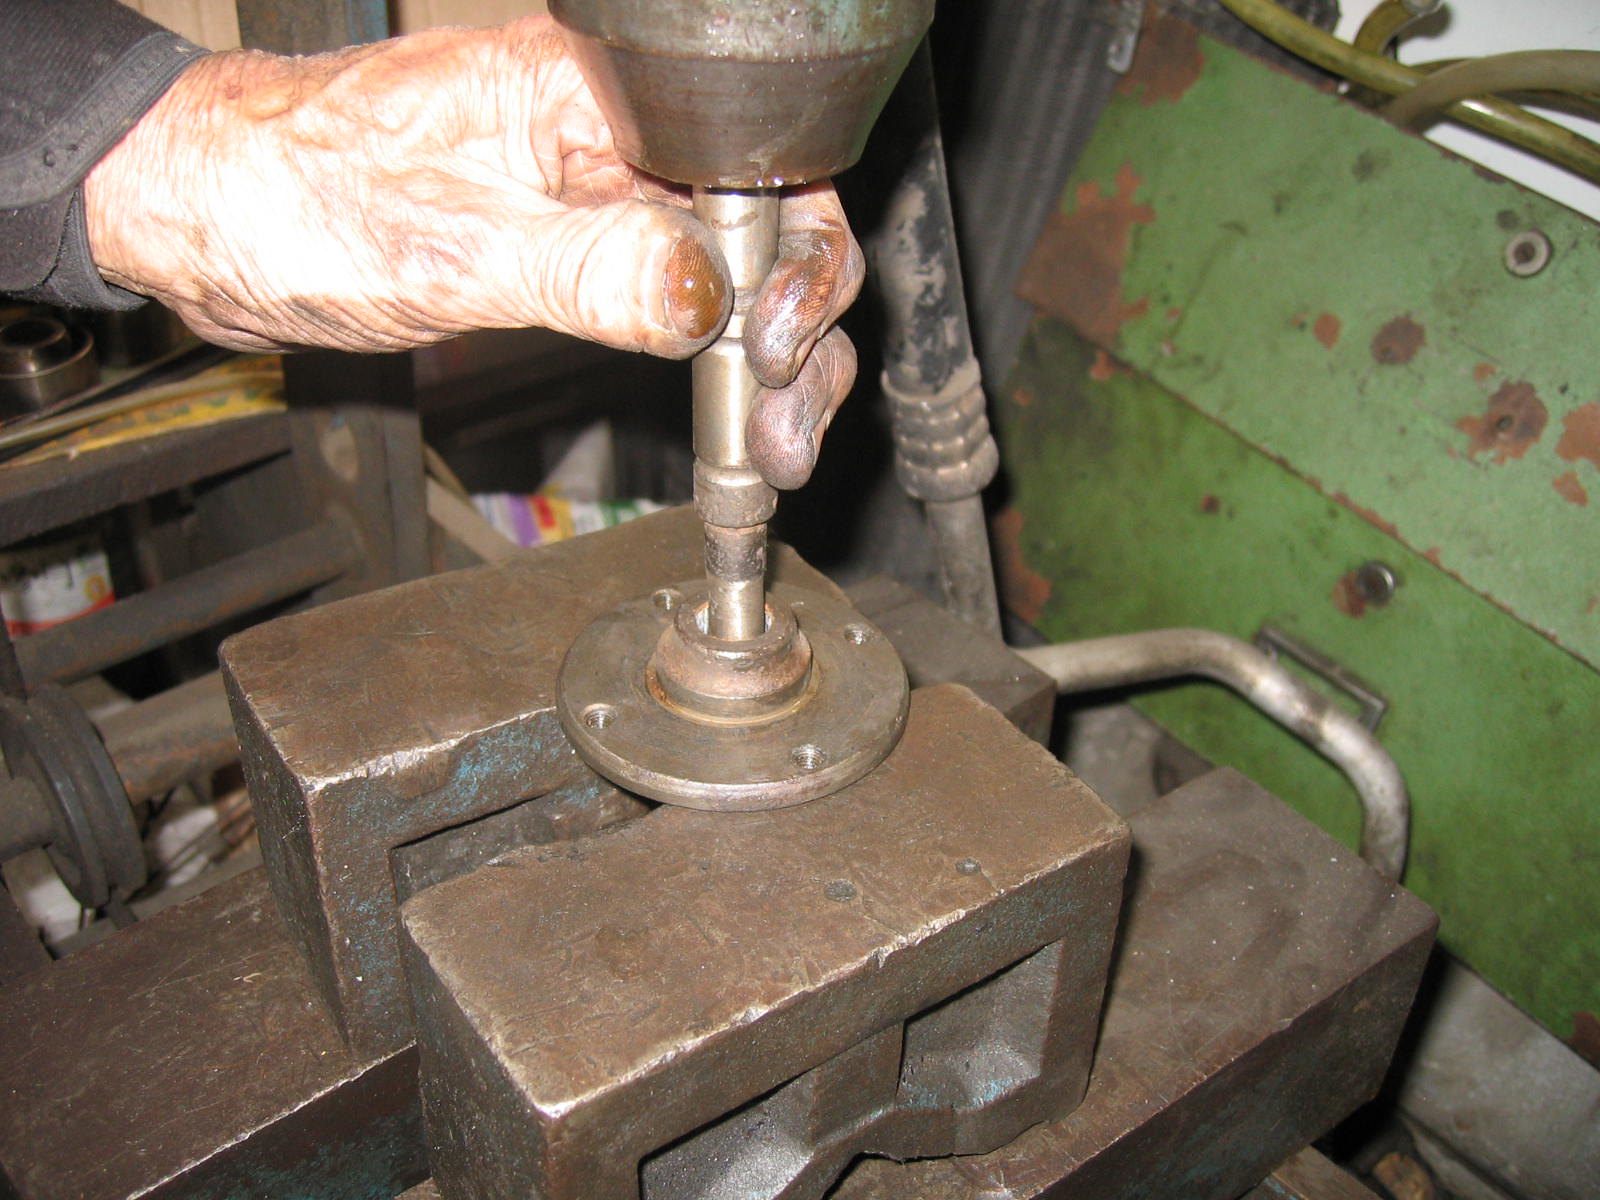 We didn't want to make any mistake. We had to use a pressing machine. 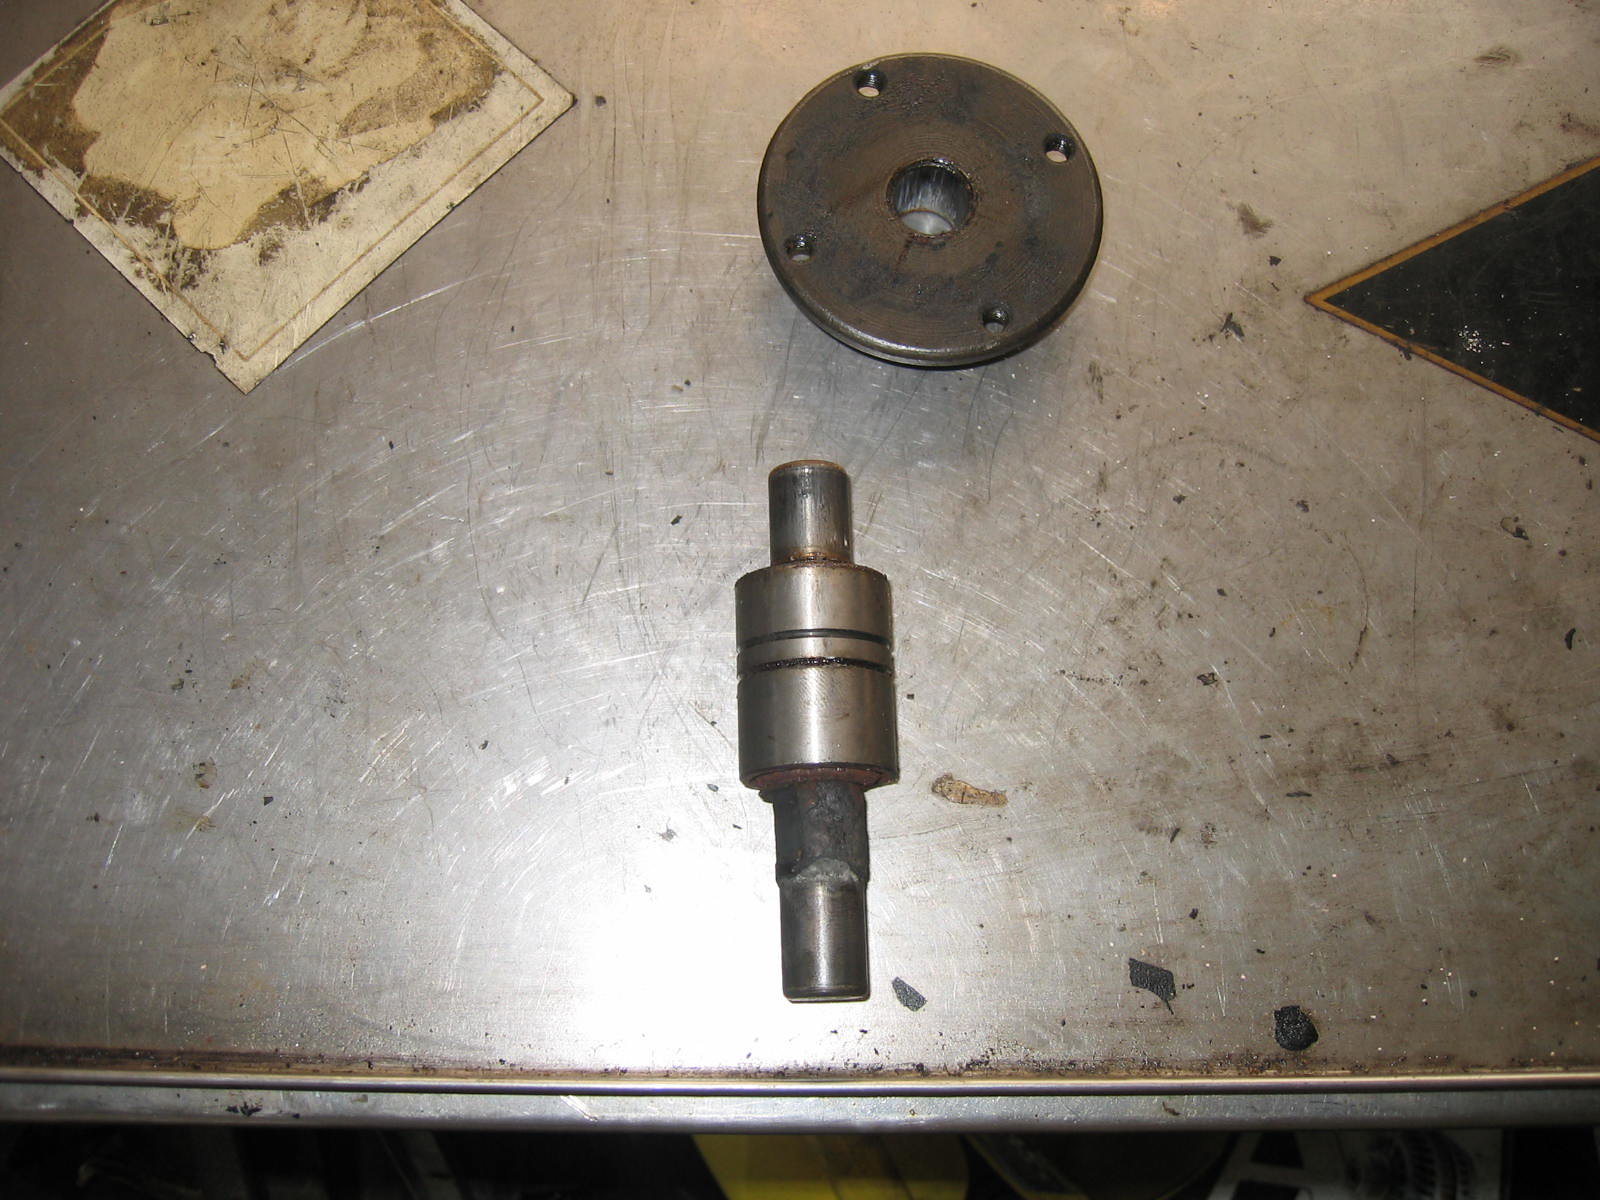 Came apart. 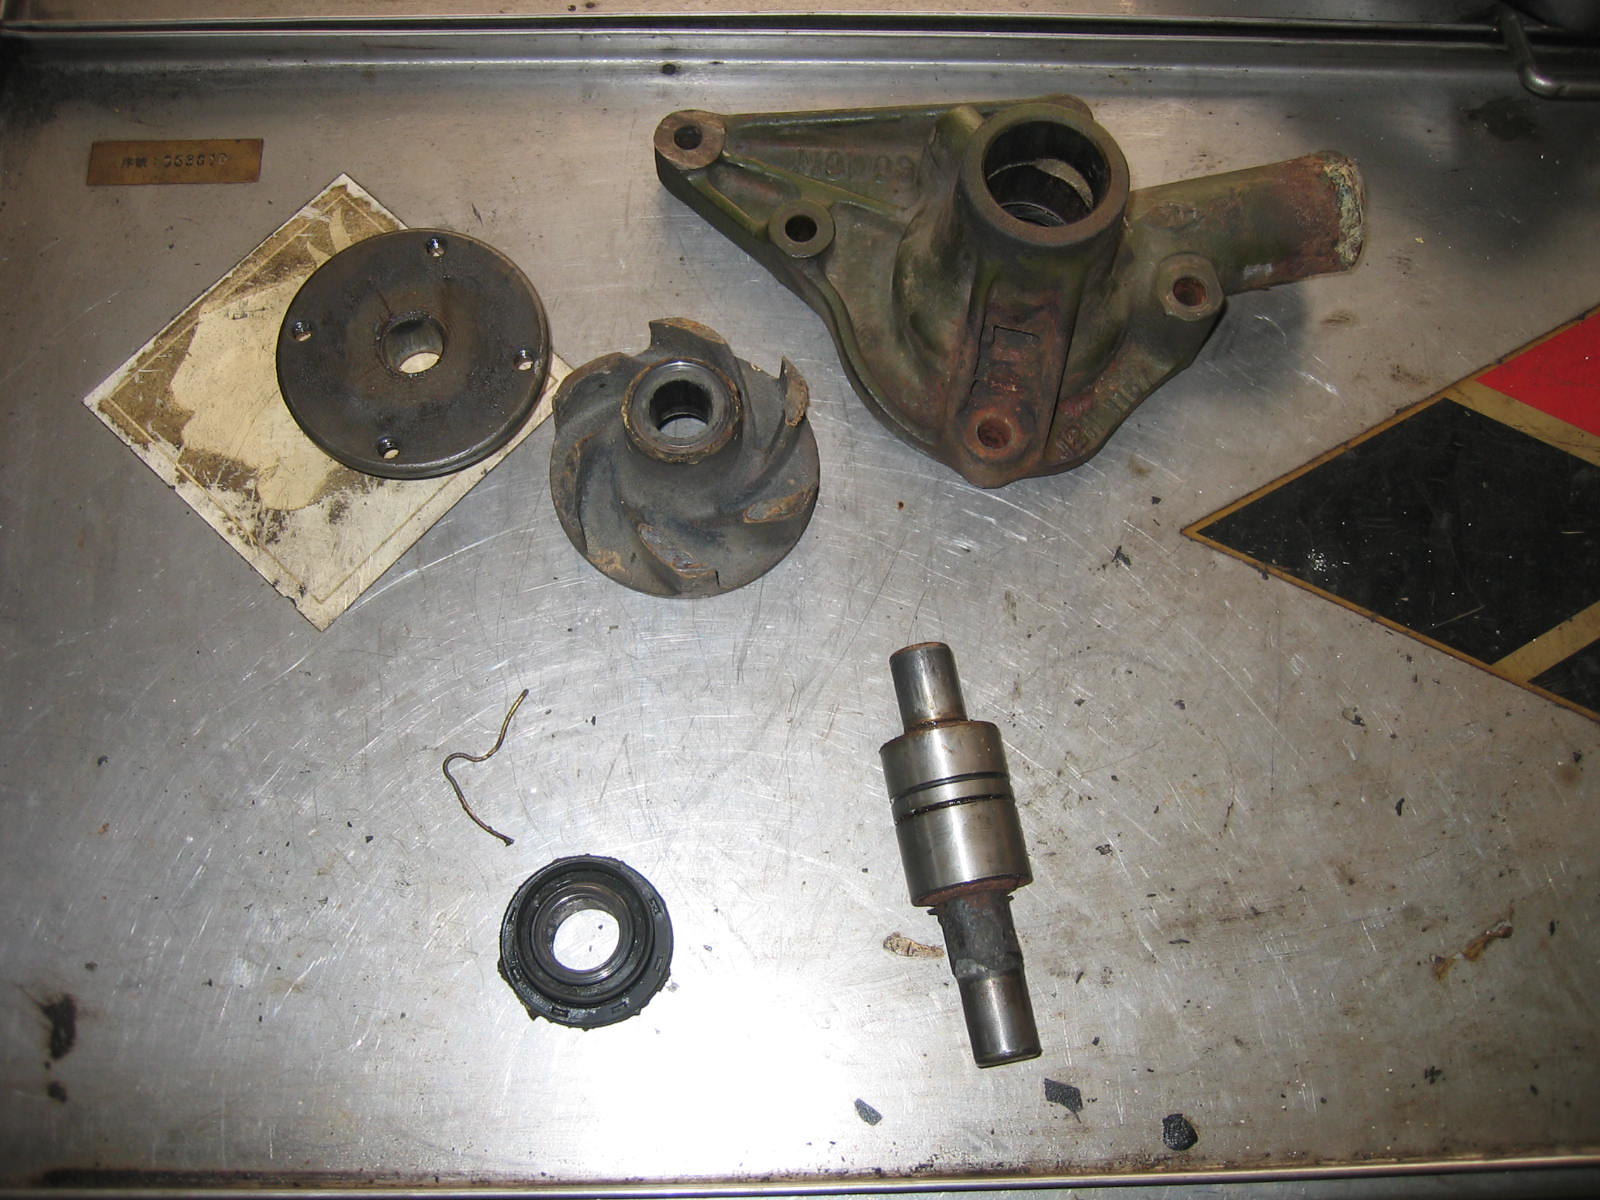 There are just 6 item that can be assembled to be a water pump. Now we have to buy the bearing and the seal. |
|
|
|
Post by Penguin45 on Apr 27, 2015 23:05:33 GMT
Good stuff, Tony. The water pump failed on the Austin just after I got it running again. I did buy a replacement pump for about £28 from MOSS EUROPE. Our cars use what is called the "short nose" pump - it is short because of the radiator being so close to the engine. I was unable to find the bearing and seal to fit ours. Good luck! Chris. |
|
|
|
Post by tony on Apr 28, 2015 2:18:18 GMT
Thanks, Chris. I know there are some easy ways to get a water pump. Sometimes it's very exciting to know how to repair and do it yourself like you have done to your Red Morris. Sometimes the cost of delivery and time have to be taken into account. We are not in a hurry to repair the water pump as we do have a spare one. If needed, I'll contact Tony, UK. Luckily we live in an industrial city and there are some old parts shops that might still store some pieces of components to buy. We have already got the SEAL --- NOK made in Japan, which is quite expensive about 7 GBP. We have been told there is a bearing some people have. We went to one of them last evening after work. We know it will have to be modified as it is too longer somewhere. We didn't buy it as it's too expensive than the seal's price, which shouldn't be. It used to cost about 2 or 3 GBP , made in USA is the best here. All prices have gone up, strange??? If we don't buy it, how can it be gone in the future? We still store some bearings and seals for the water pumps of some other vehicles like old USA vehicles. These bearings were given by an old part shop without any penny. Because there were few chances to sell them. Vehicles have been changed recently. Now the shop just sells Volvo parts. 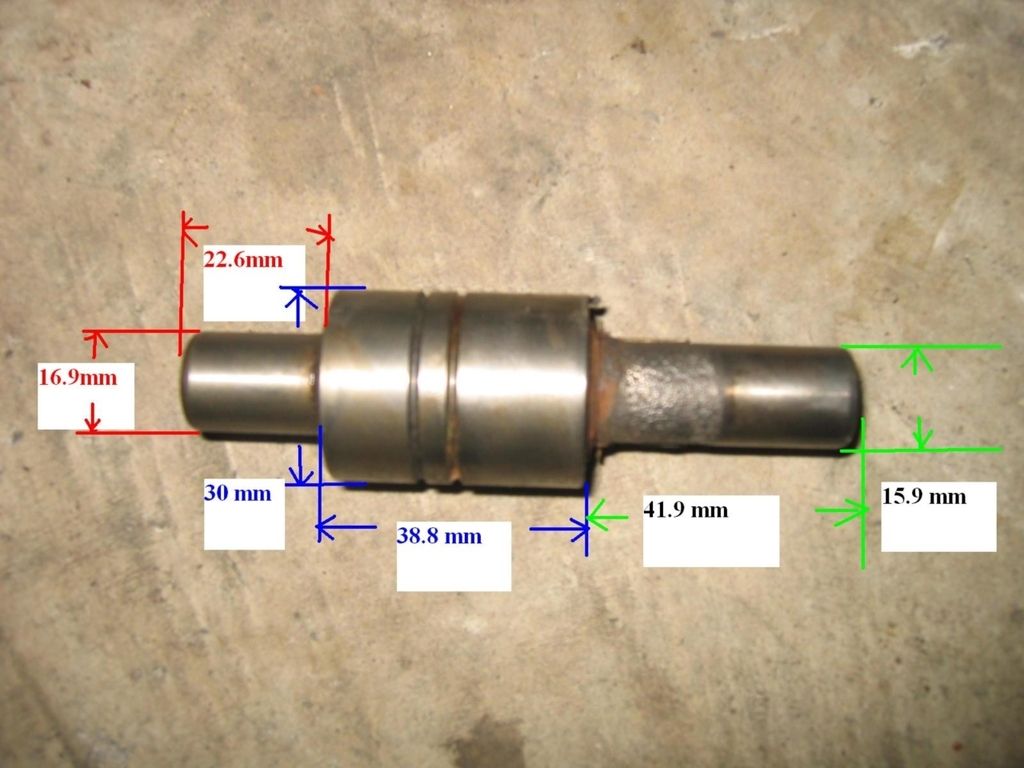 The picture shows the figures of the bearing. --- Sorry. I lost it. Regards Tony Good stuff, Tony. The water pump failed on the Austin just after I got it running again. I did buy a replacement pump for about £28 from MOSS EUROPE. Our cars use what is called the "short nose" pump - it is short because of the radiator being so close to the engine. I was unable to find the bearing and seal to fit ours. Good luck! Chris. |
|
|
|
Post by tony on Apr 28, 2015 7:33:40 GMT
We finally got the new bearing (USA )and seal, also took the impeller to a special equipment shop to deal with the surface of it. which didn't charge us for it. 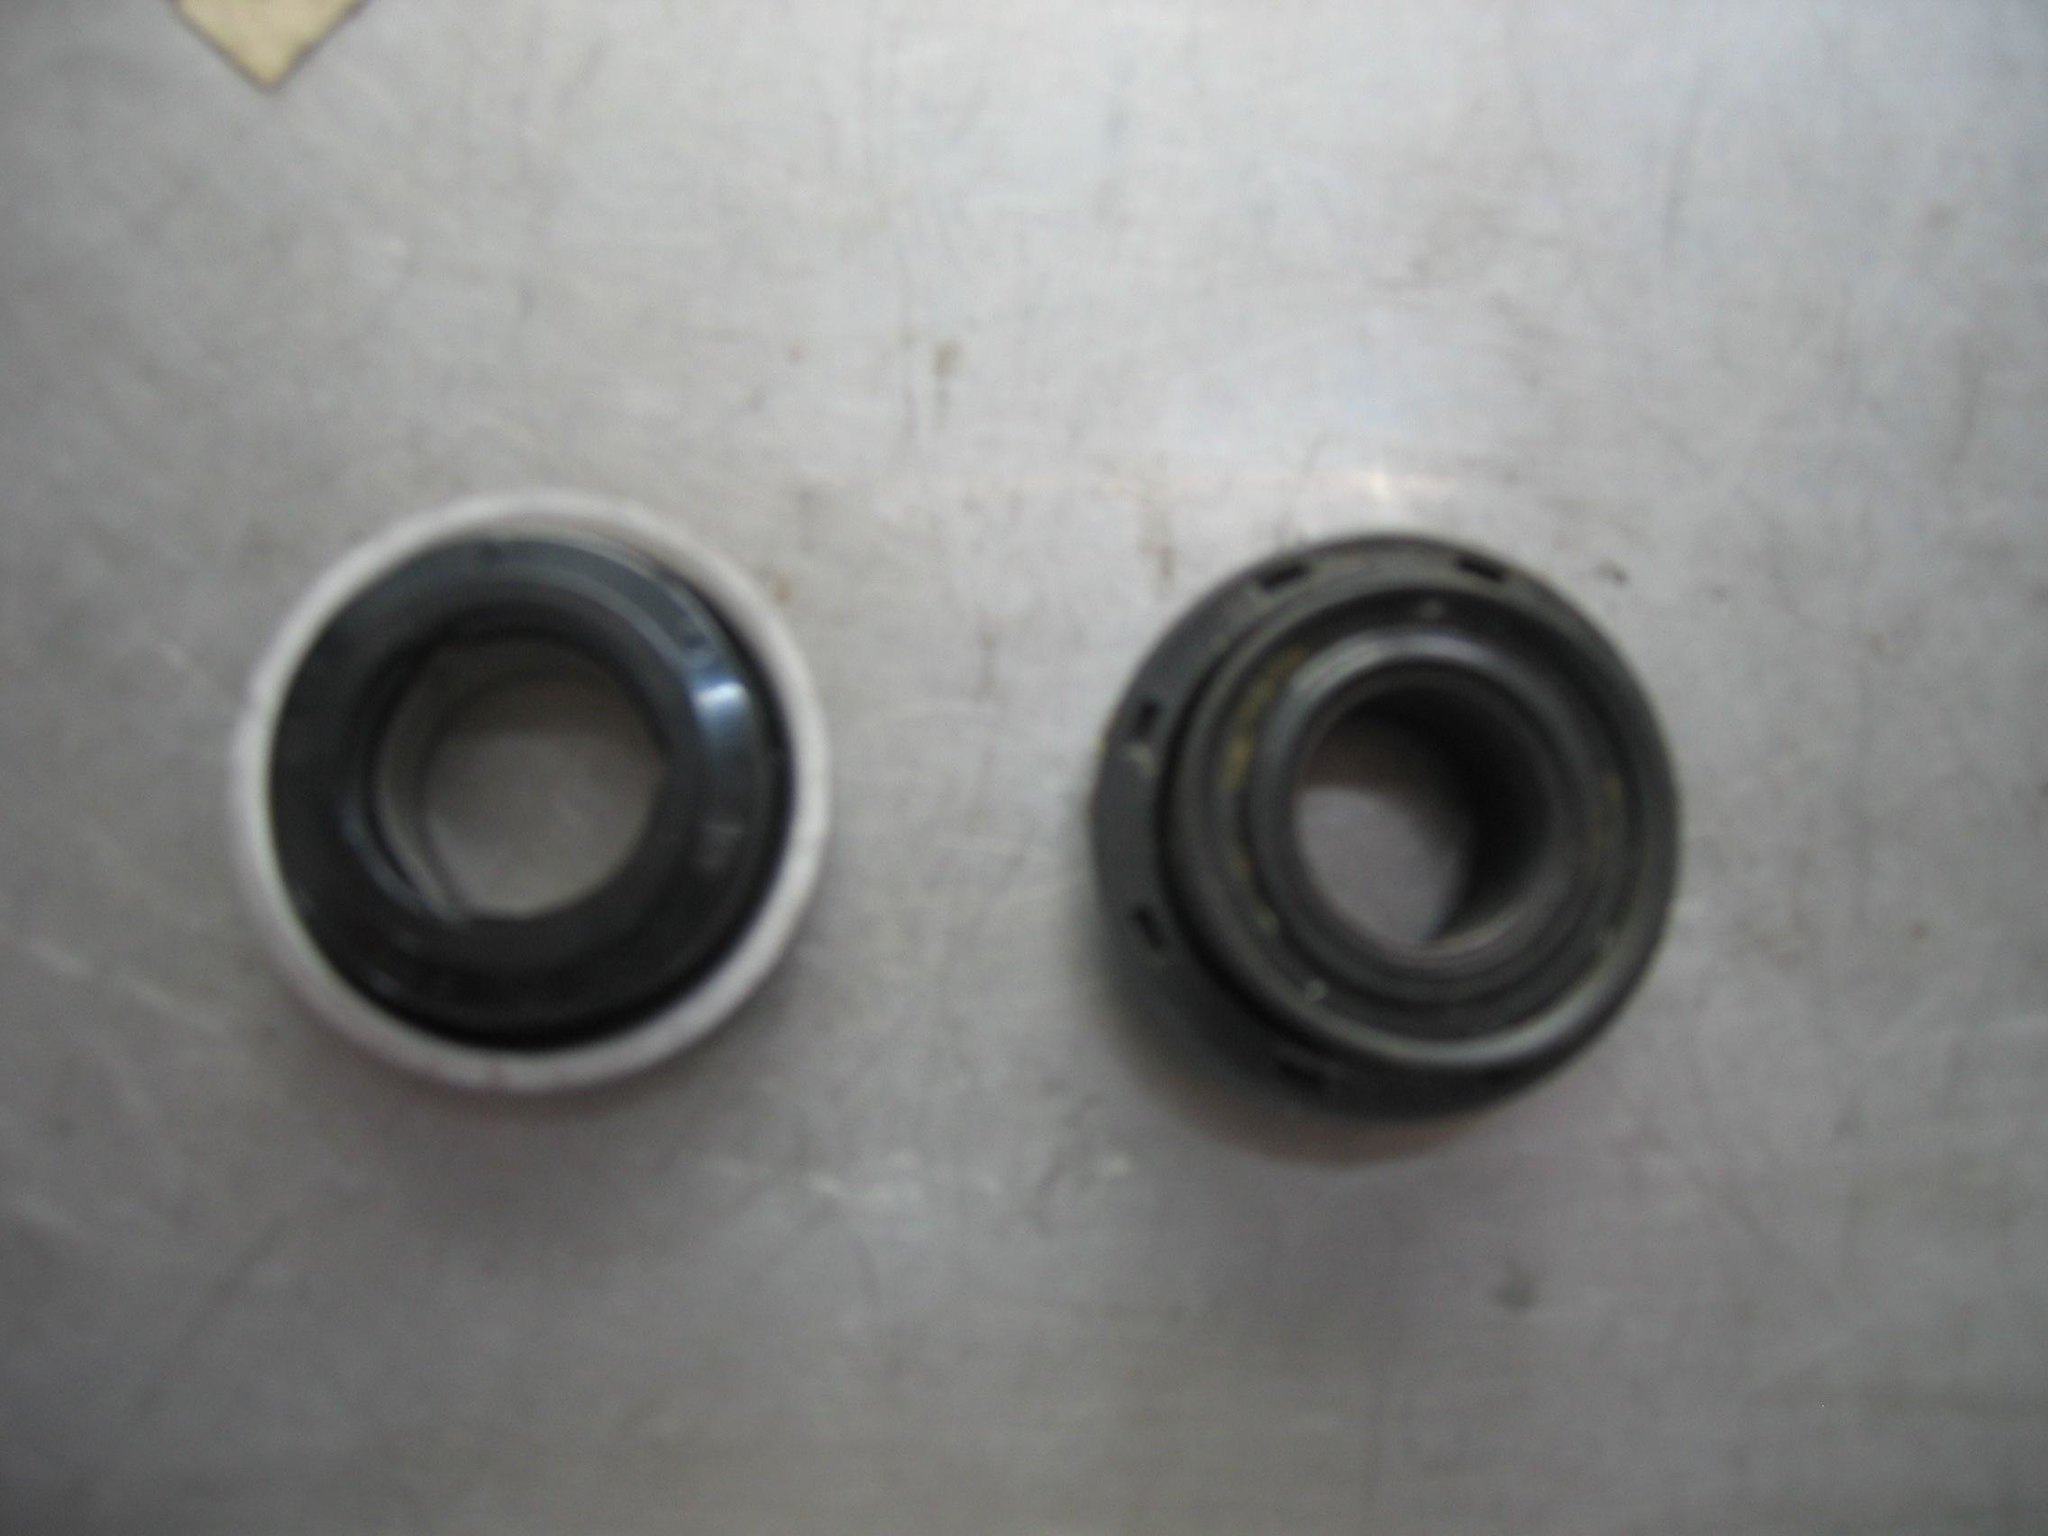 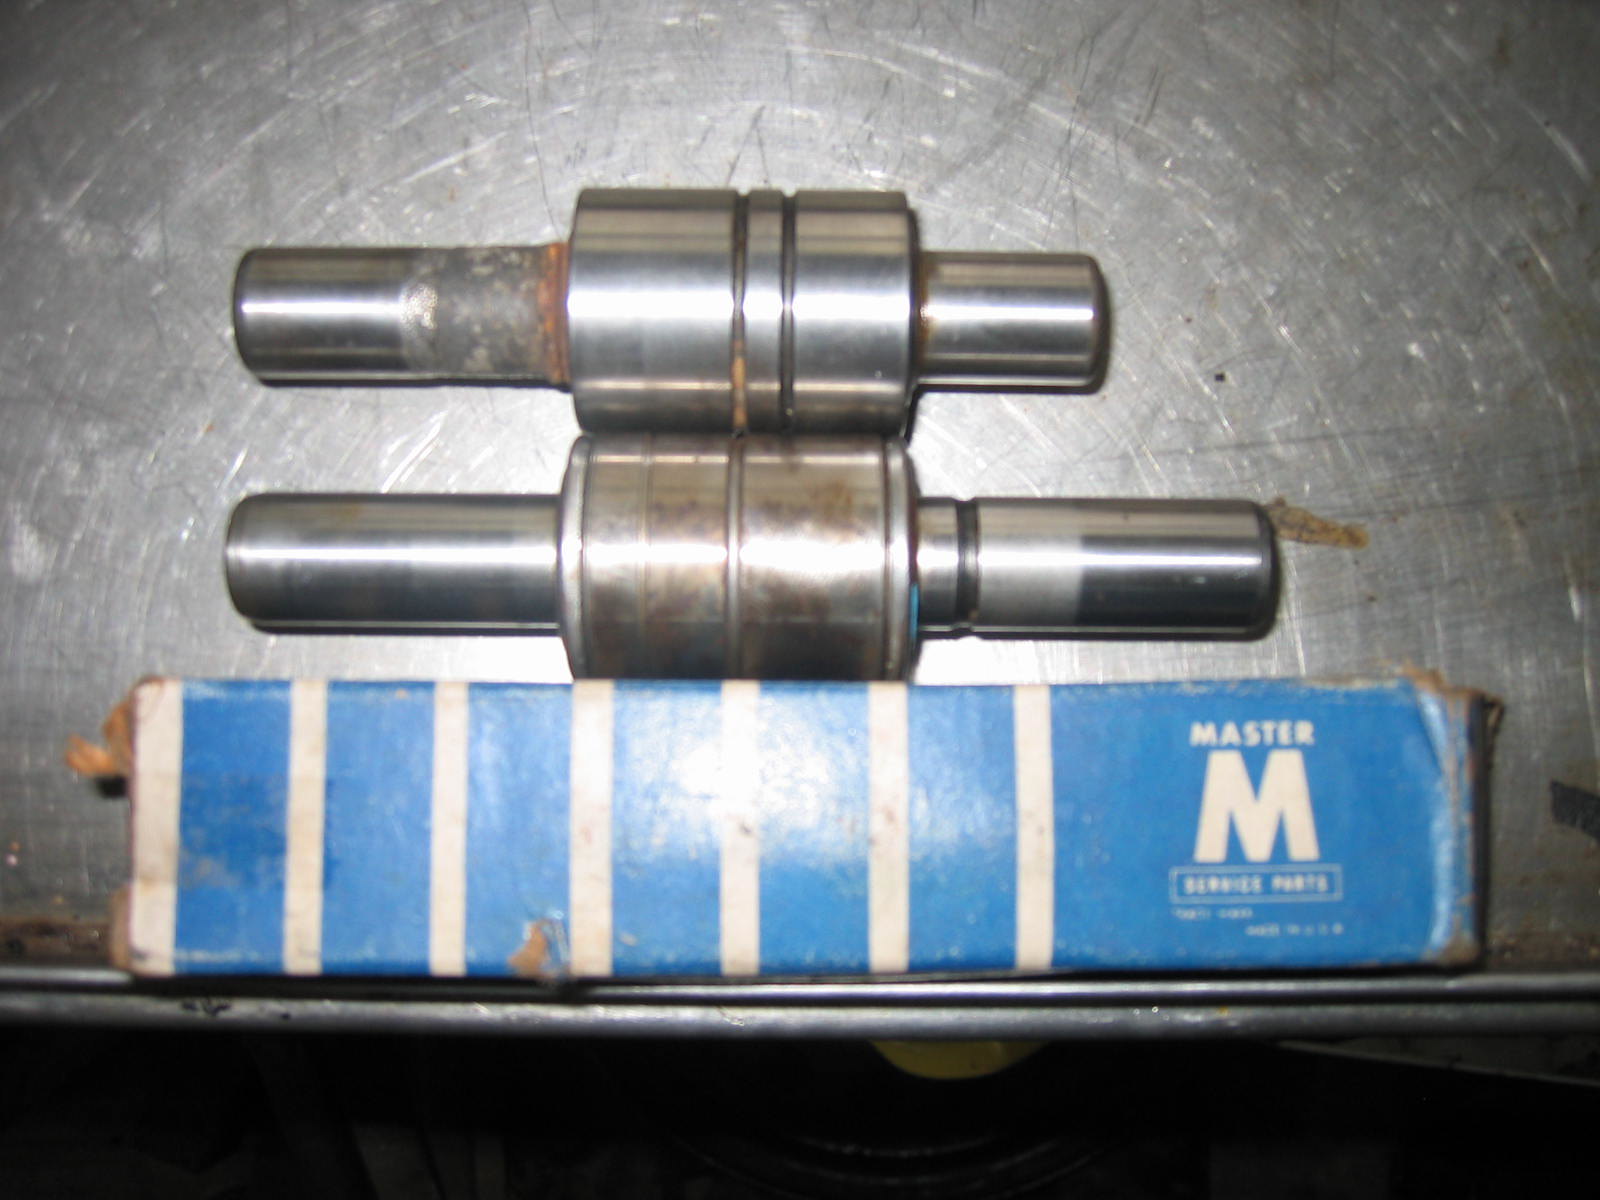 New bearing --- USA part, Master Service Parts, No: WP1060 B. 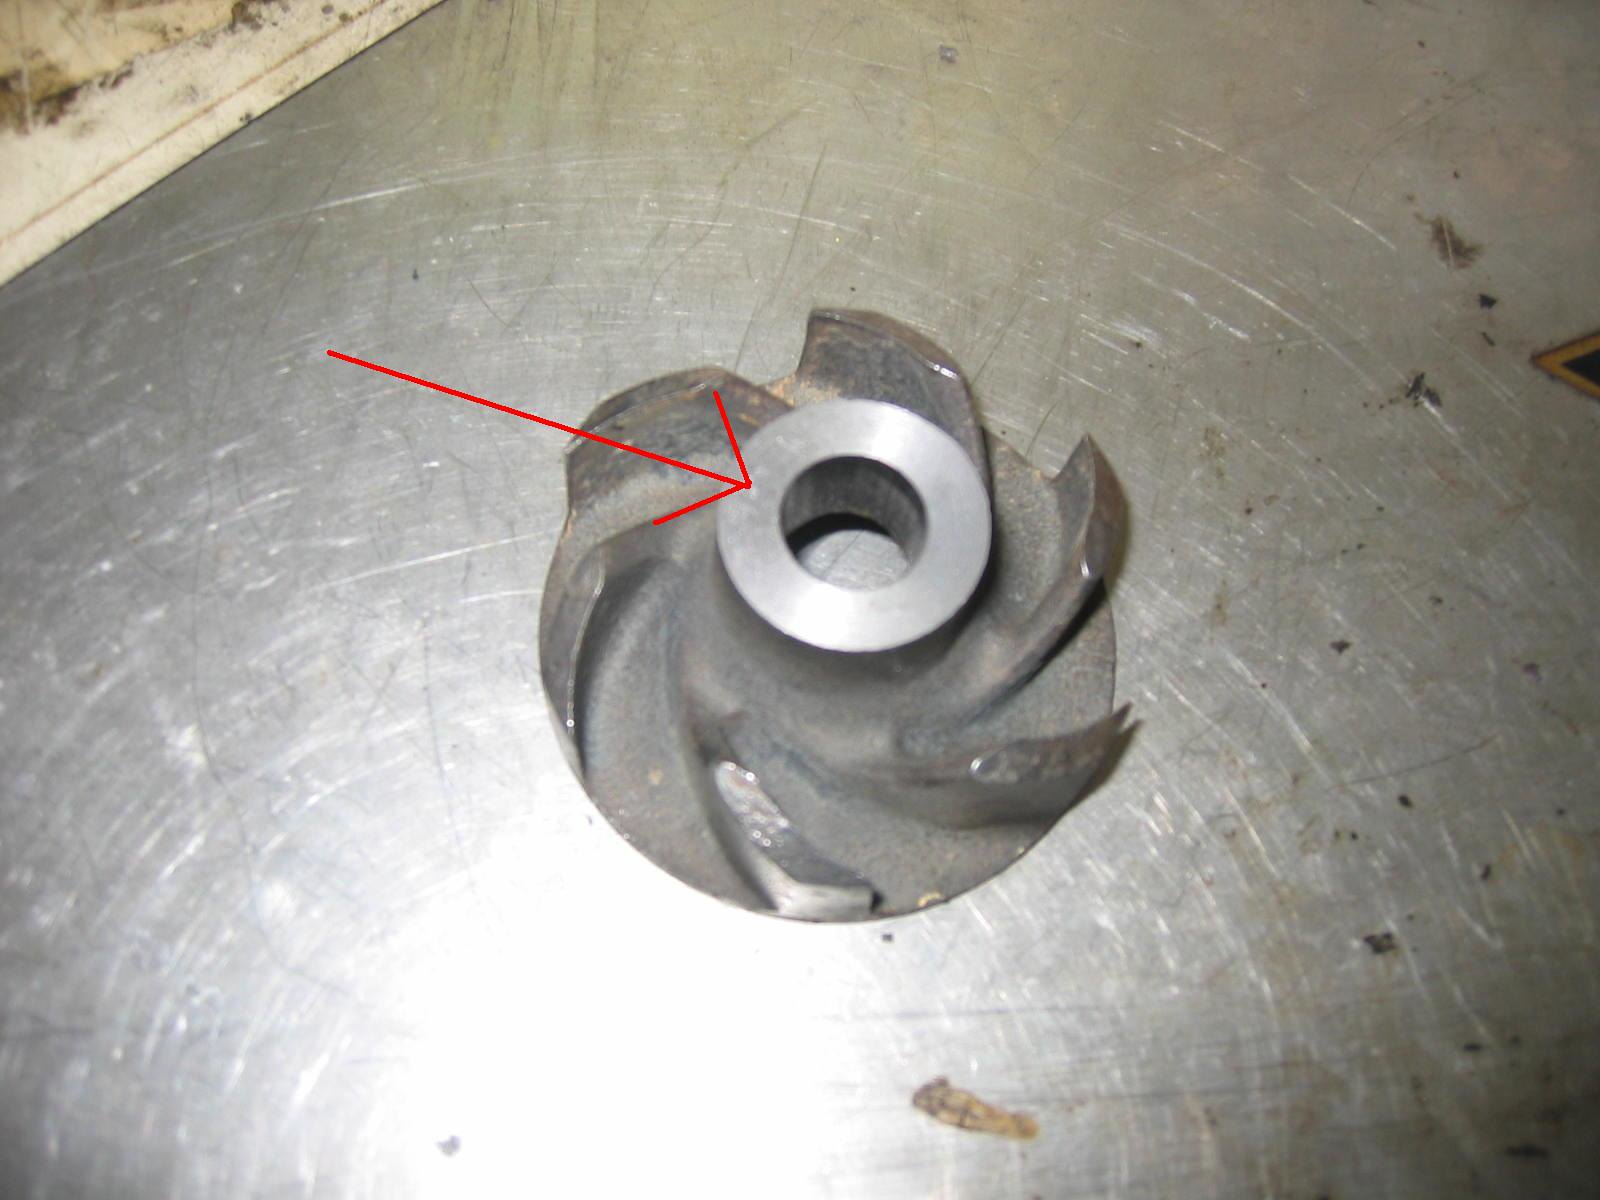 The surface of impeller had to be dealt with as it was uneven, but DO NOT do it too much! See previous picture. 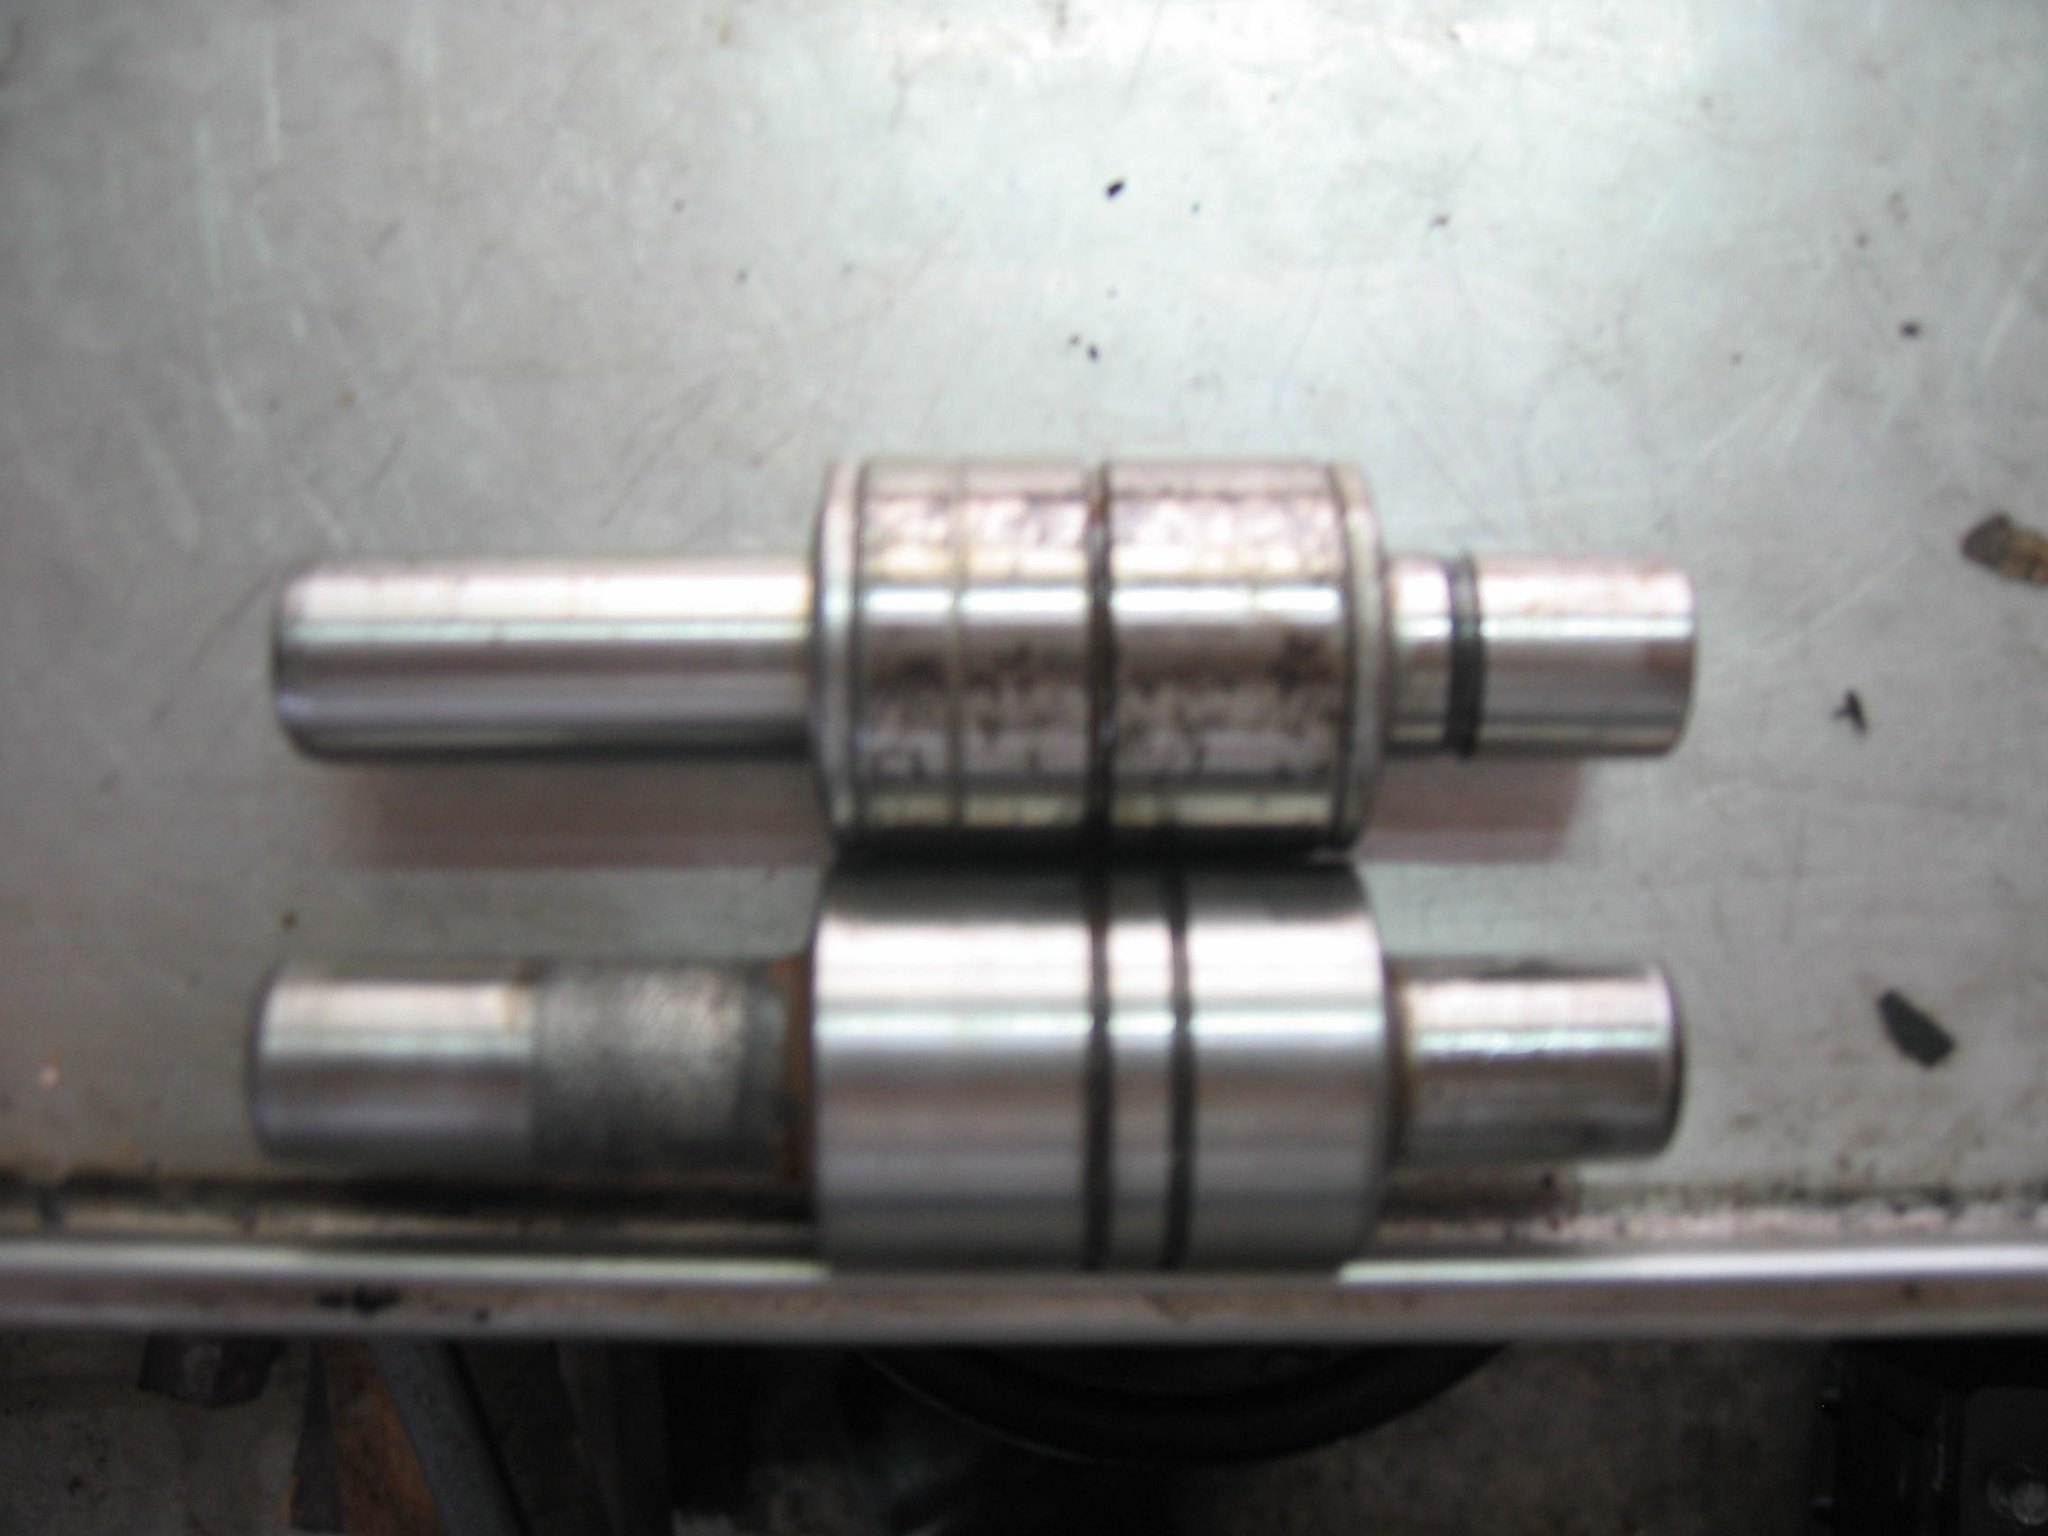 Father cut some piece of the NEW bearing off to be the same as the old one. 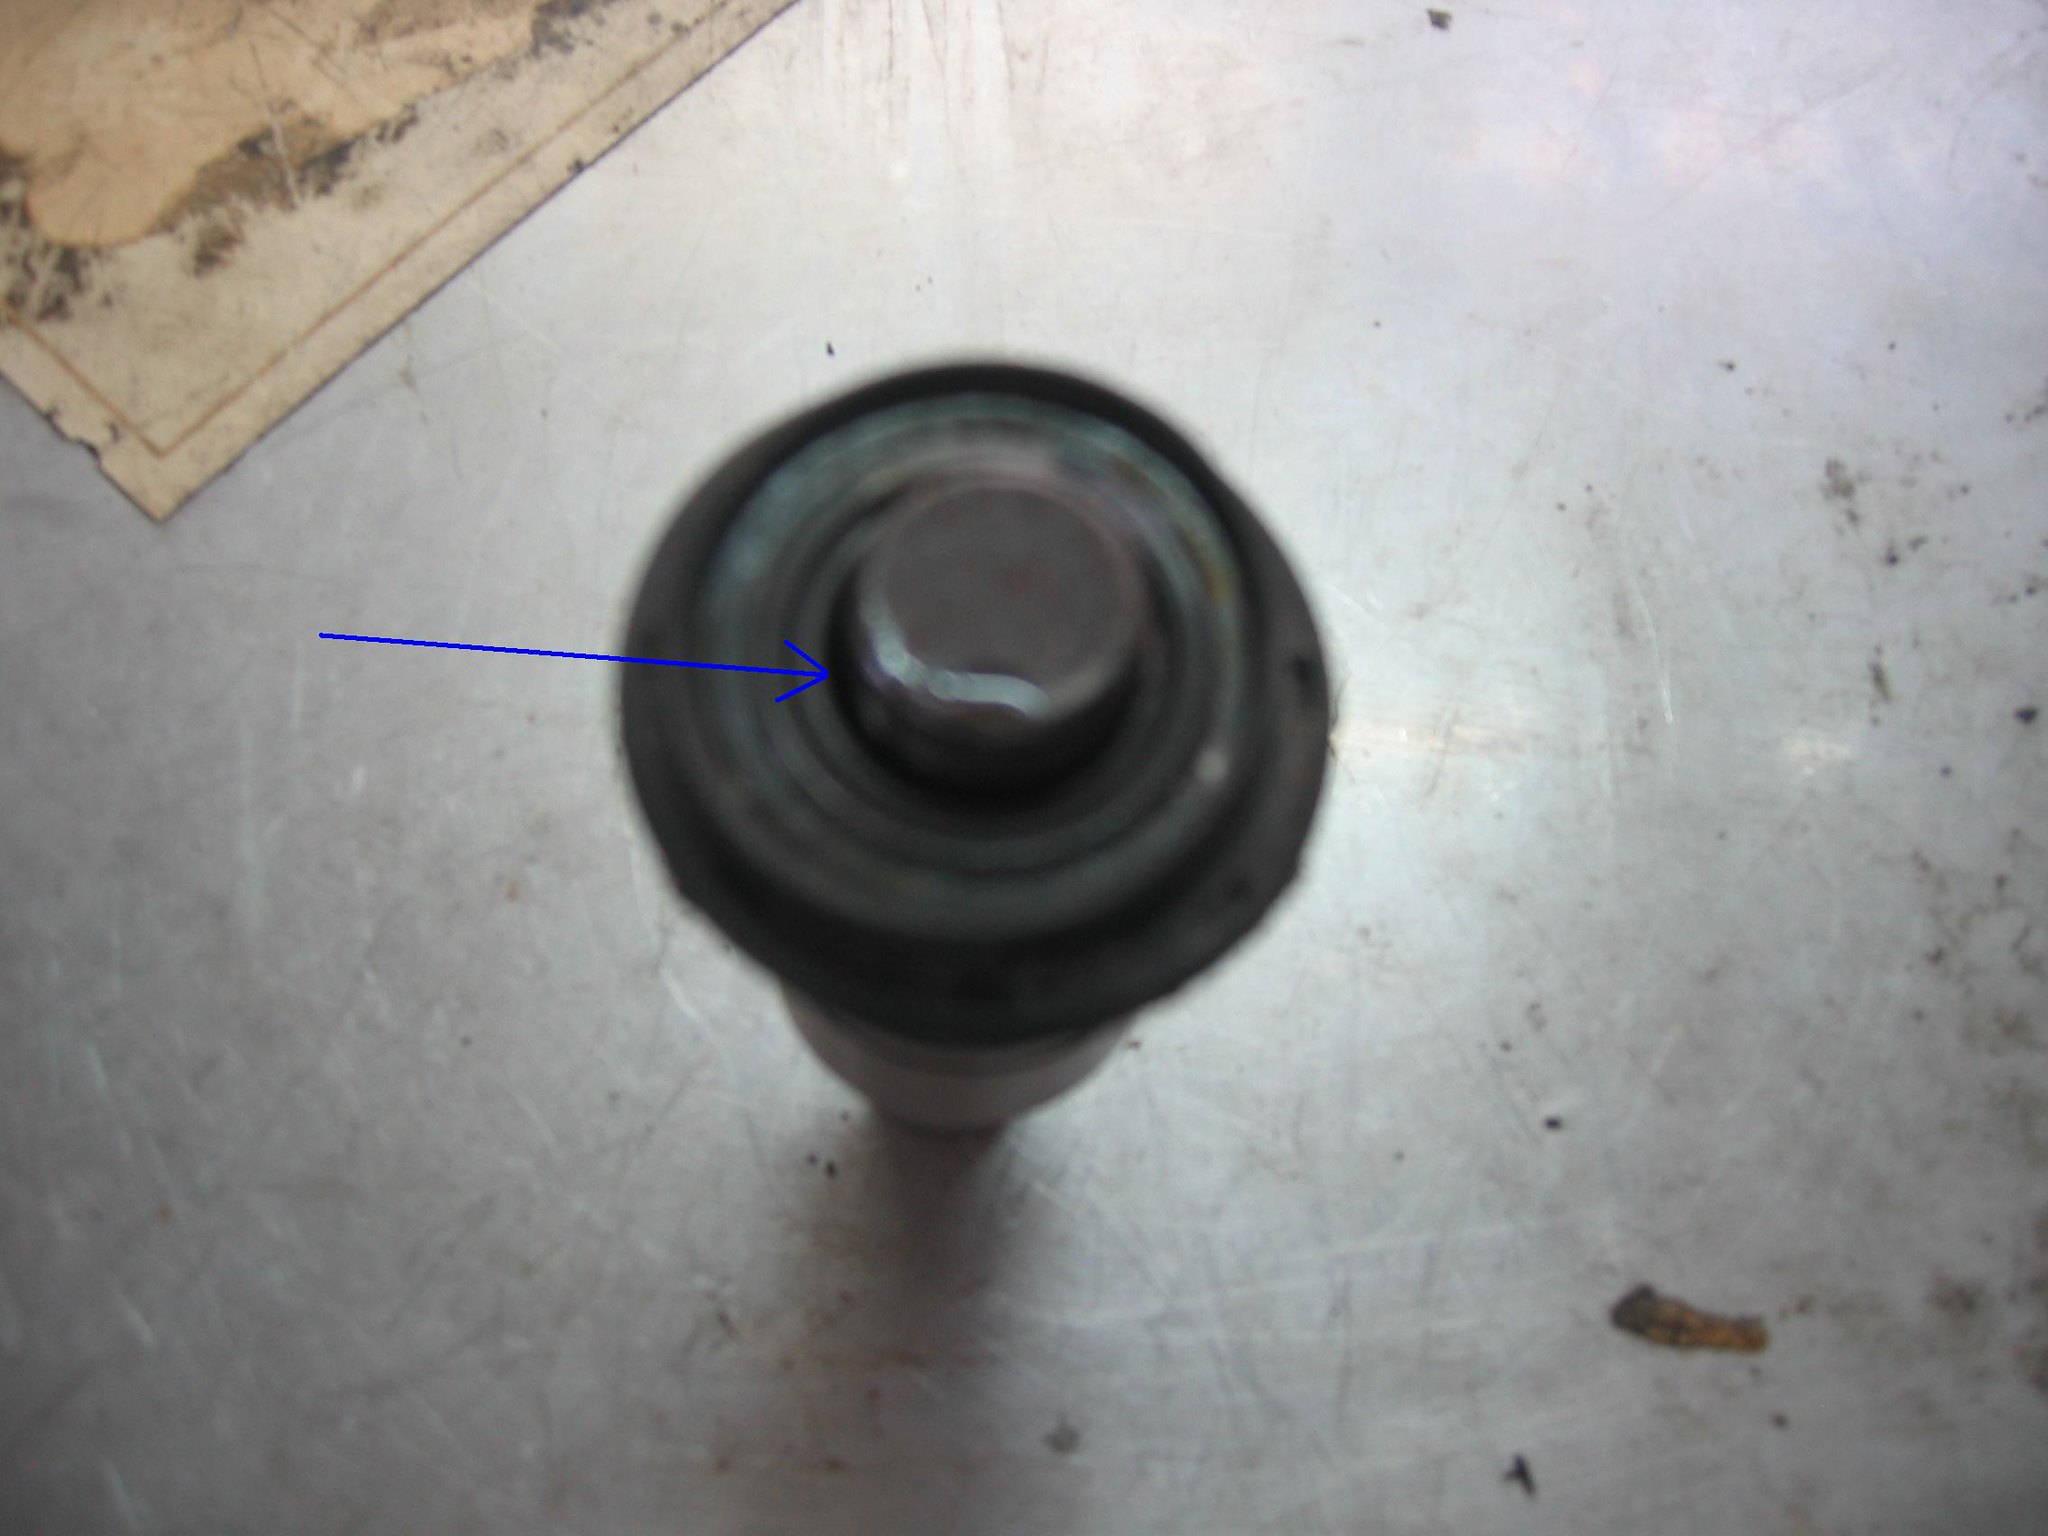 You see there is a little bit gap here, which WON'T make the washer stay at the central position after you install it. That means if it will be moving like vibration when the pump is running. The result will be the damage to the two surfaces between the seal and washer. The old one got the same gap, but there were 2 pieces of parts to make the washer stay right. See the next picture below the two pieces the right button. 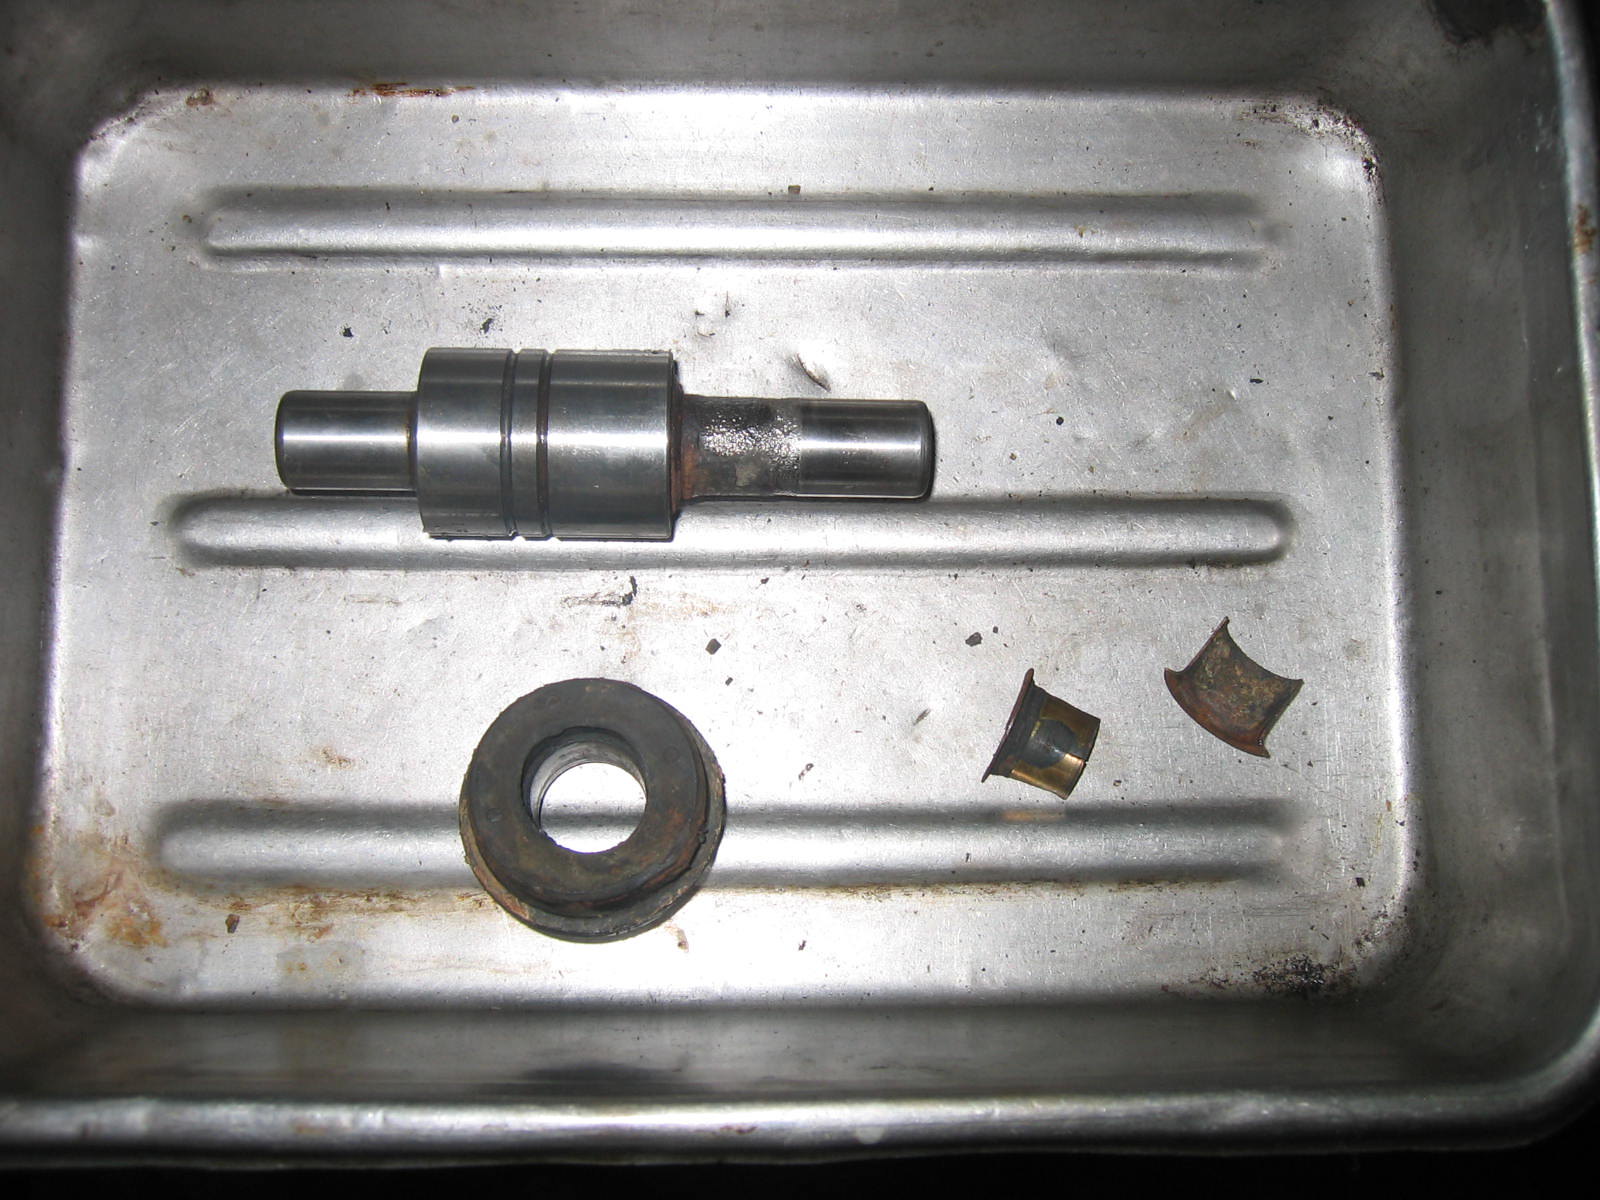 This time we didn't use them --- the 2 pieces ( the right at the button ) Time to assemble the water pump together! 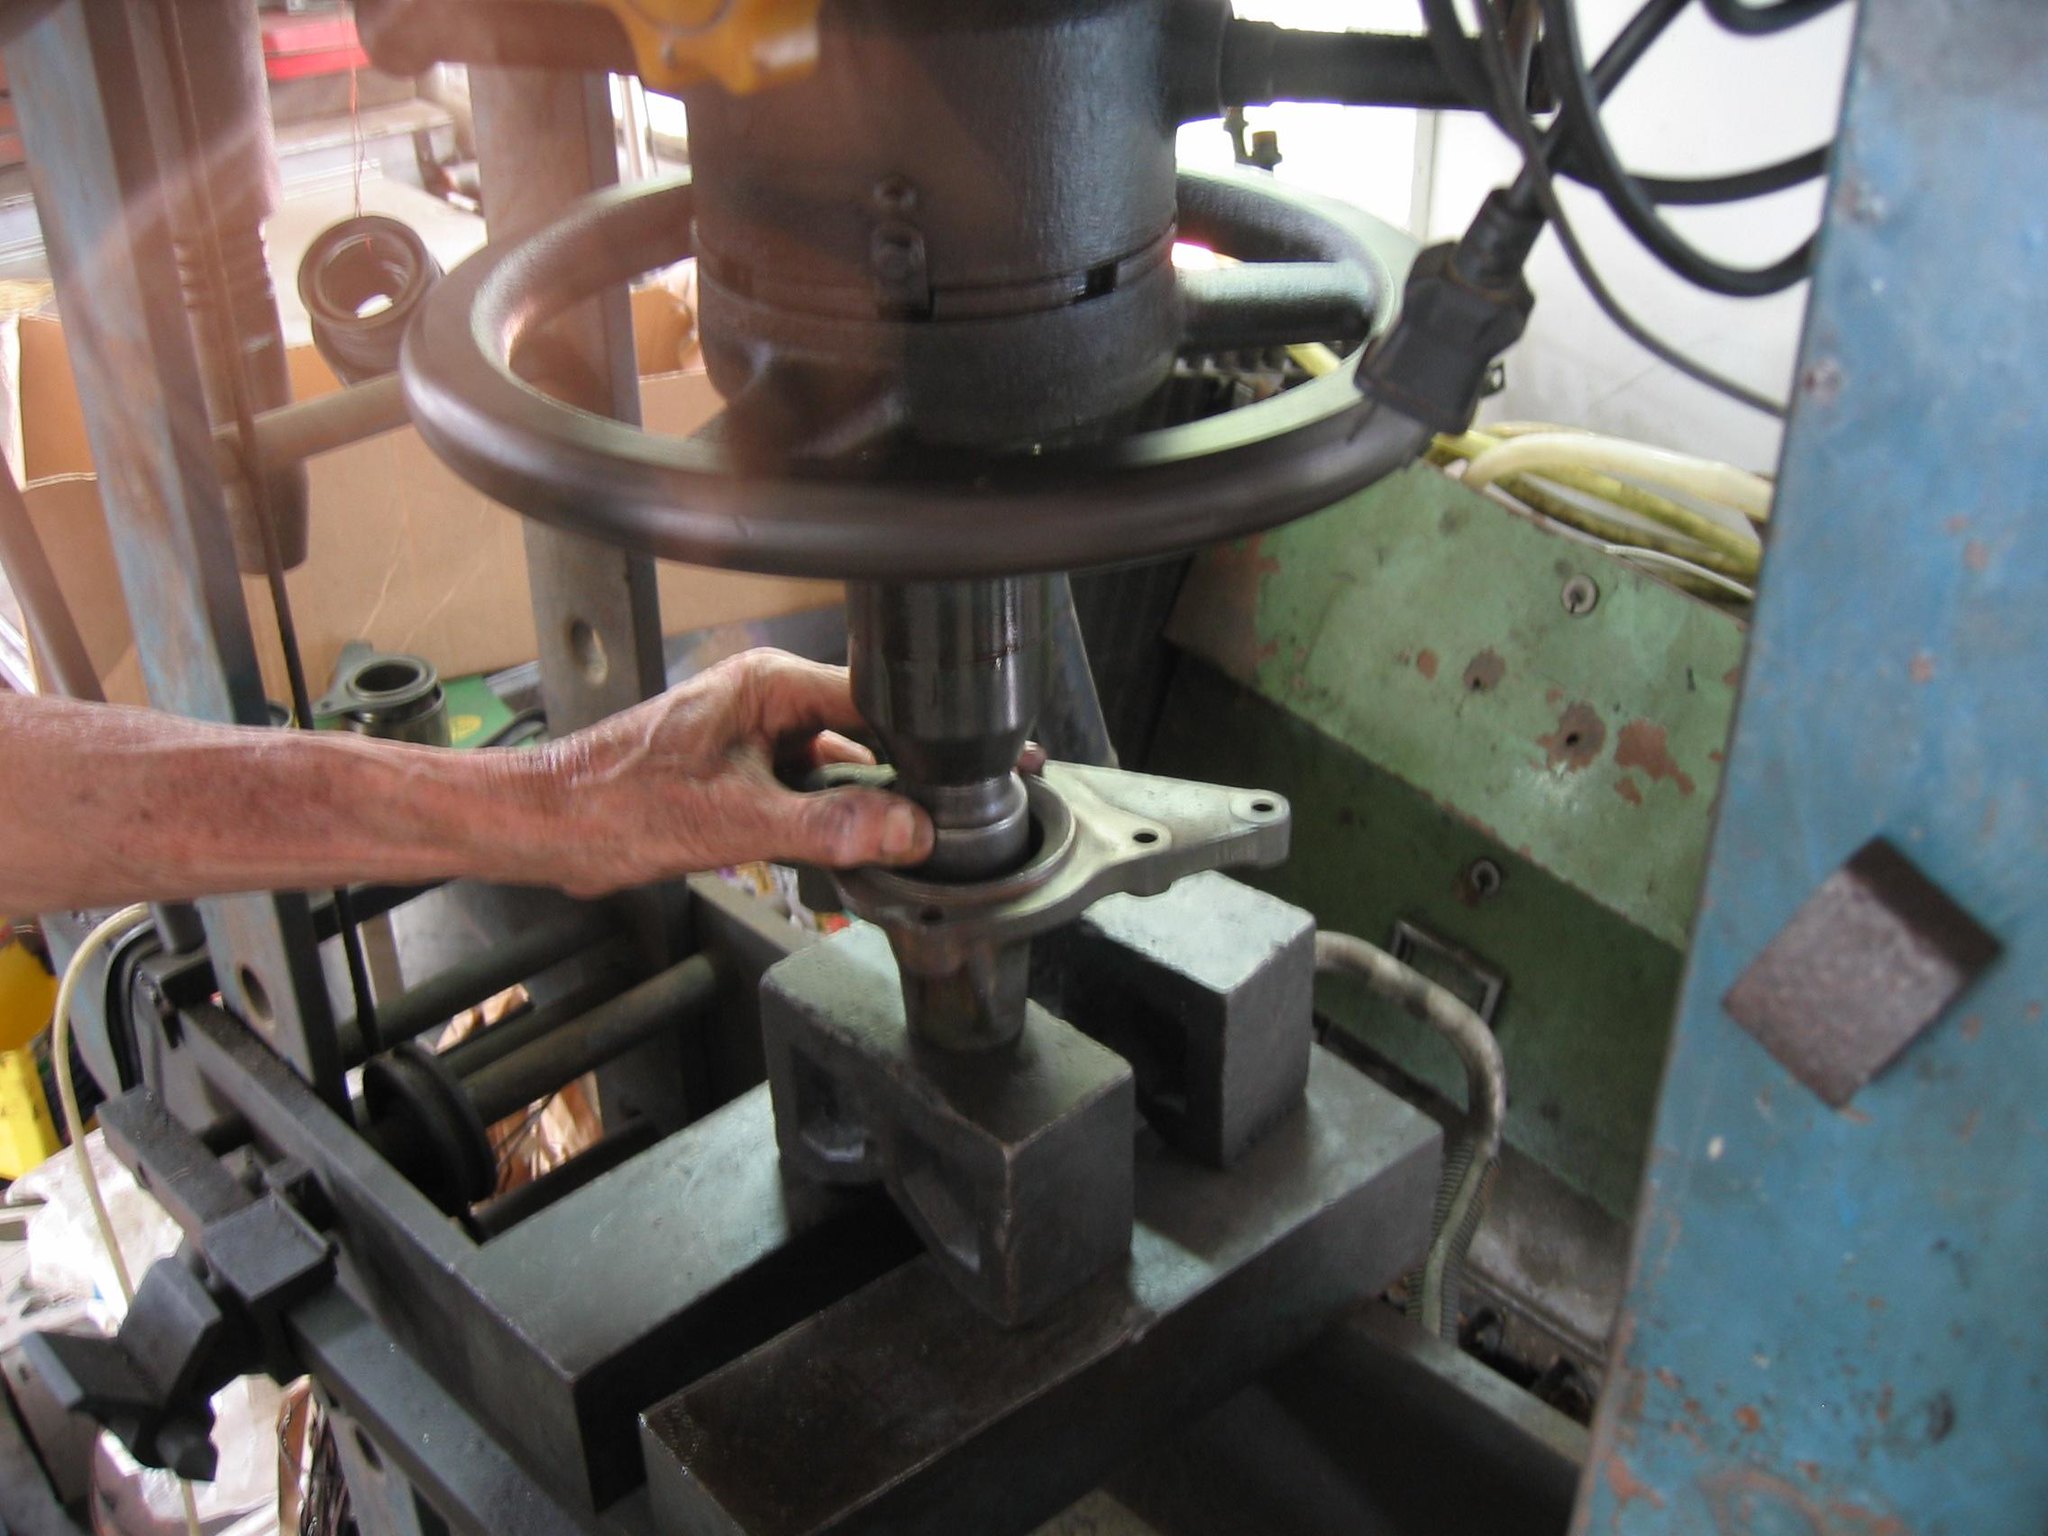 Install the seal to its position by using pressing machine. 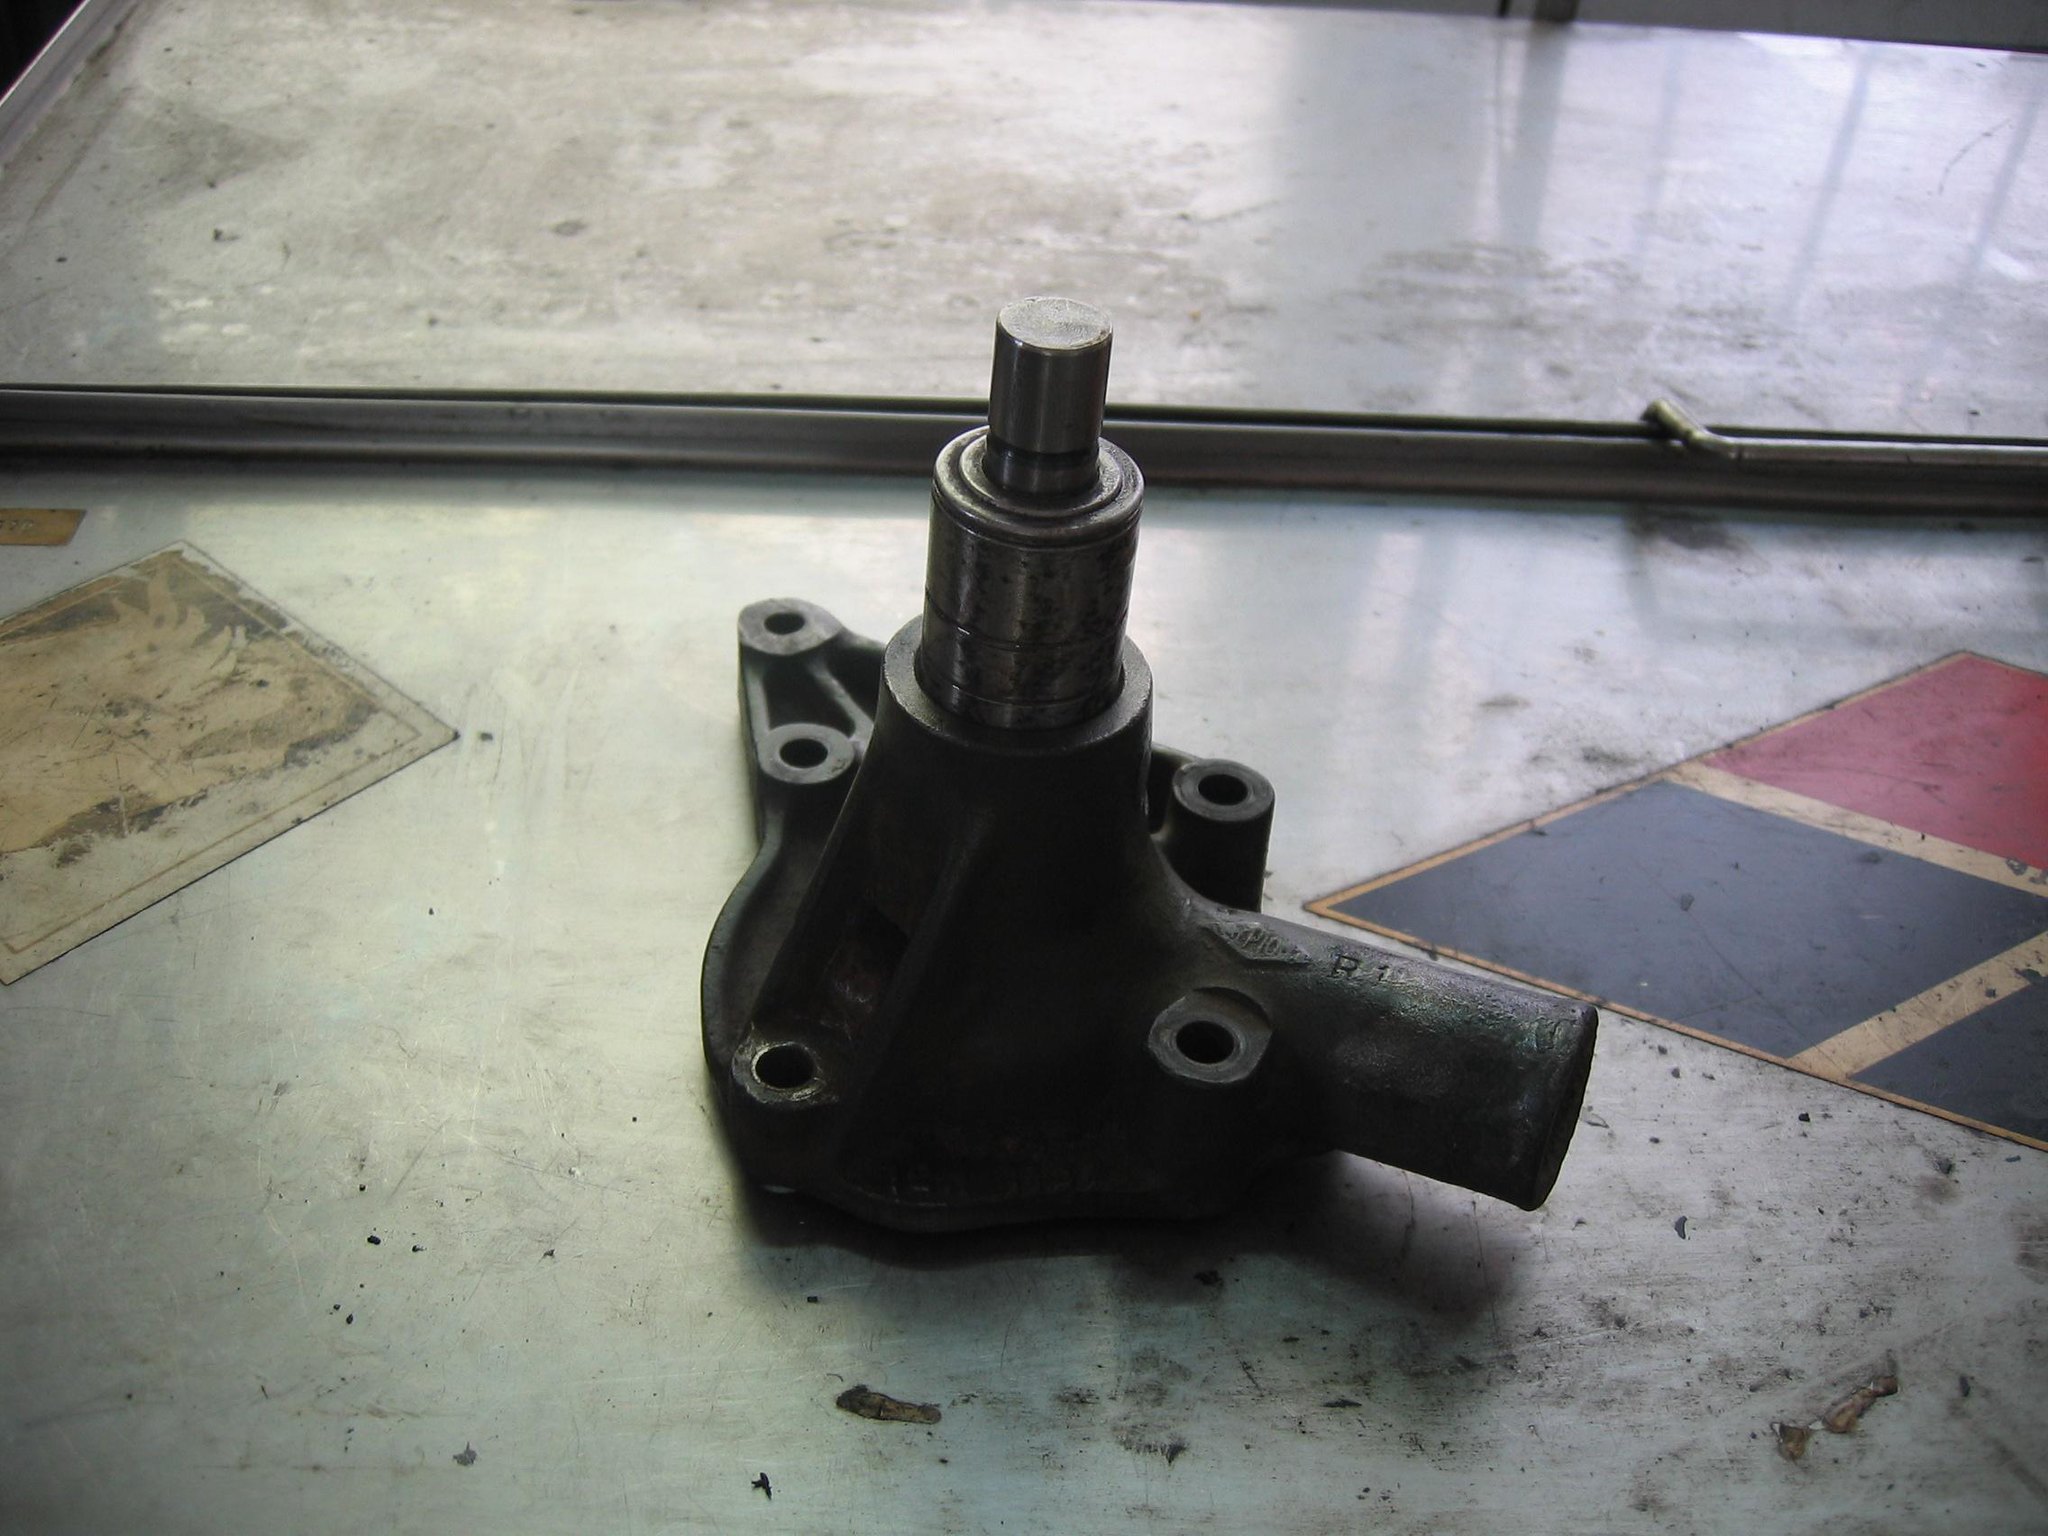 And then the bearing, use a copper hammer to slightly hit it in order to make sure it has gone at the right angle. 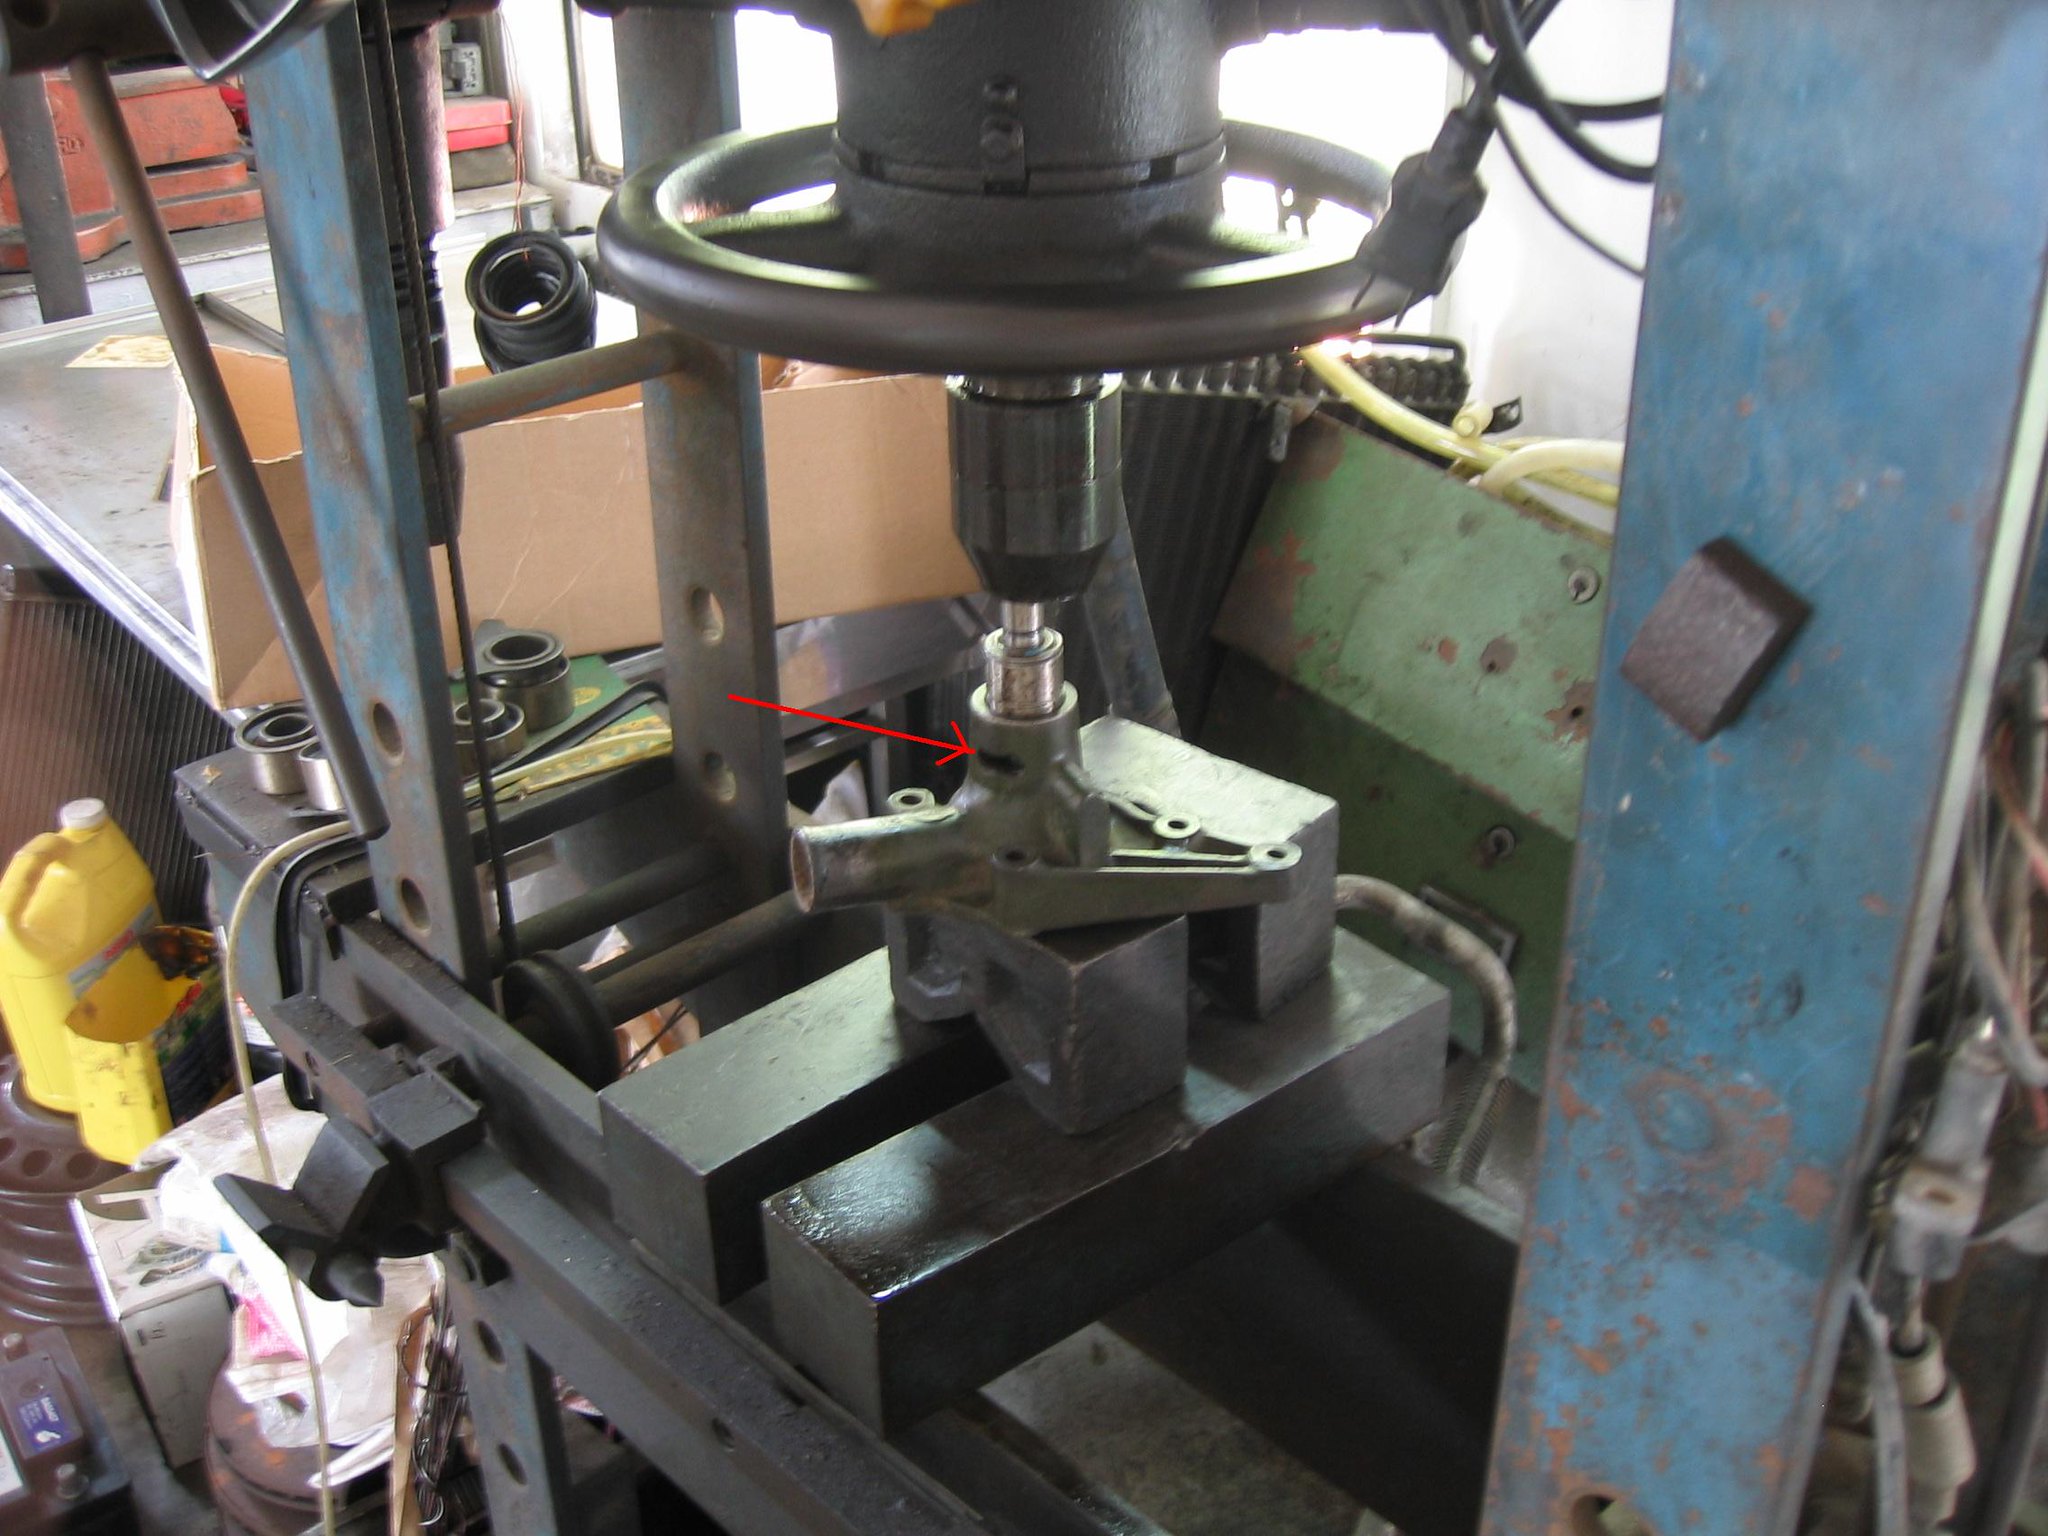 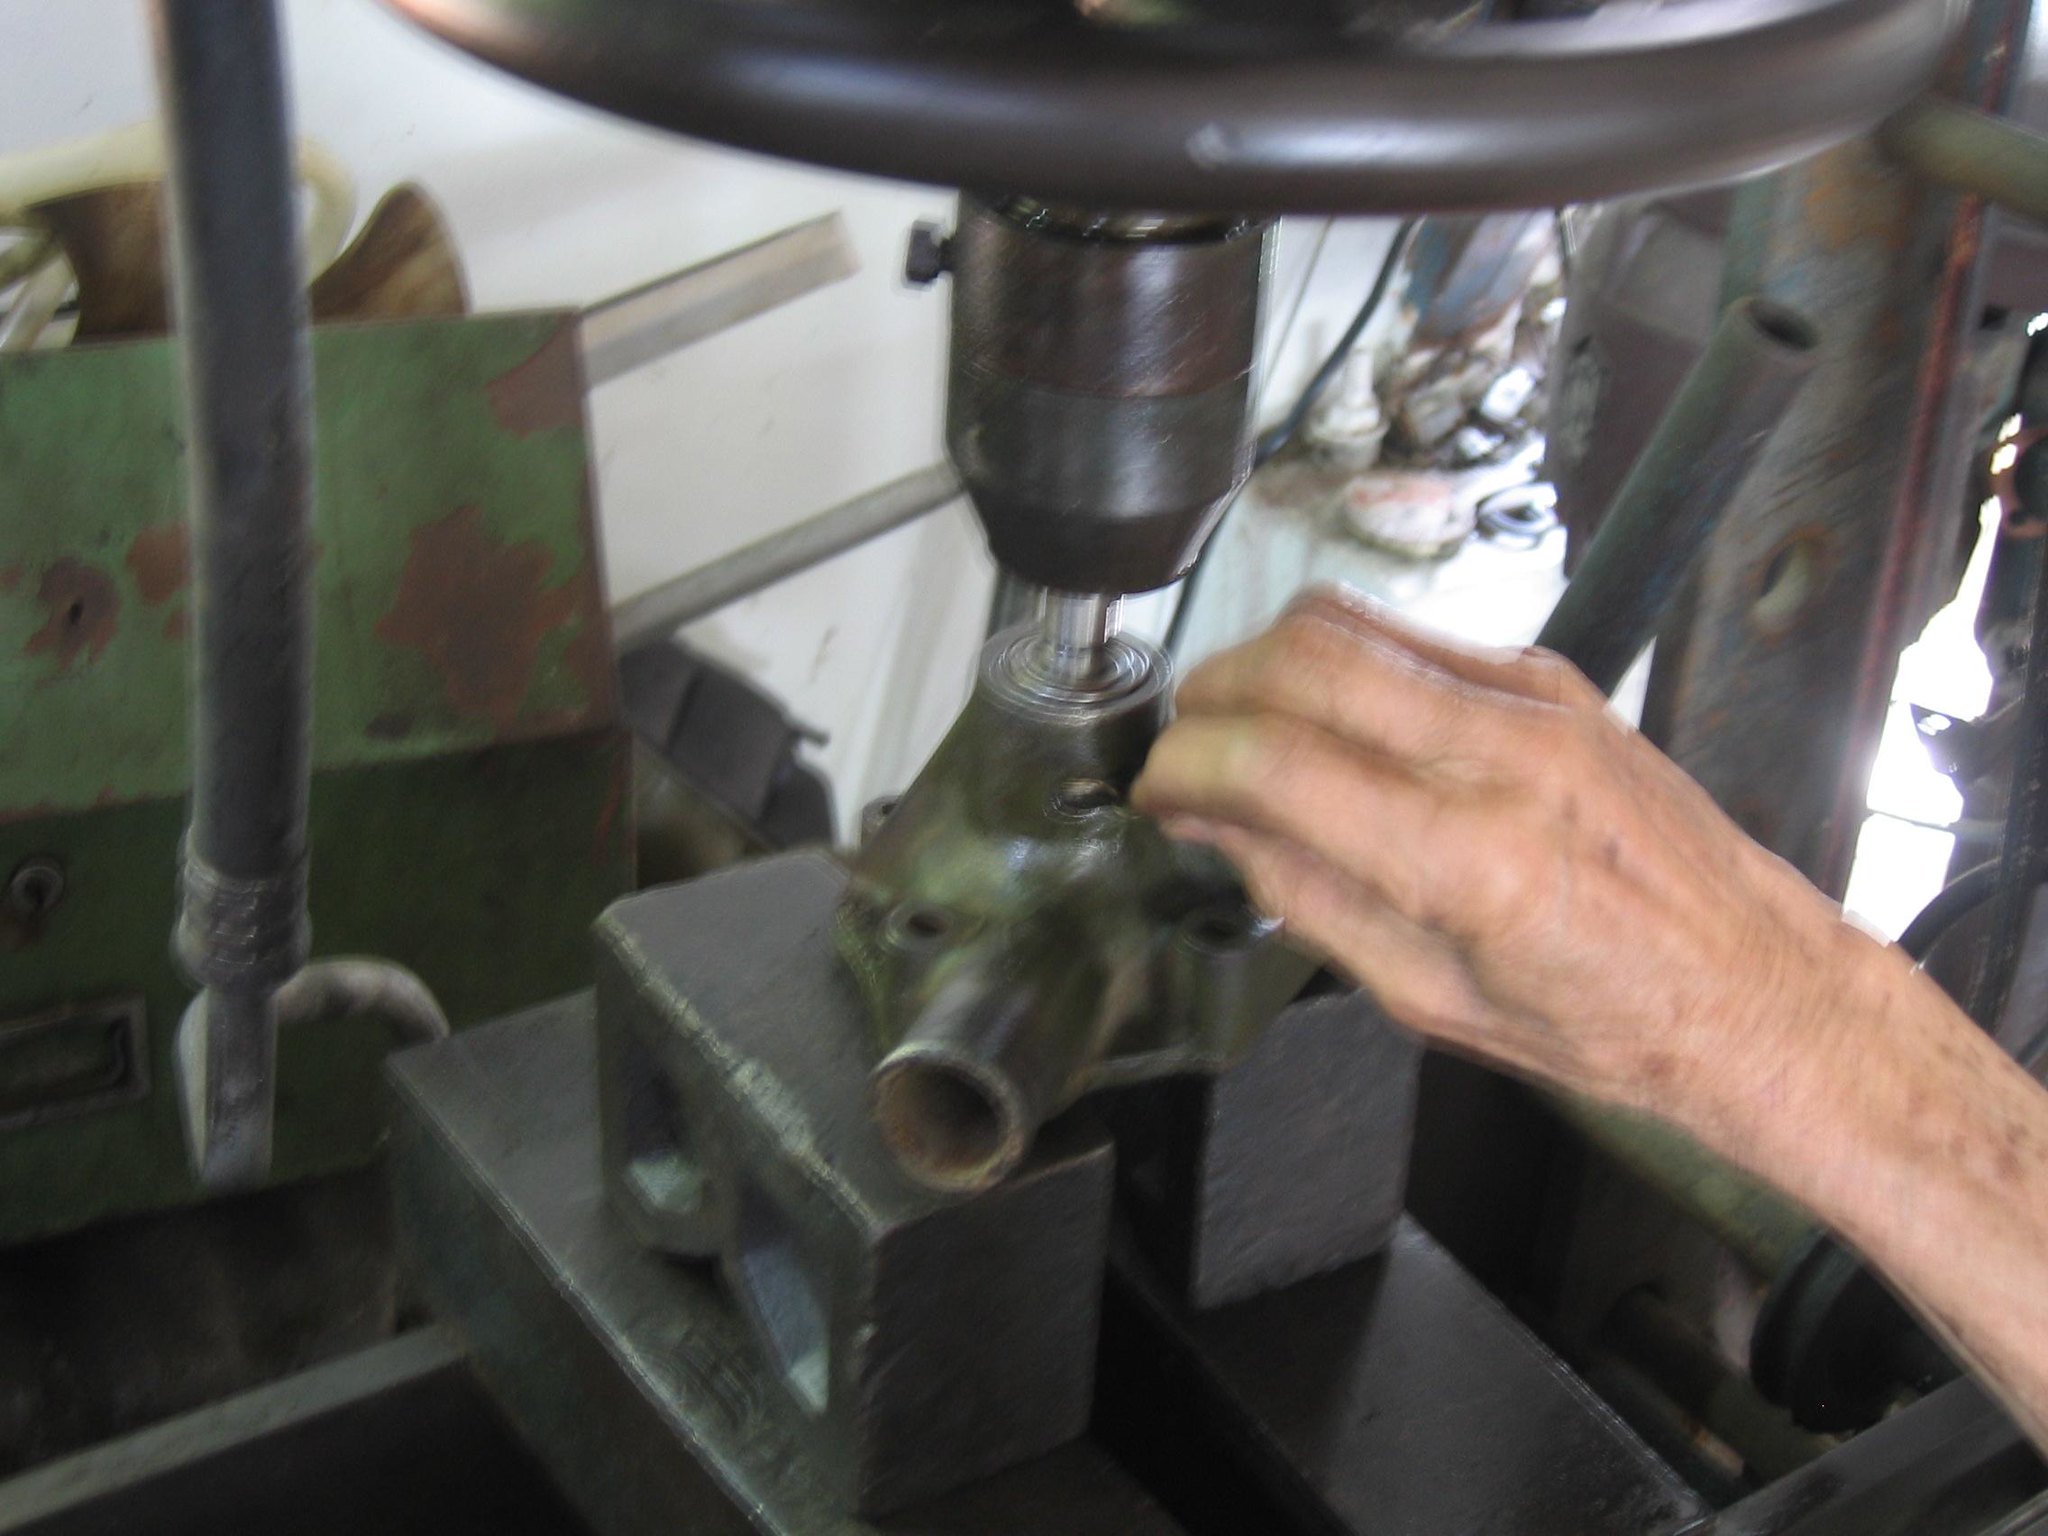 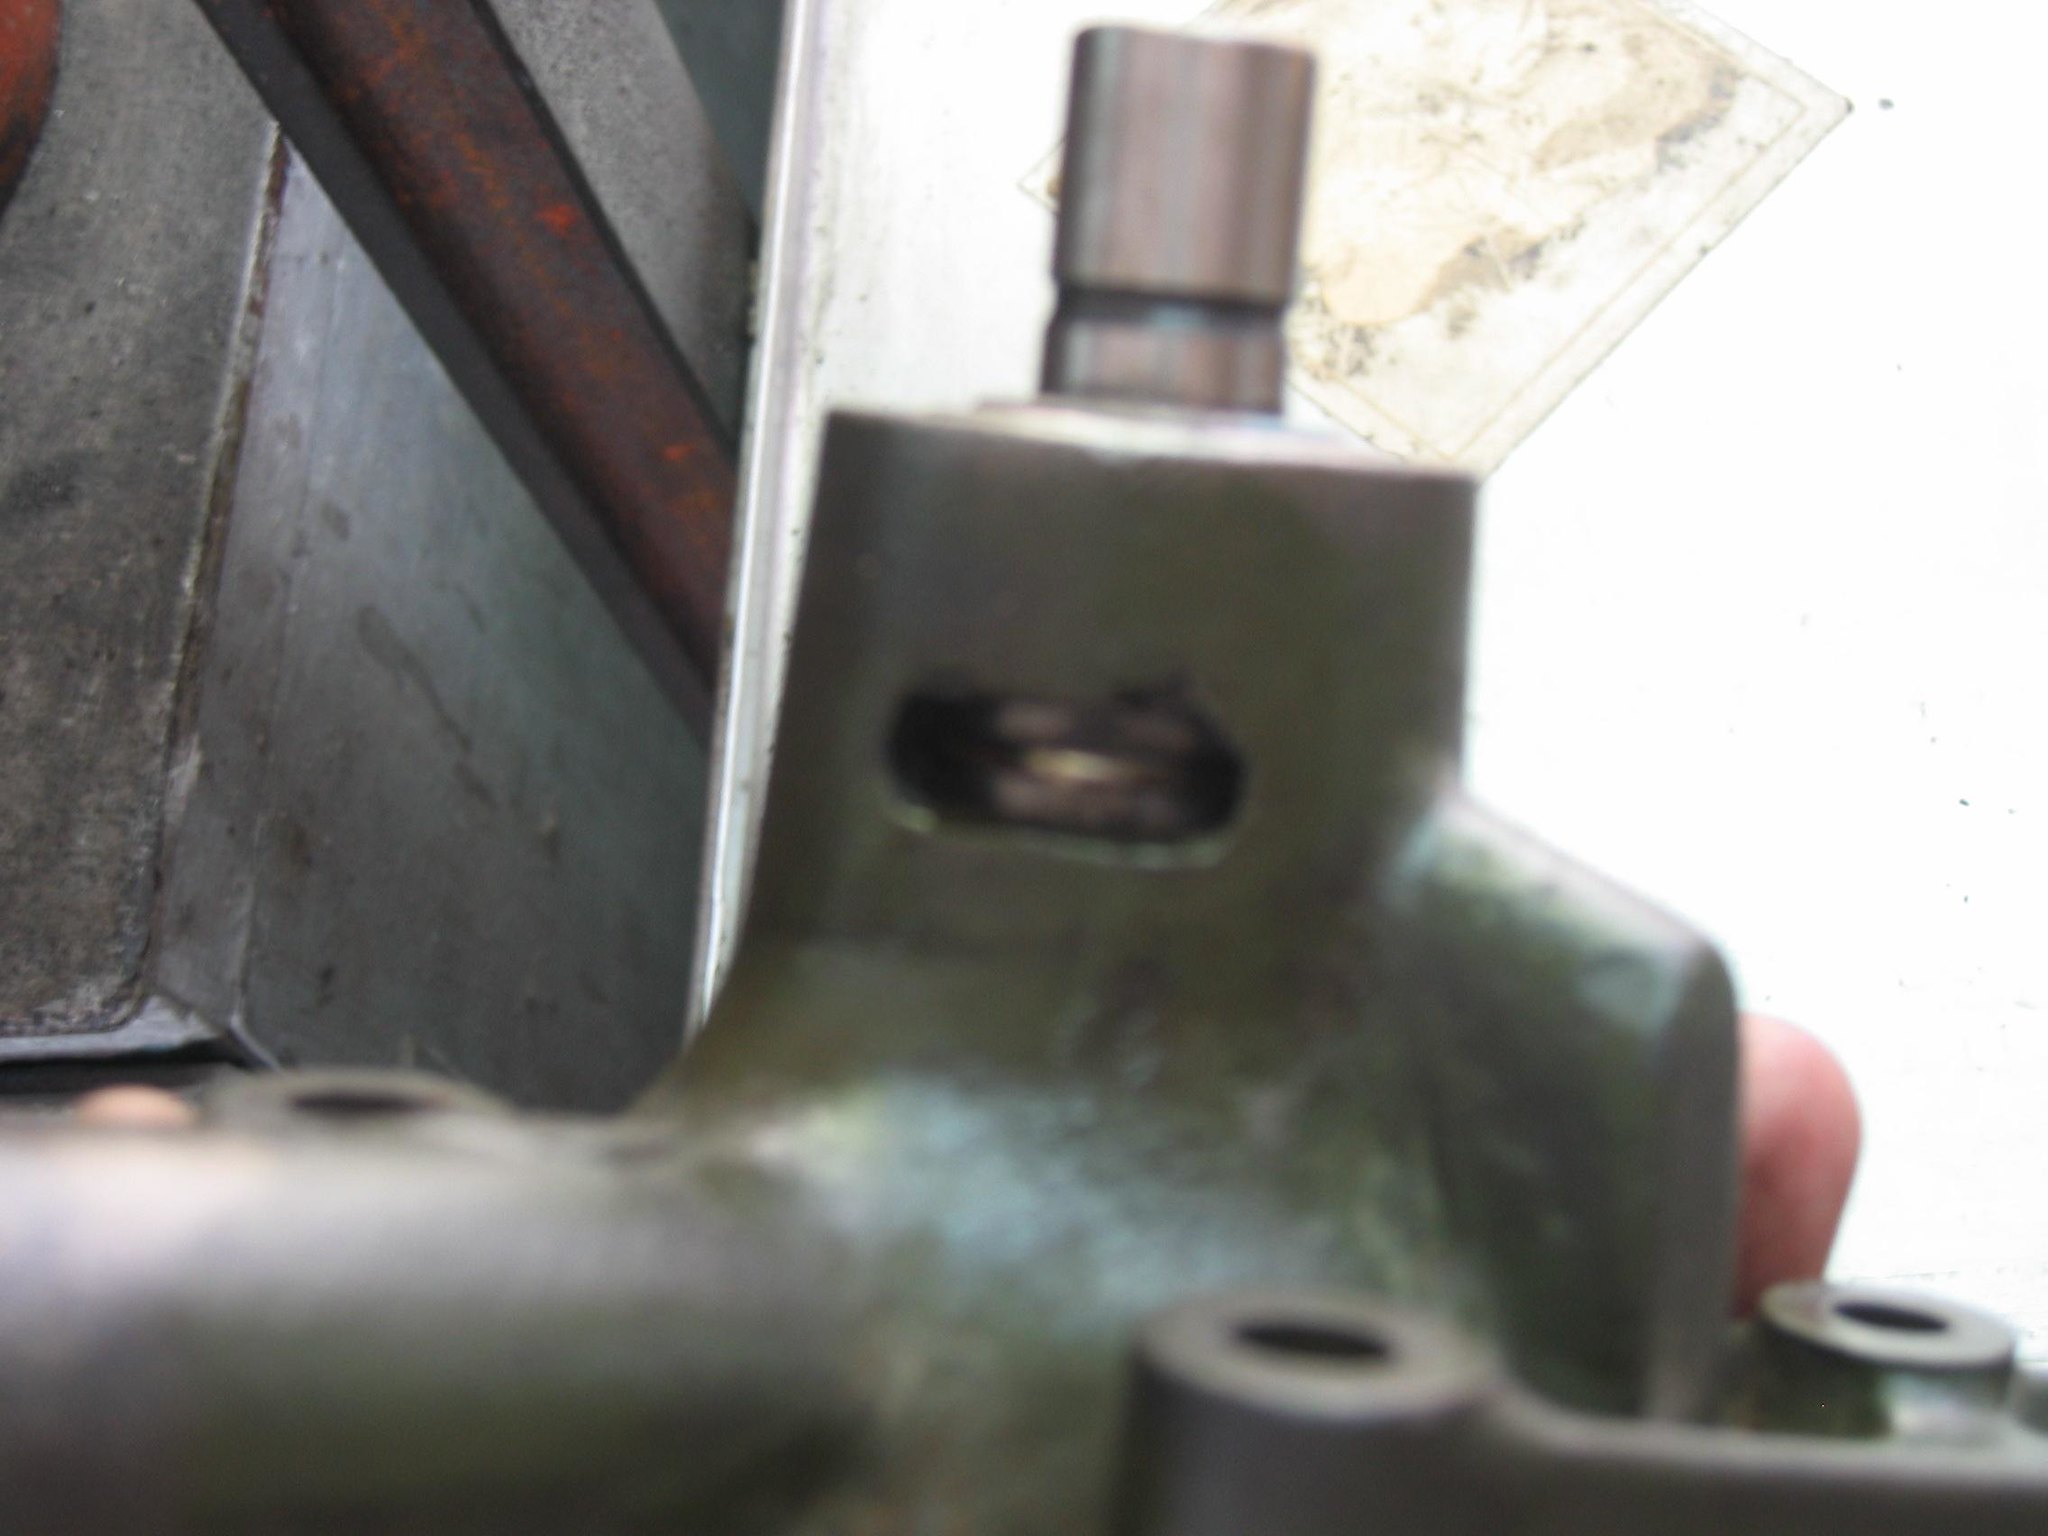 Press the bearing down until it reach the position you can insert the pin. Sometimes press it down just closer and then use the copper hammer to hit the bearing to the right position. Try to insert the pin. When pin is installed to secure the bearing's position. Next is install the pulley boss by using the pressing machine. Sorry I don't have any pictures here! 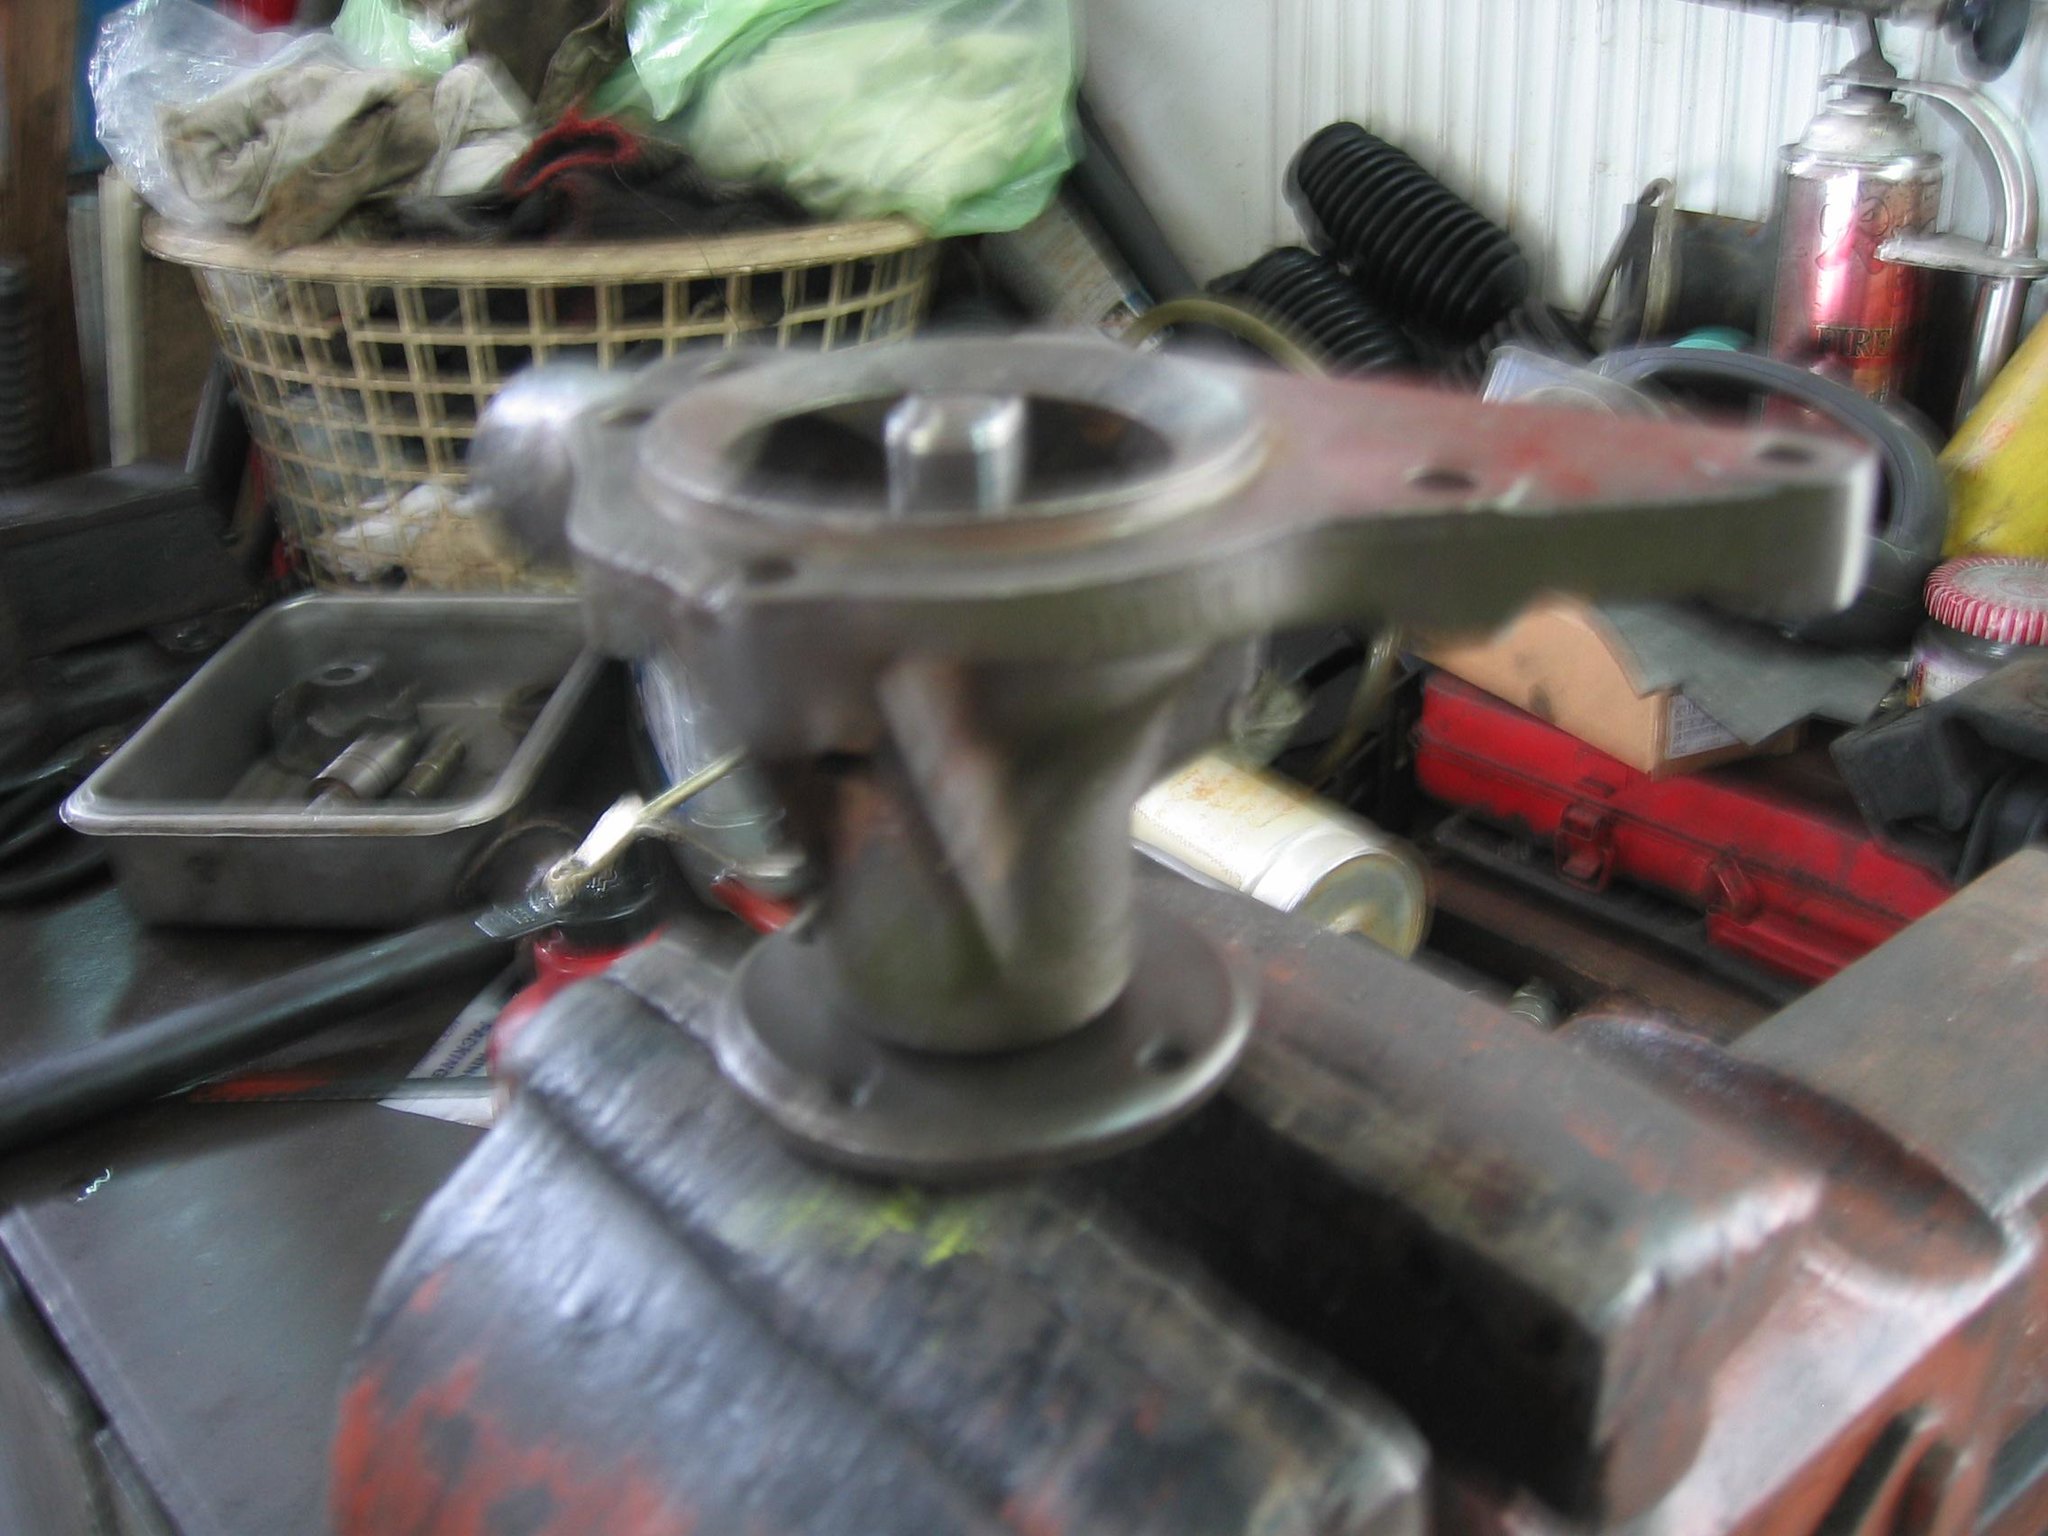 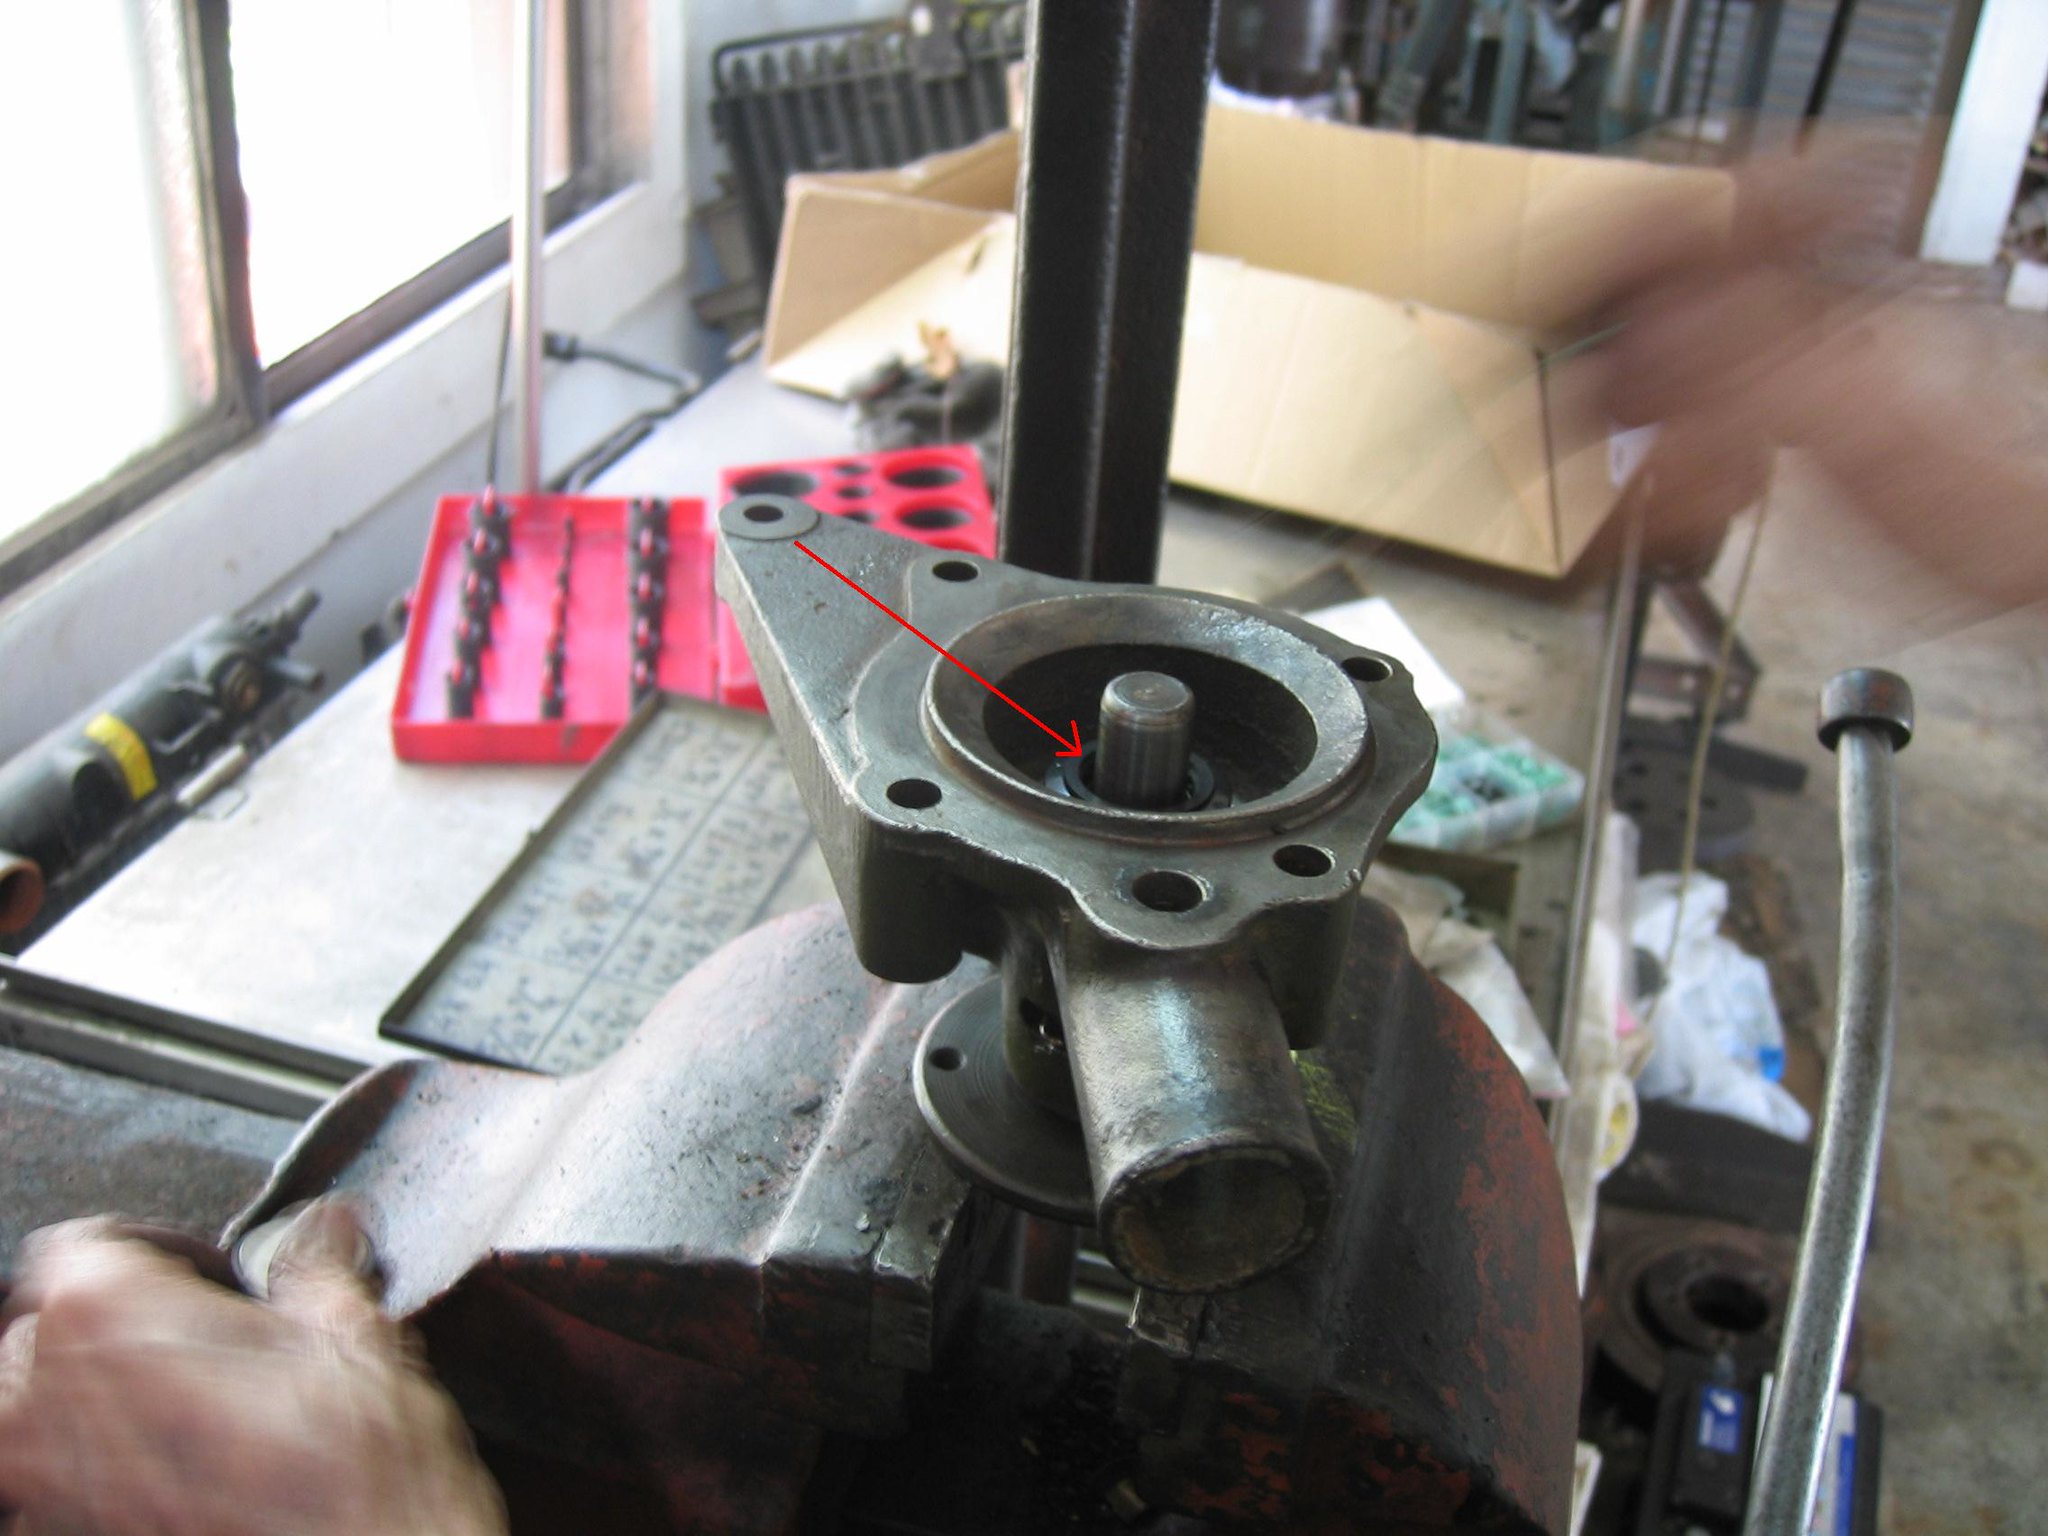 There is a gap here ( red arrowed ) 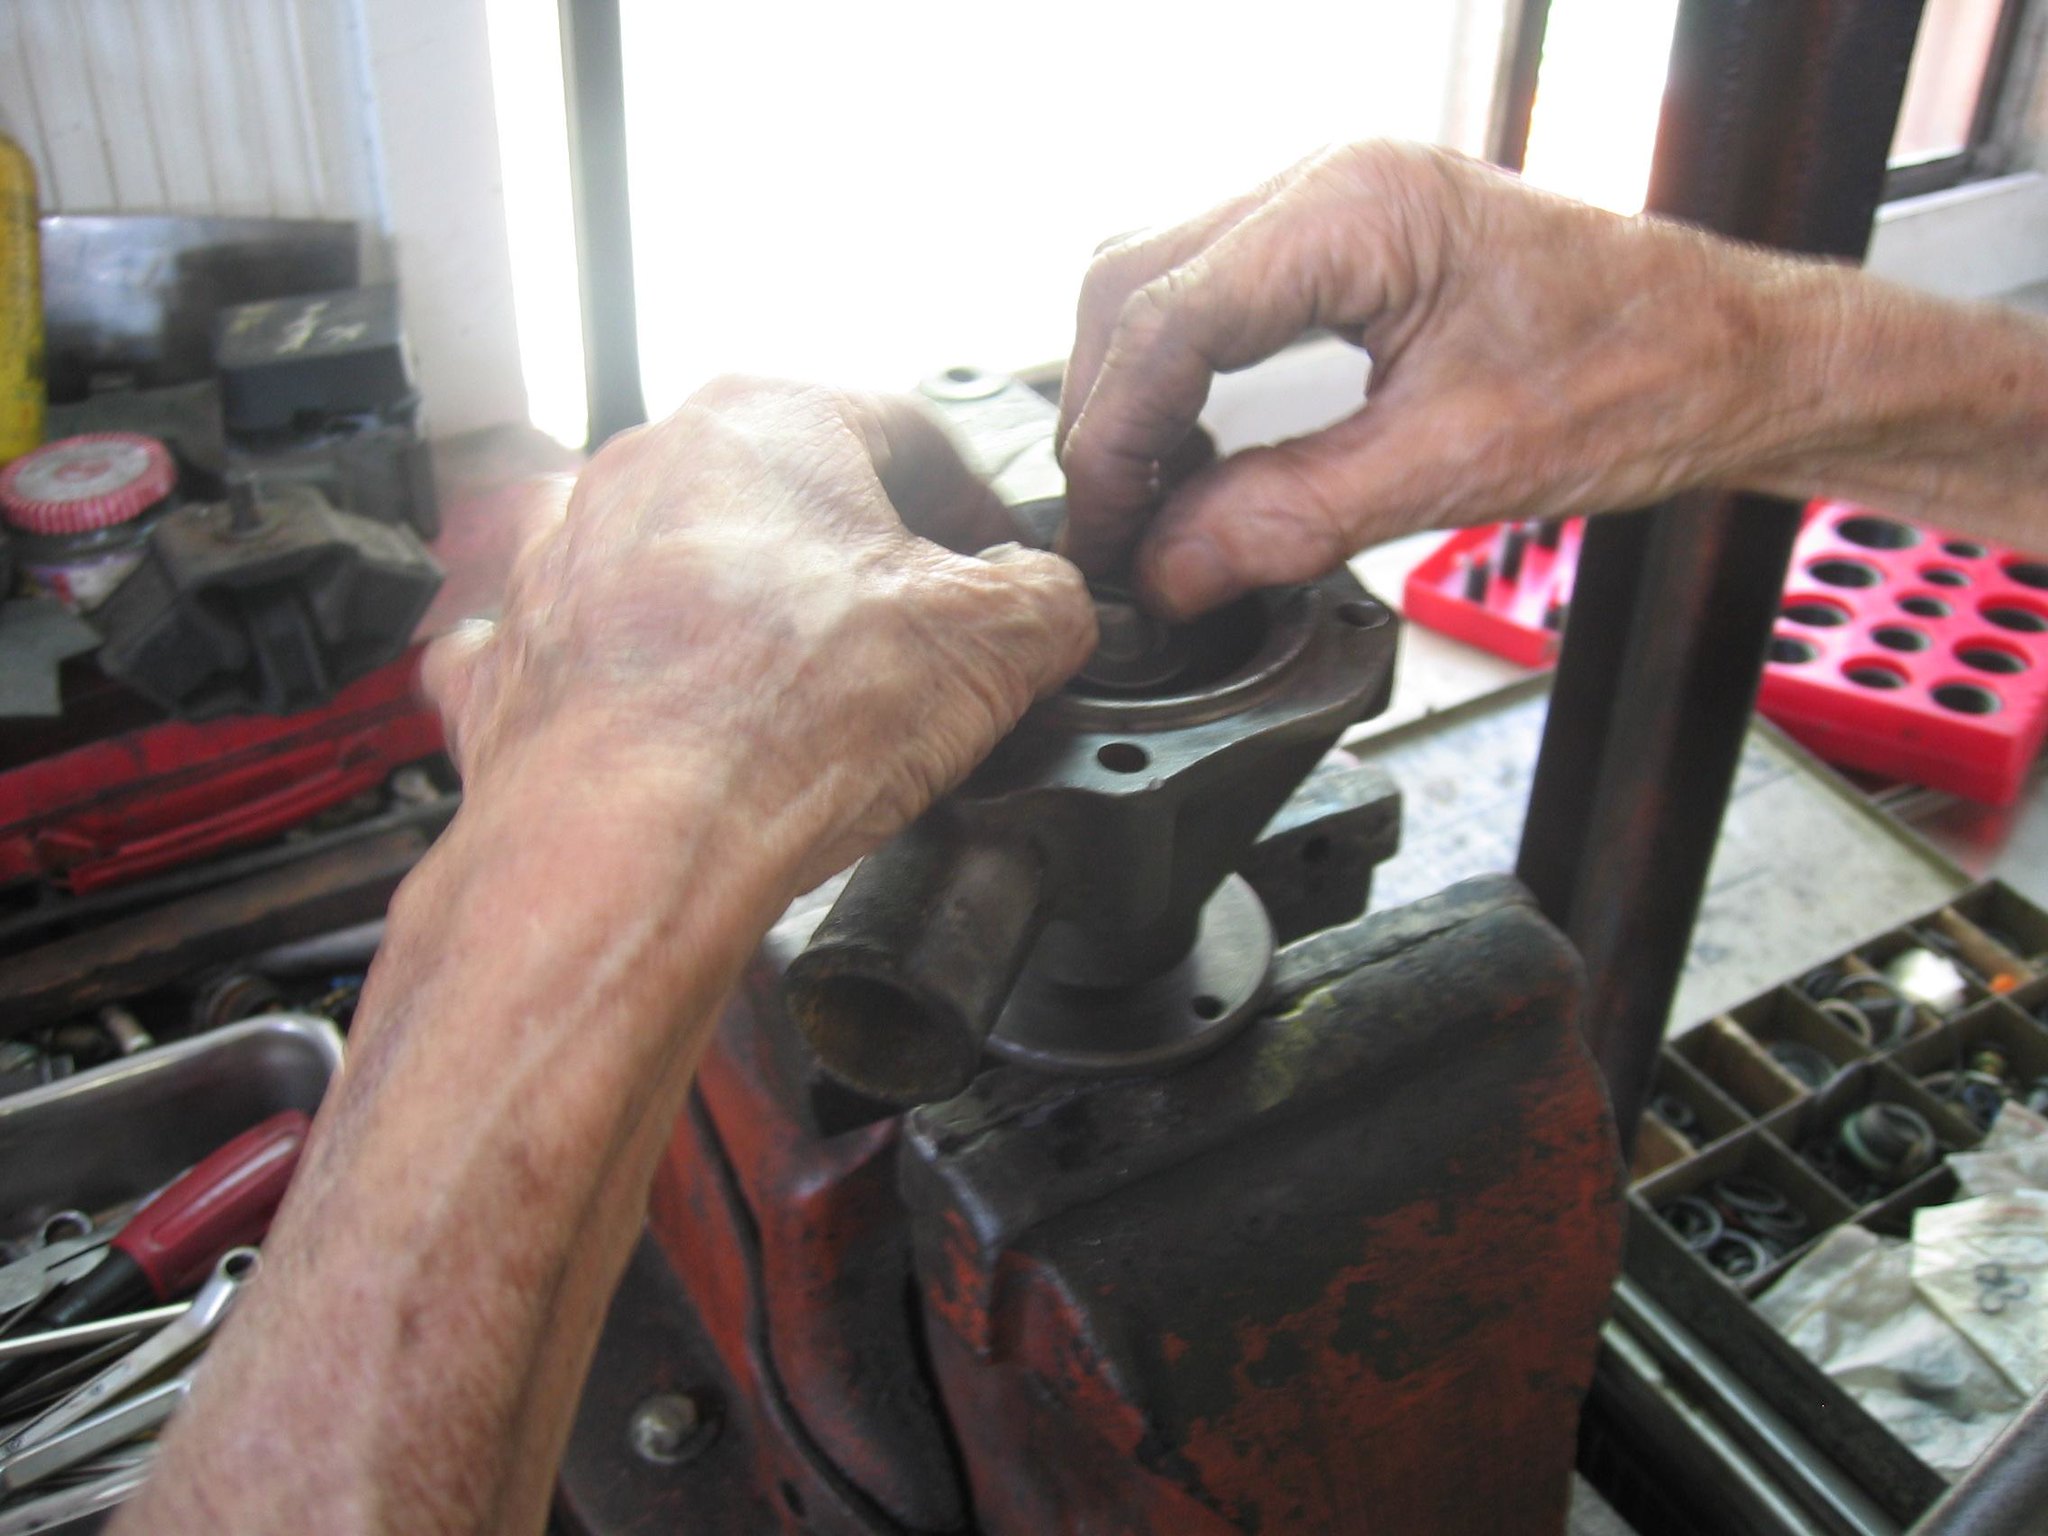 We installed the washer and then put the right O ring to secure the washer. The washer won't move any more and will stay at the right central position. Of course, remember before installing the washer, put a little bit grease on the downside surface of washer to the SEAL's surface. 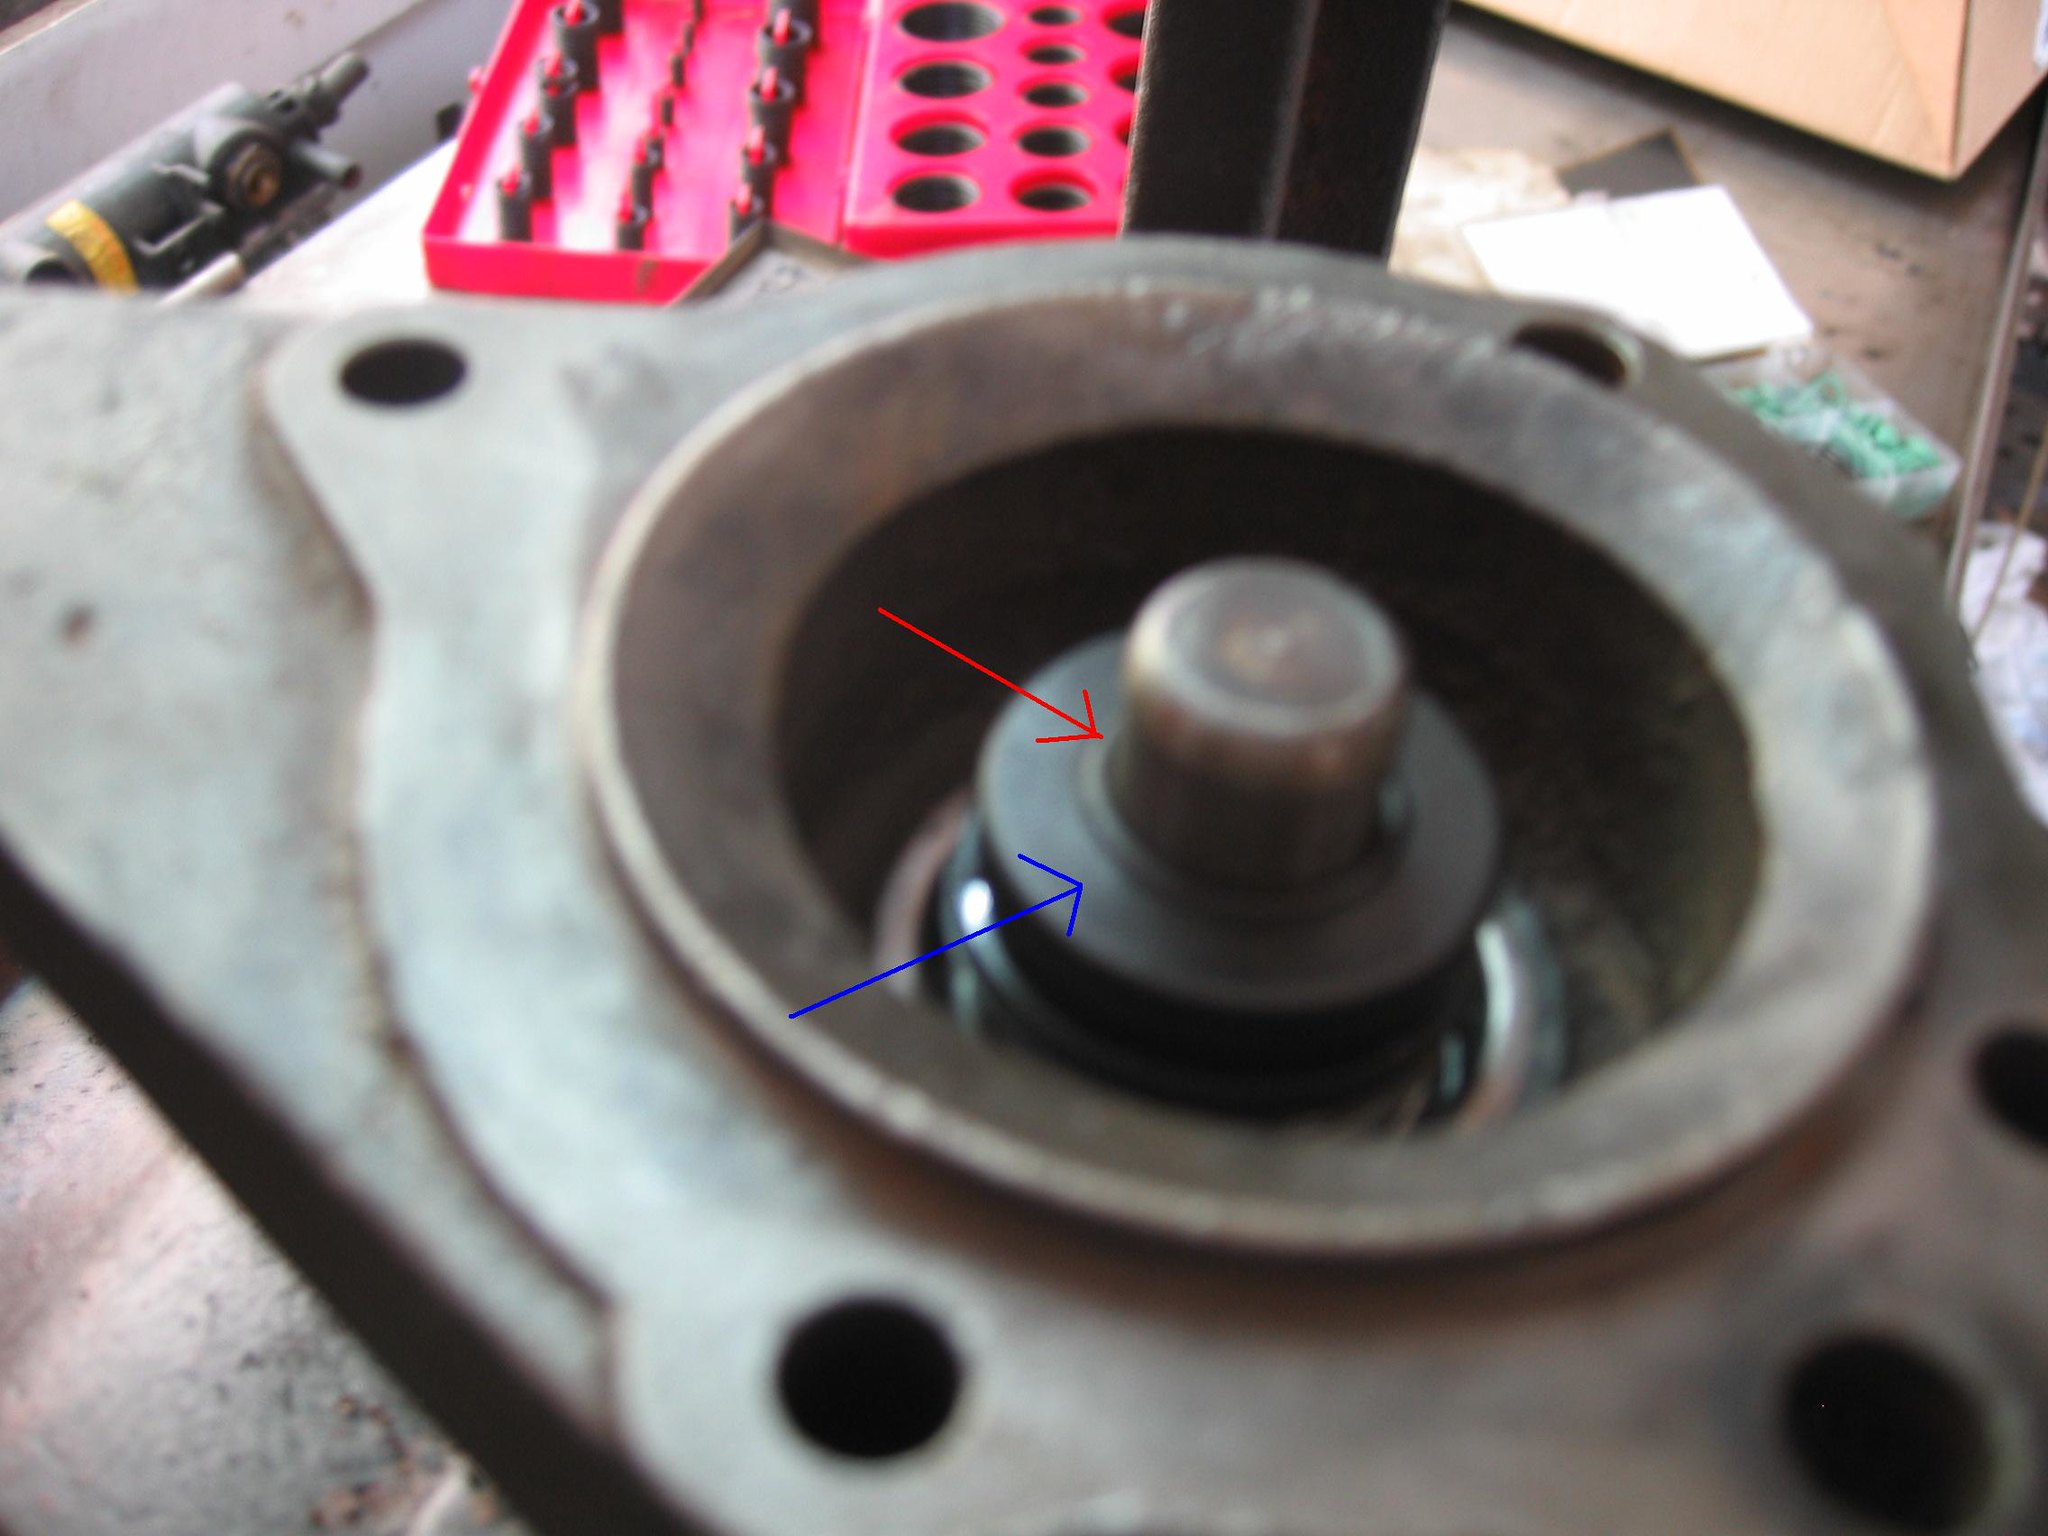 The O ring is done ( Red arrowed ). Put some glue on this upside surface of the washer ( the blue arrowed )  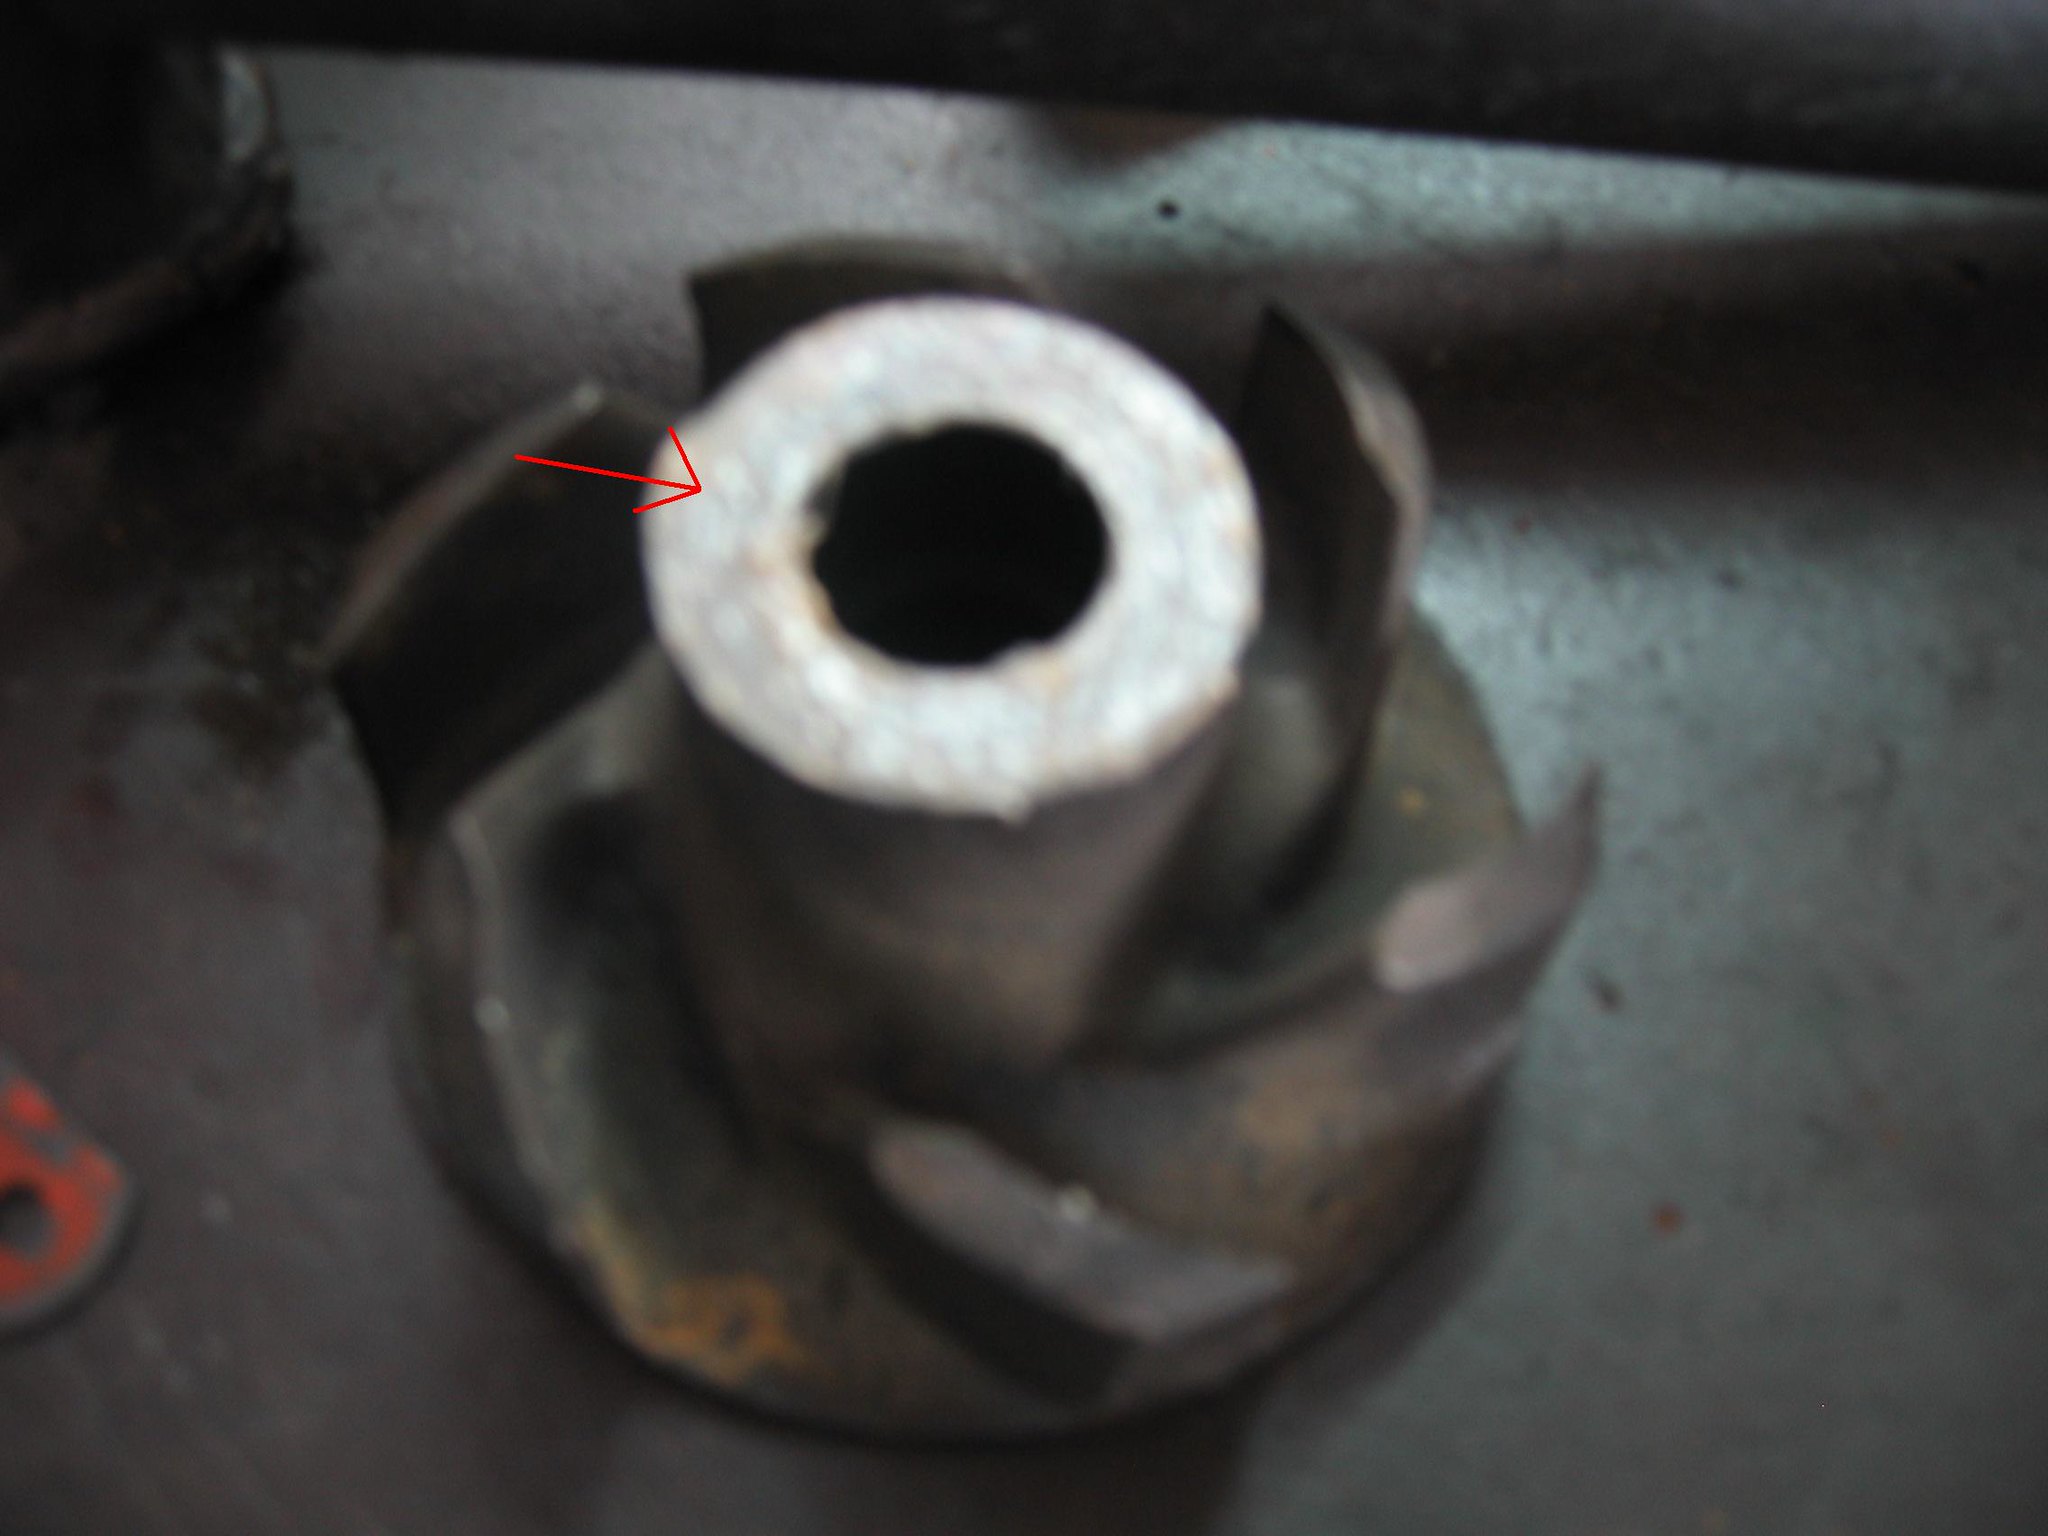 Also some glue on this surface of the impeller. 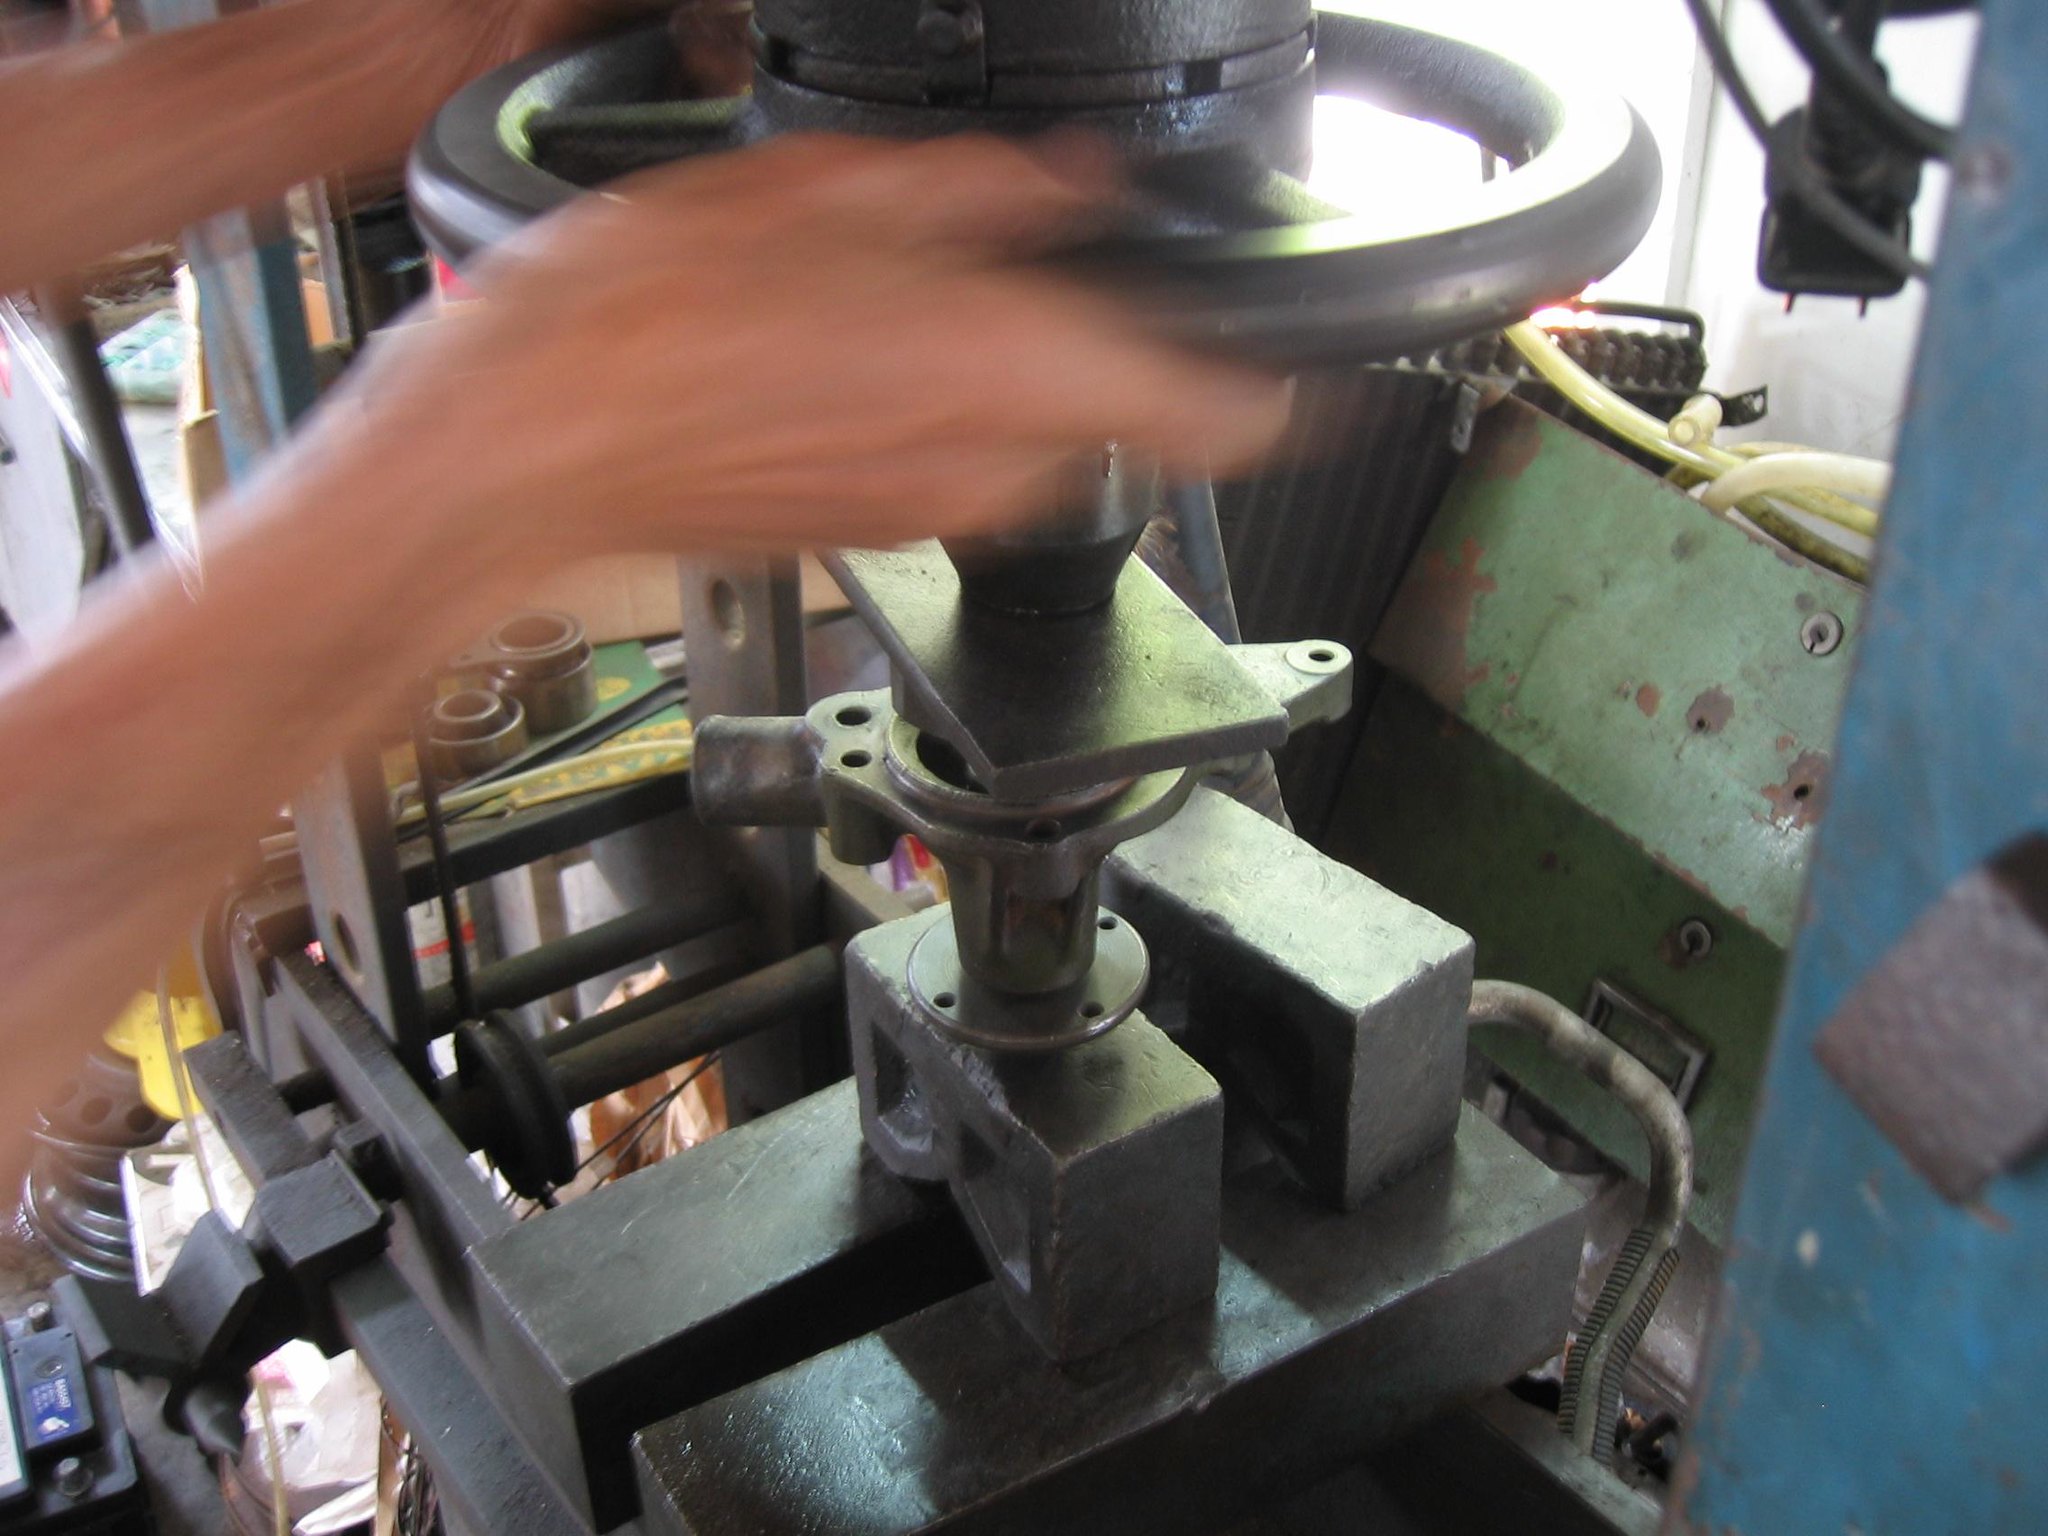 Install the impeller. 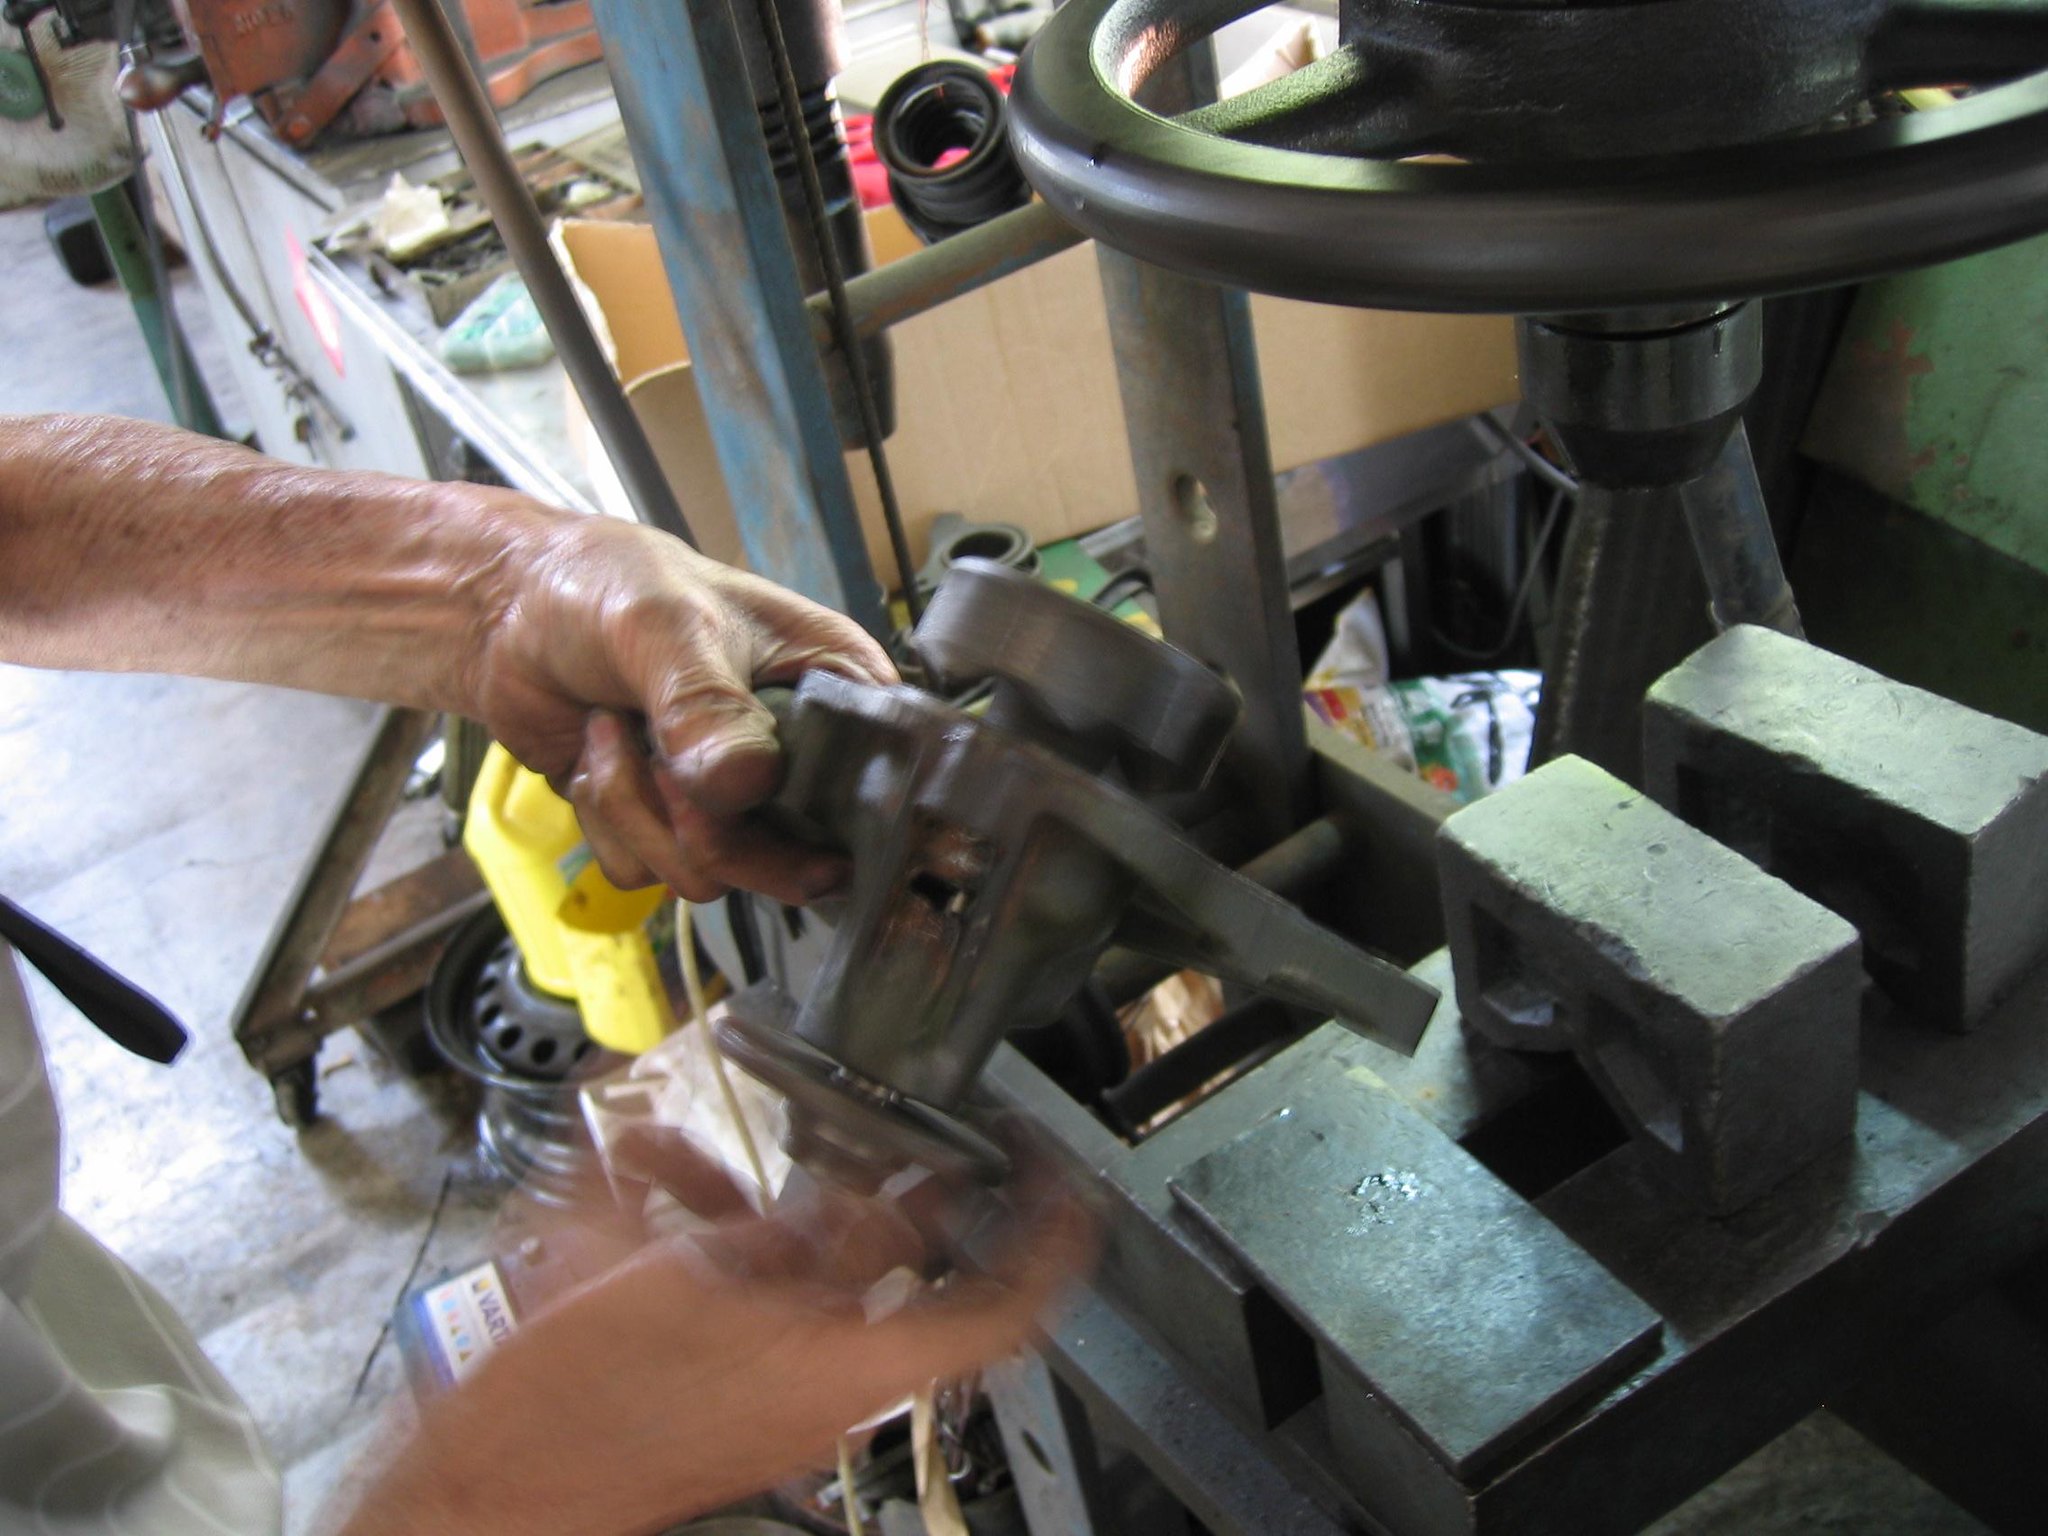 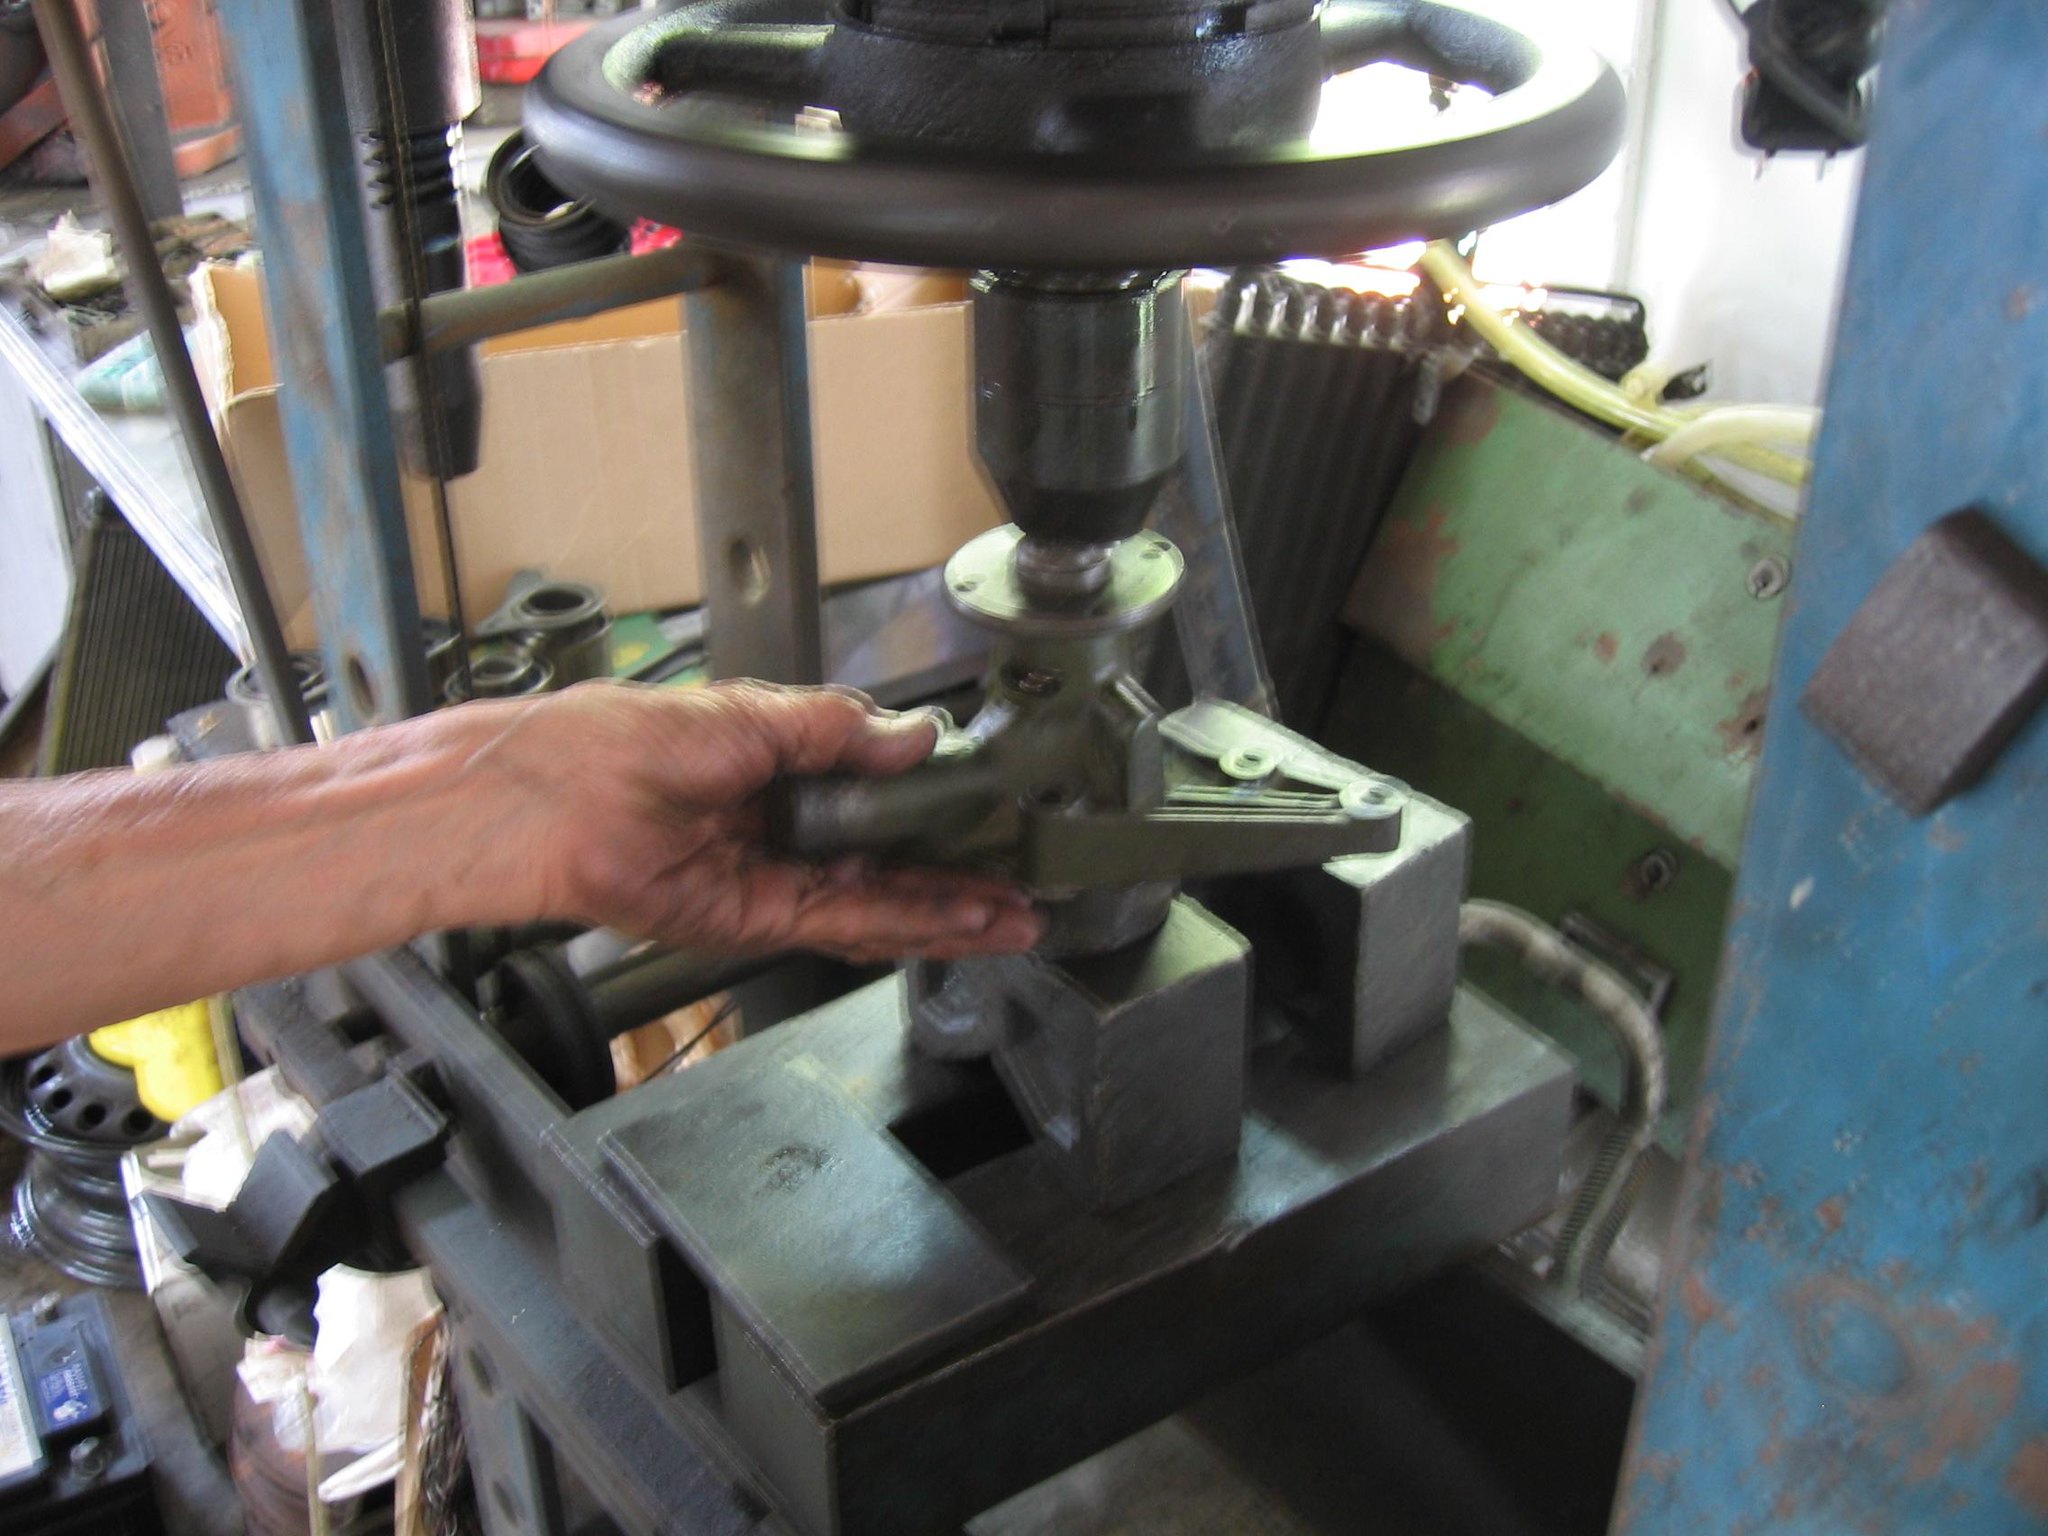 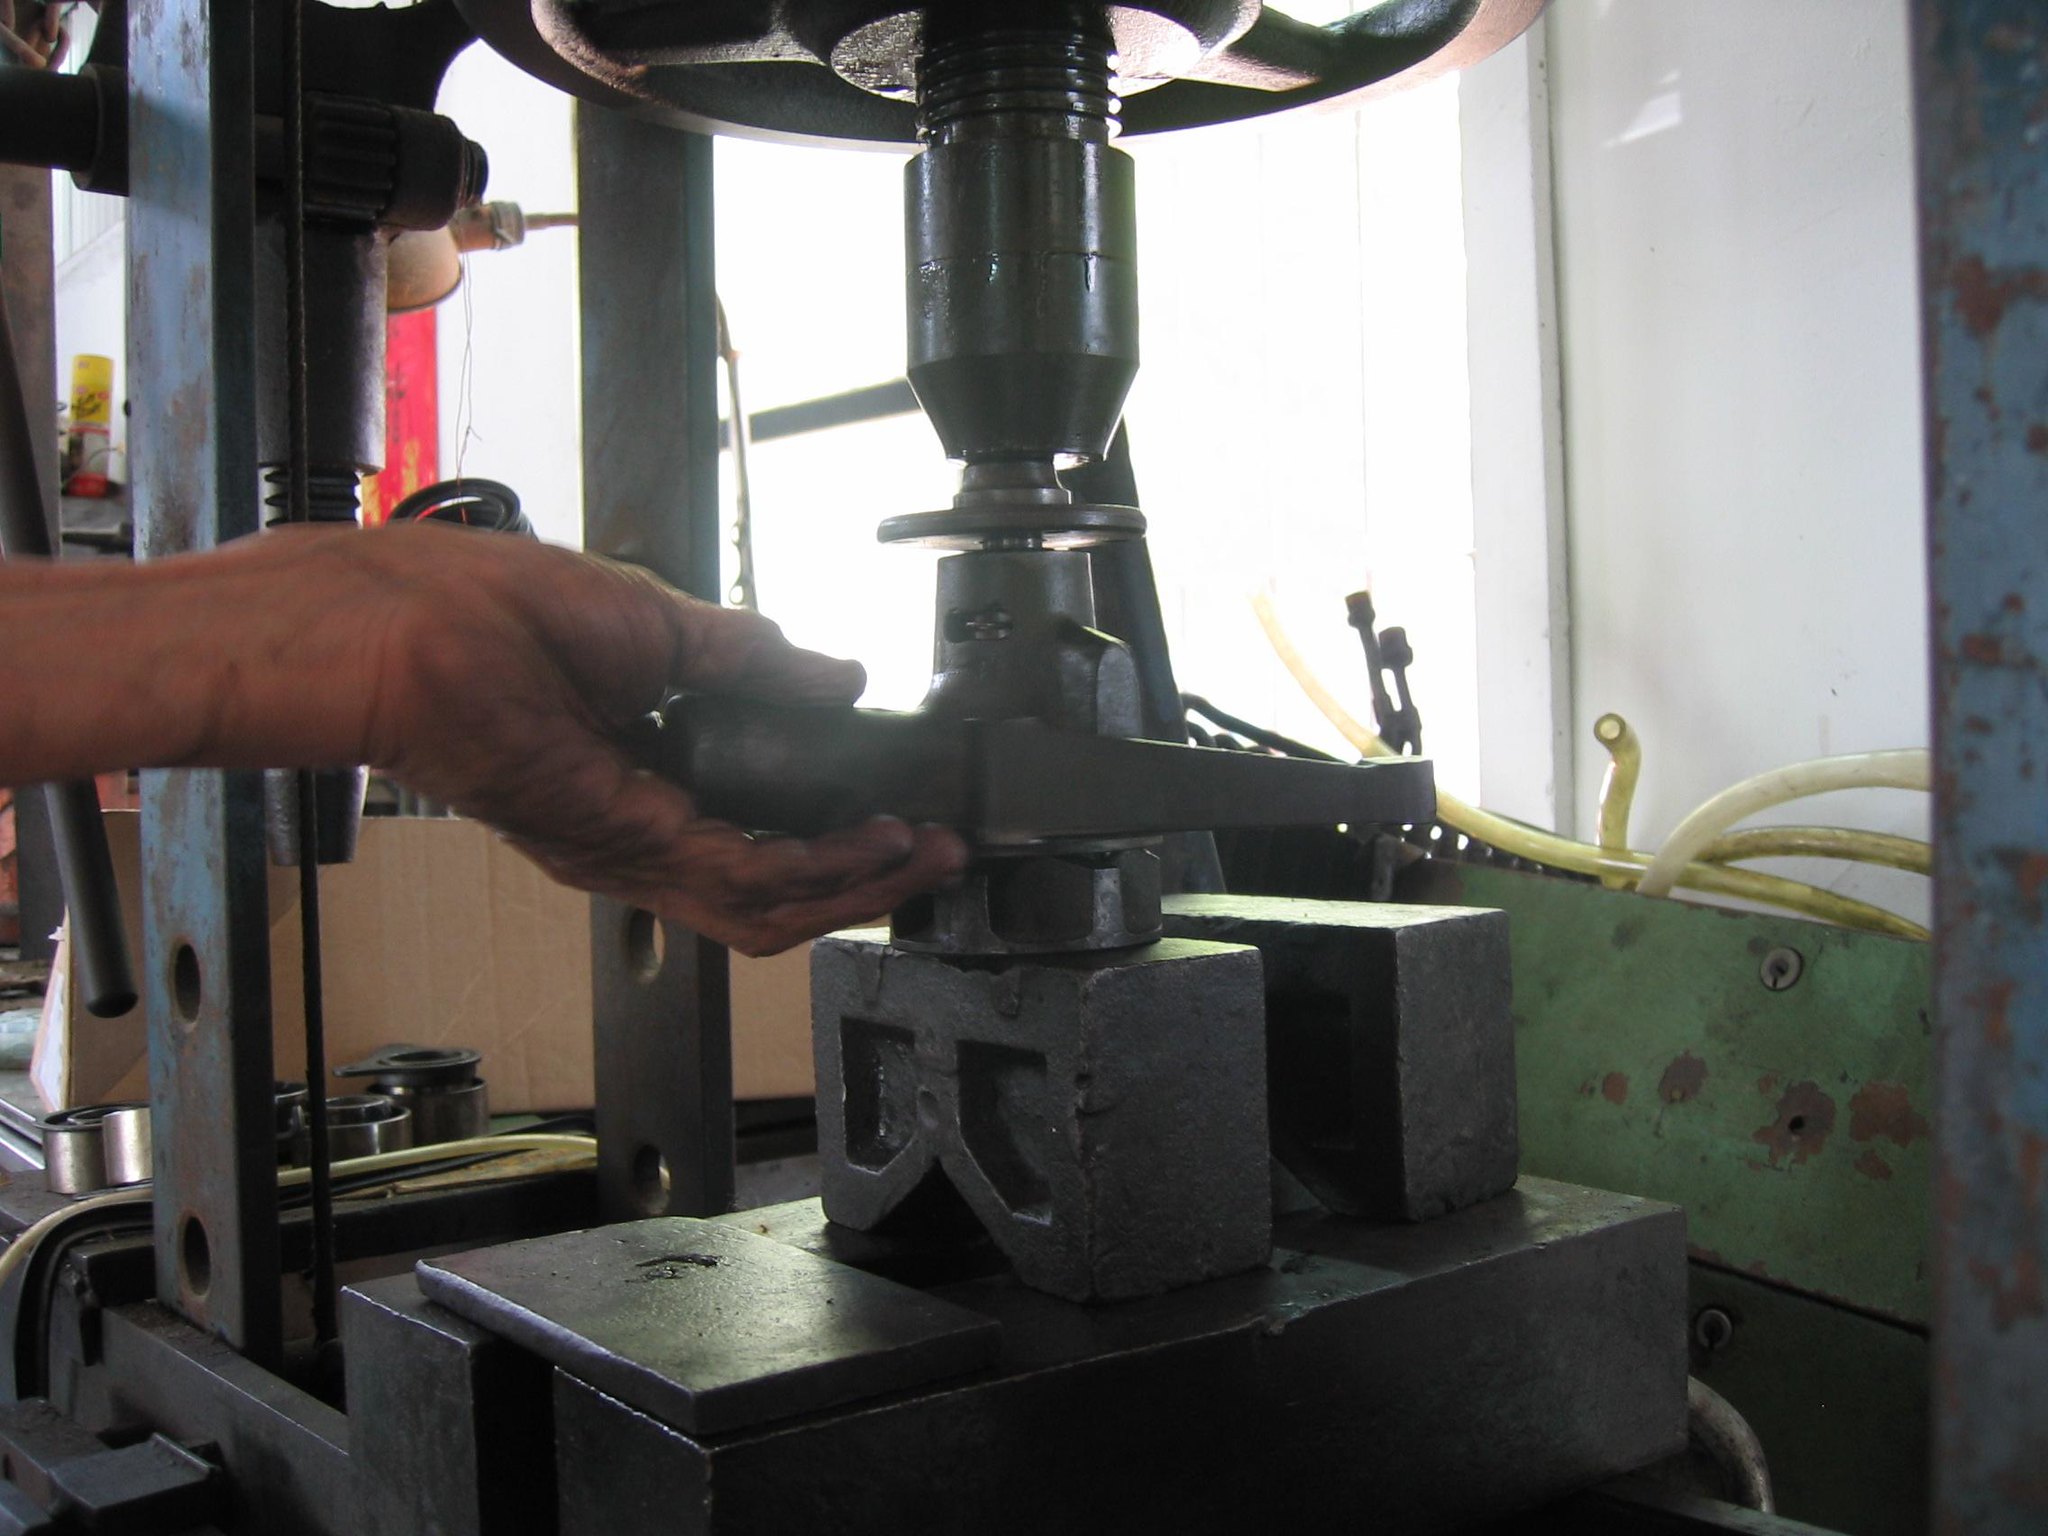 Make sure it has reached the position by checking it. Almost done the job, but need to make sure the water pump will work in the future by checking 3 steps. 1. Check the distances you have measured before. 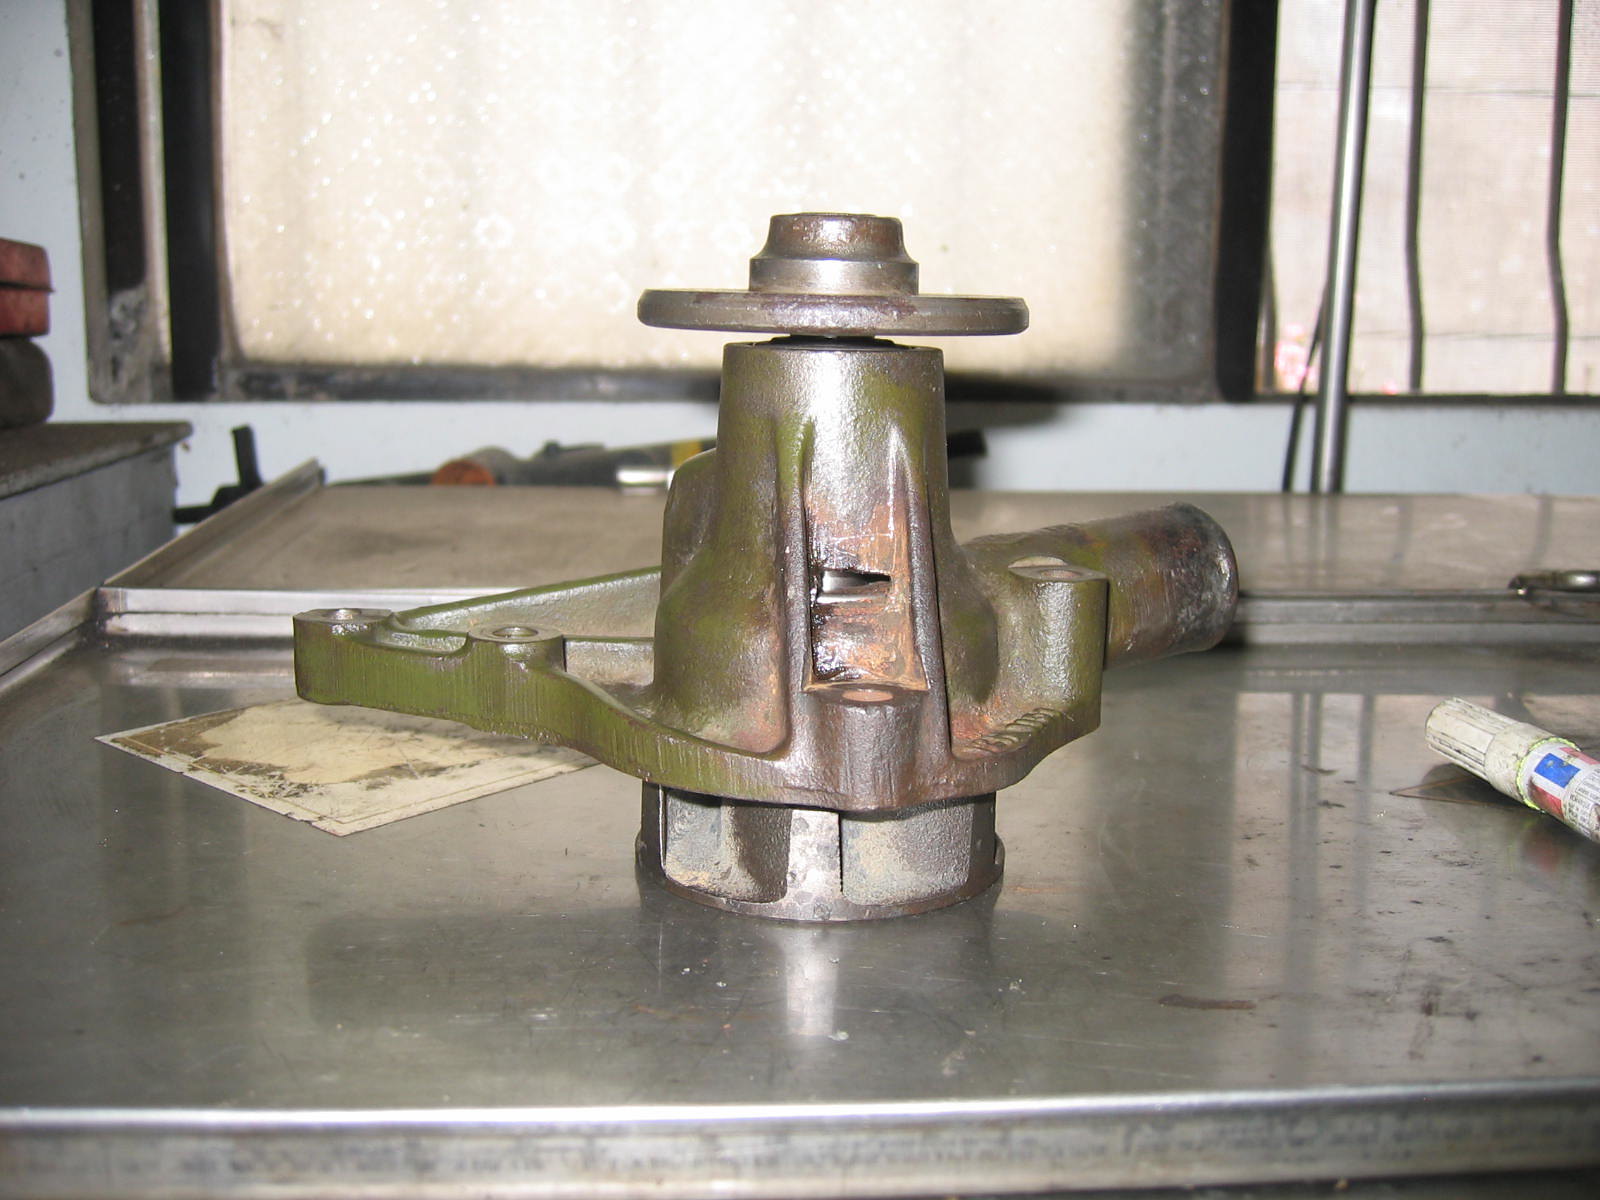 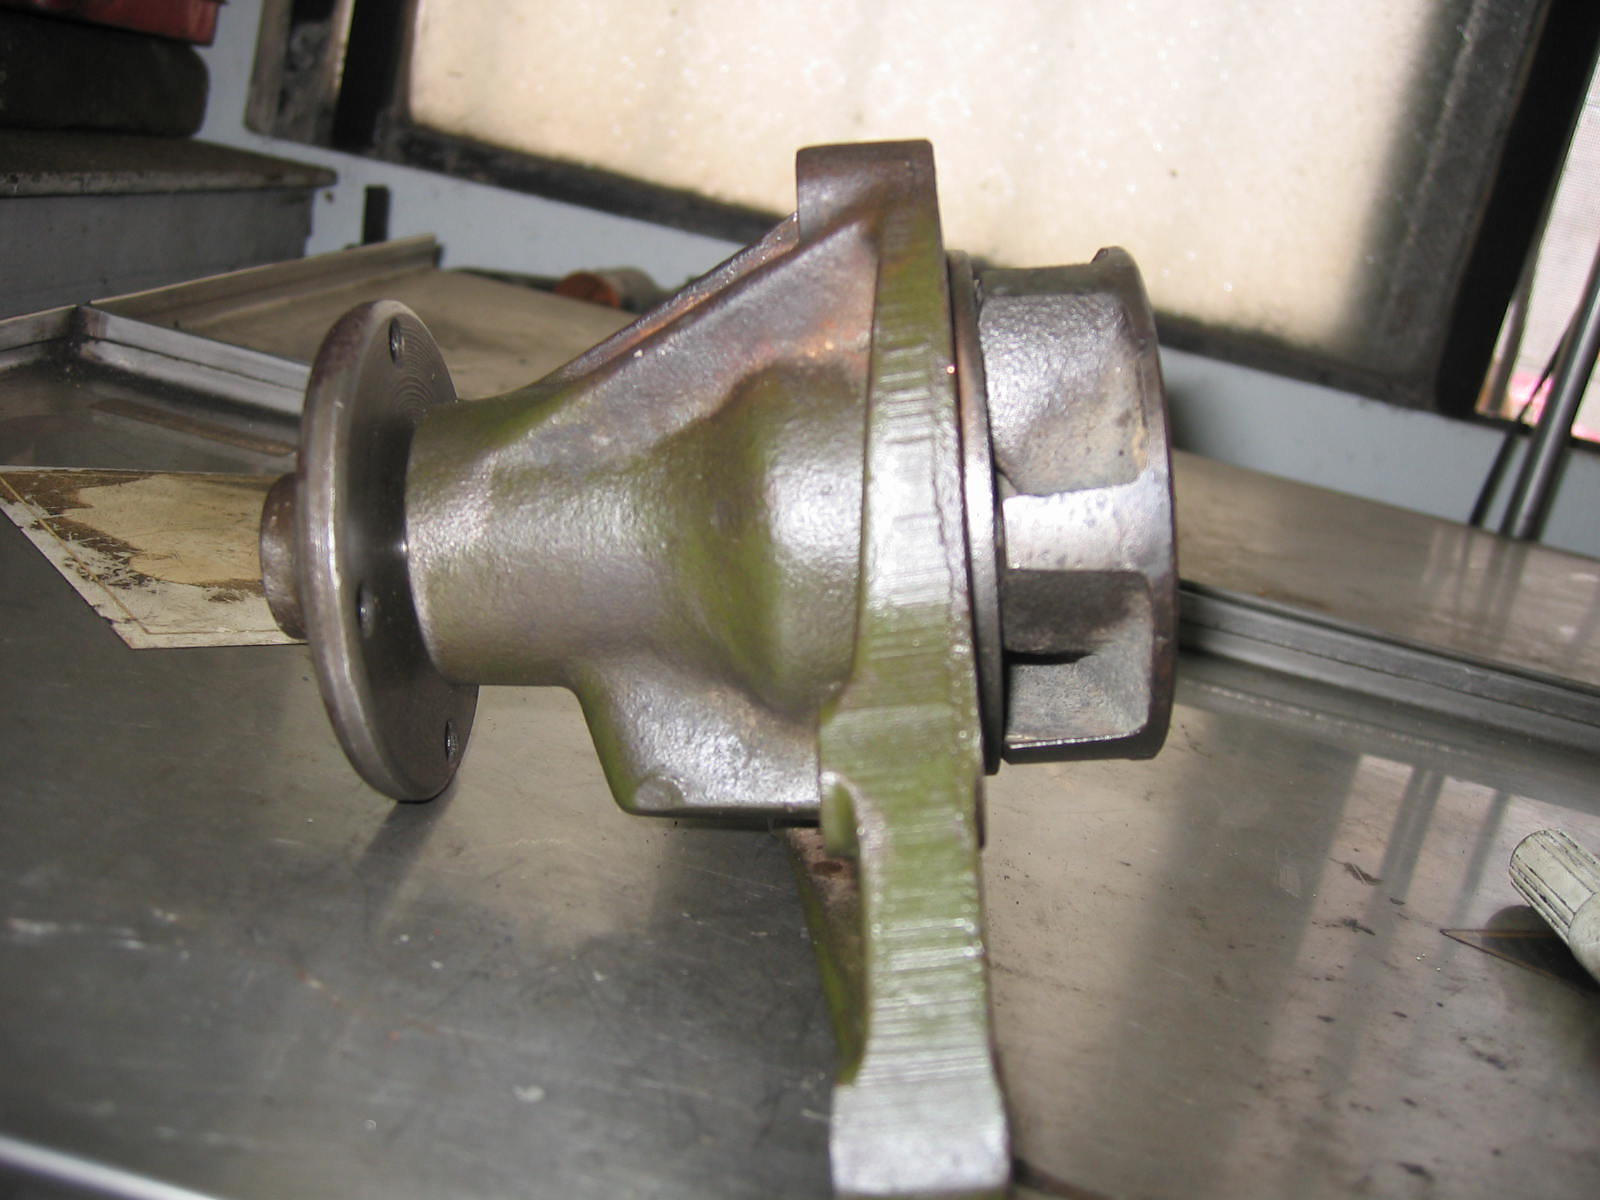 2. 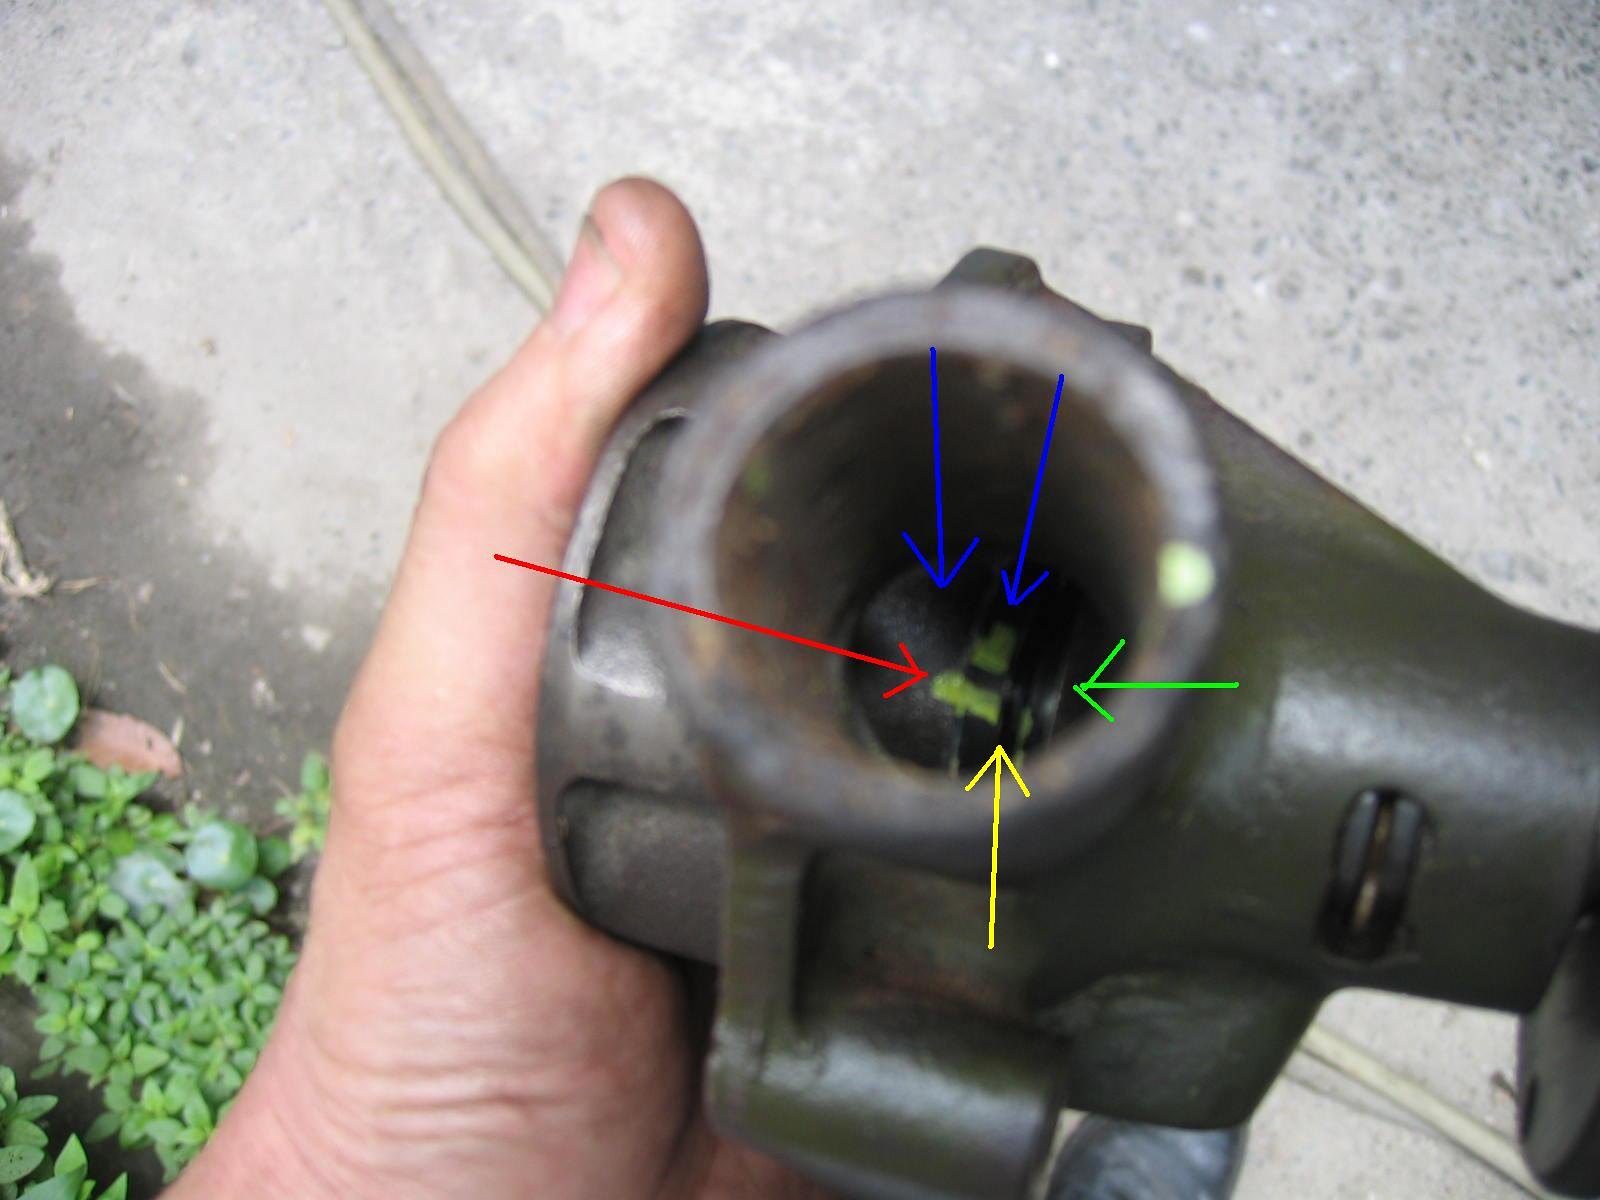 Red arrow --- yellow mark on the impeller and washer. Blue arrows --- the impeller and washer. Green arrow --- the seal. One hand holds the water pump and use another hand to rotate the pulley boss. Make sure the YELLOW MARK ( on the impeller and the washer) will rotate simultaneously. 3. 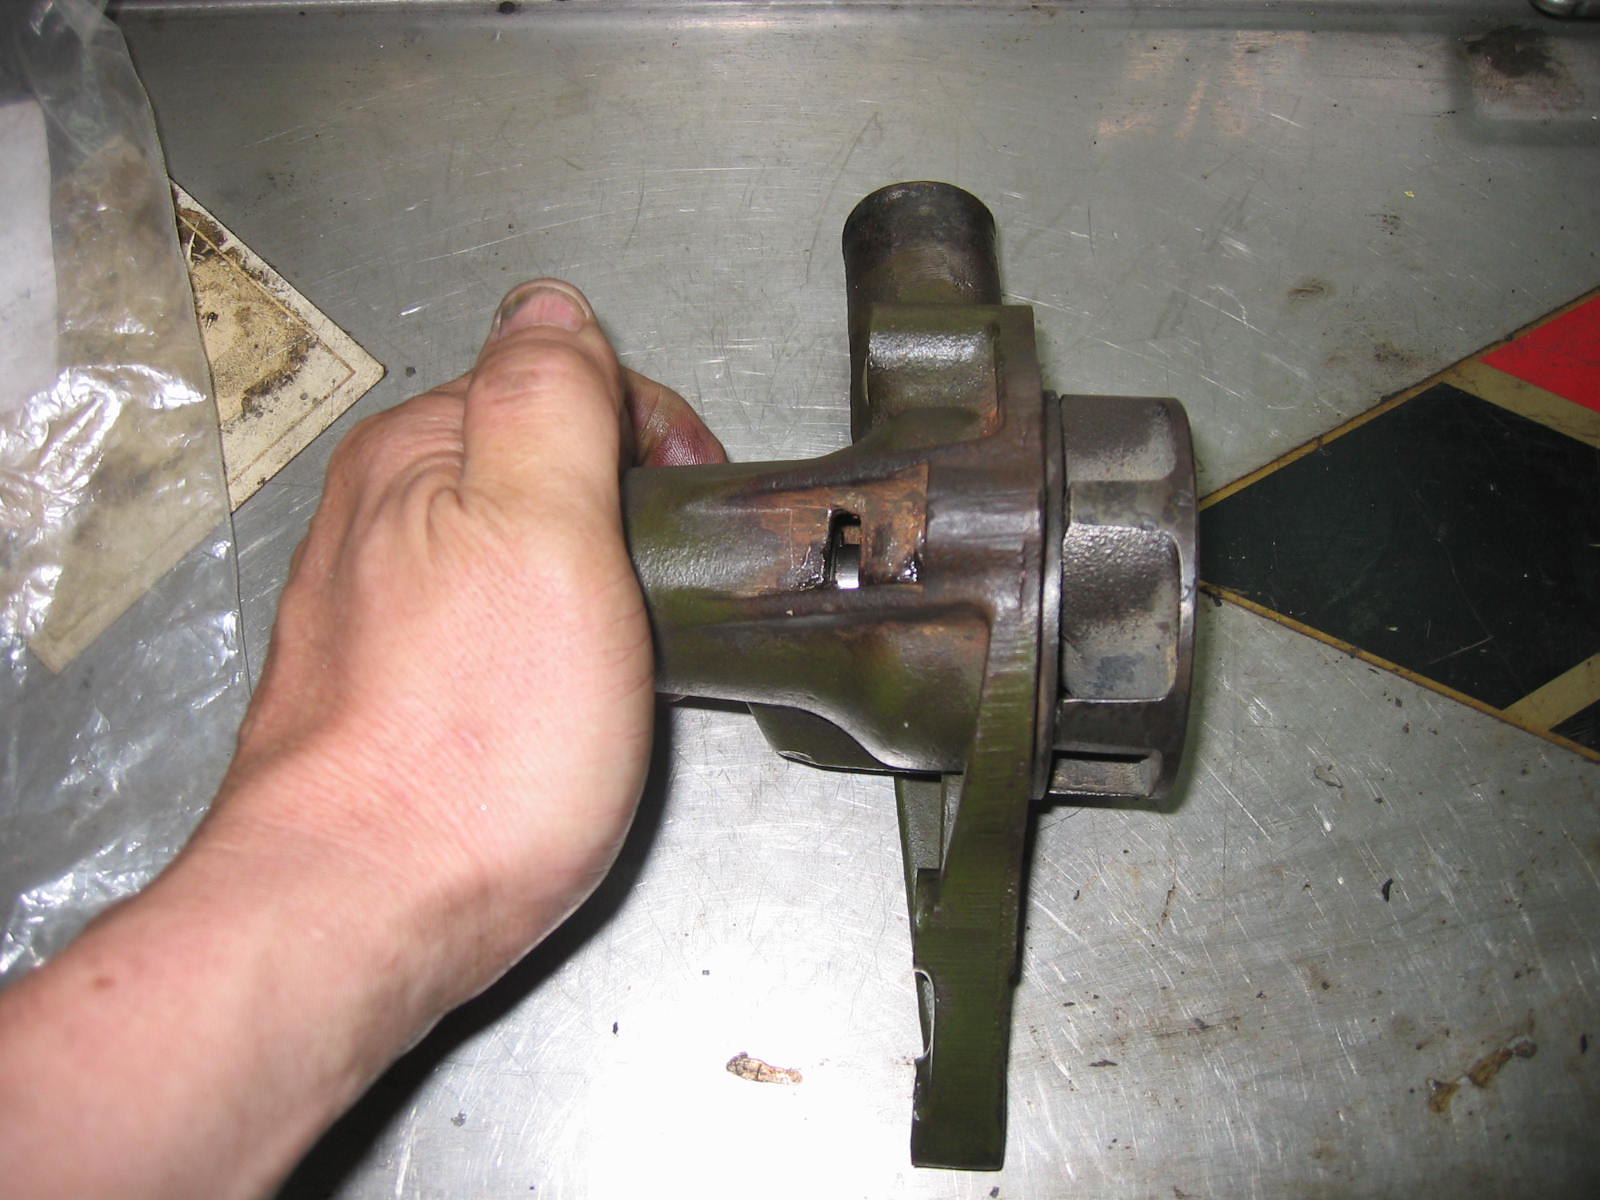 Hold and stop the pulley boss with one hand, and use another hand to rotate the impeller, if it refuses to rotate. The job is done. 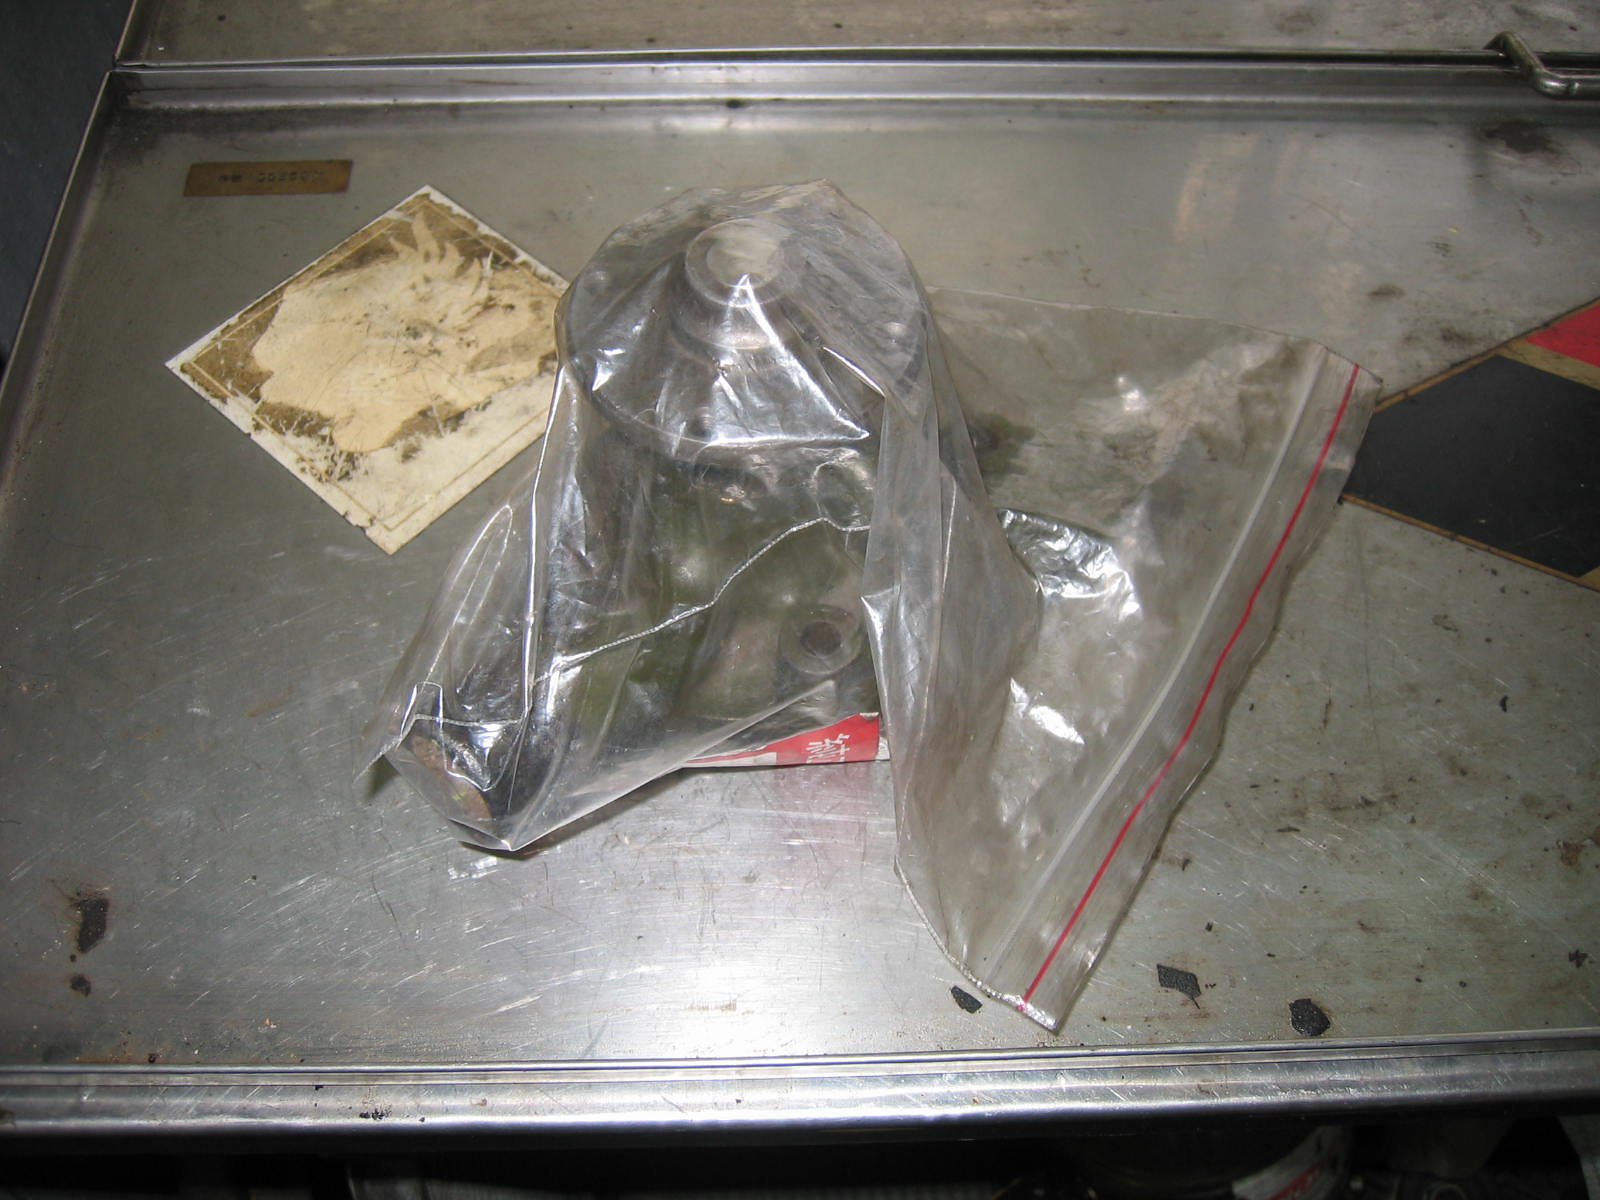 Before storing it somewhere dry, use some oil on a piece of clothe to wet the water pump's surface. Of course, it needs a gasket in the future. Now it's a spare part I believe. |
|
|
|
Post by Penguin45 on Apr 28, 2015 23:51:57 GMT
Excellent piece of work, Tony. As you say, a good spare to have on the shelf.
I have been doing some searching this evening and have found a UK source for the bearing and the seal. I also managed to find an old cast iron pump in the garage, so if you don't mind I will try and recreate your rebuild as a technical article for the site.
Many thanks,
Chris.
|
|
|
|
Post by tony on Apr 29, 2015 0:39:45 GMT
Yes, " a good spare to have on the shelf". And please do so as this is the goal of this website to keep Morris on the road. If you find any more details better than mine, please let me know so that we all here can be improved. Regards Tony Excellent piece of work, Tony. As you say, a good spare to have on the shelf. I have been doing some searching this evening and have found a UK source for the bearing and the seal. I also managed to find an old cast iron pump in the garage, so if you don't mind I will try and recreate your rebuild as a technical article for the site. Many thanks, Chris. |
|
|
|
Post by tony on Apr 30, 2015 2:33:15 GMT
Add some information about the Step 2 of checking shown below:  When doing the step 2 of checking, make sure the washer fully touch the seal ( Yellow arrowed ). There shall not be any gap between them. Without using glue to stick the impeller and washer together at the first time we did, we found the impeller and the washer didn't rotate simultaneously --- sometimes they did, sometimes they didn't. So we had to use a copper hammer to adjust it, which didn't make it much better. So we had to take the impeller apart again and used some glue between the impeller and washer; used some grease between the washer and seal. The washer shall fully touch the seal, not with too much force. If so, the washer and seal will damage while rotating fast. After installation, check the simultaneousness and non-gap. |
|
|
|
Post by tony on Aug 19, 2015 5:26:17 GMT
The rebuilt water pump we repaired in April was installed about months ago. It has been working well since then. The one we took apart from our vehicle was found uneven on the impeller. We simply removed the impeller only and repaired it. Now there is one spare part.  I use this picture as an example to show there is the same problem of the other water pump we noticed the water pump sometimes worked fine and sometimes leaked some coolant. |
|
|
|
Post by tony on Aug 19, 2015 5:31:37 GMT
Father took David's suggestion and uses some protective material for the headrests. Regards Tony 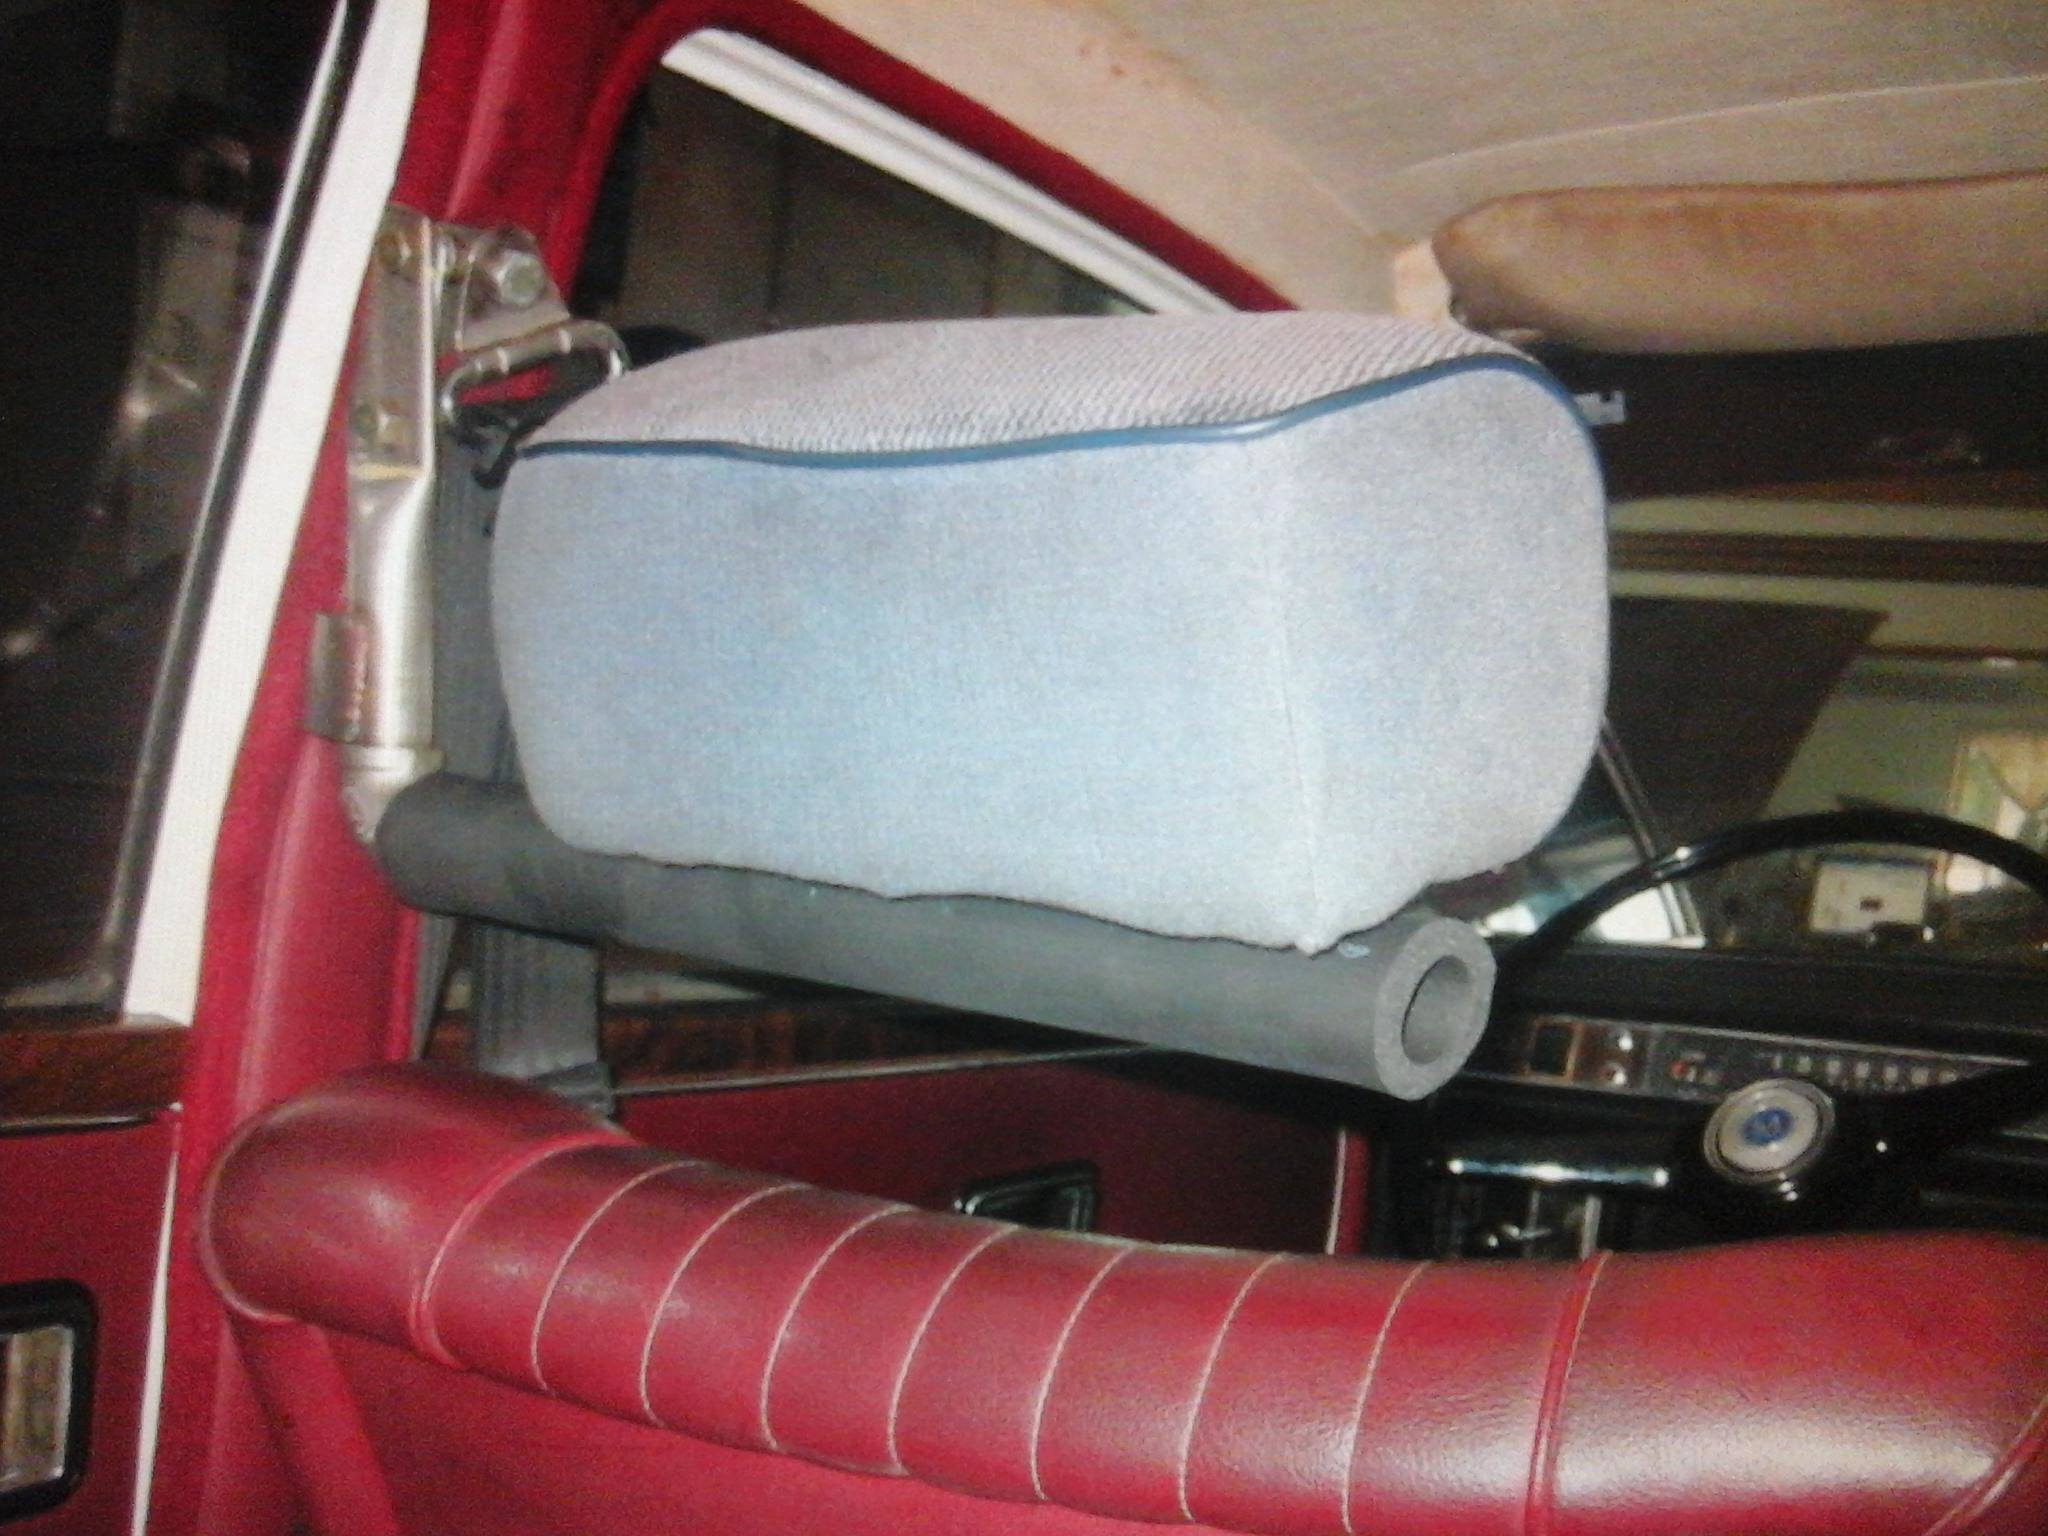 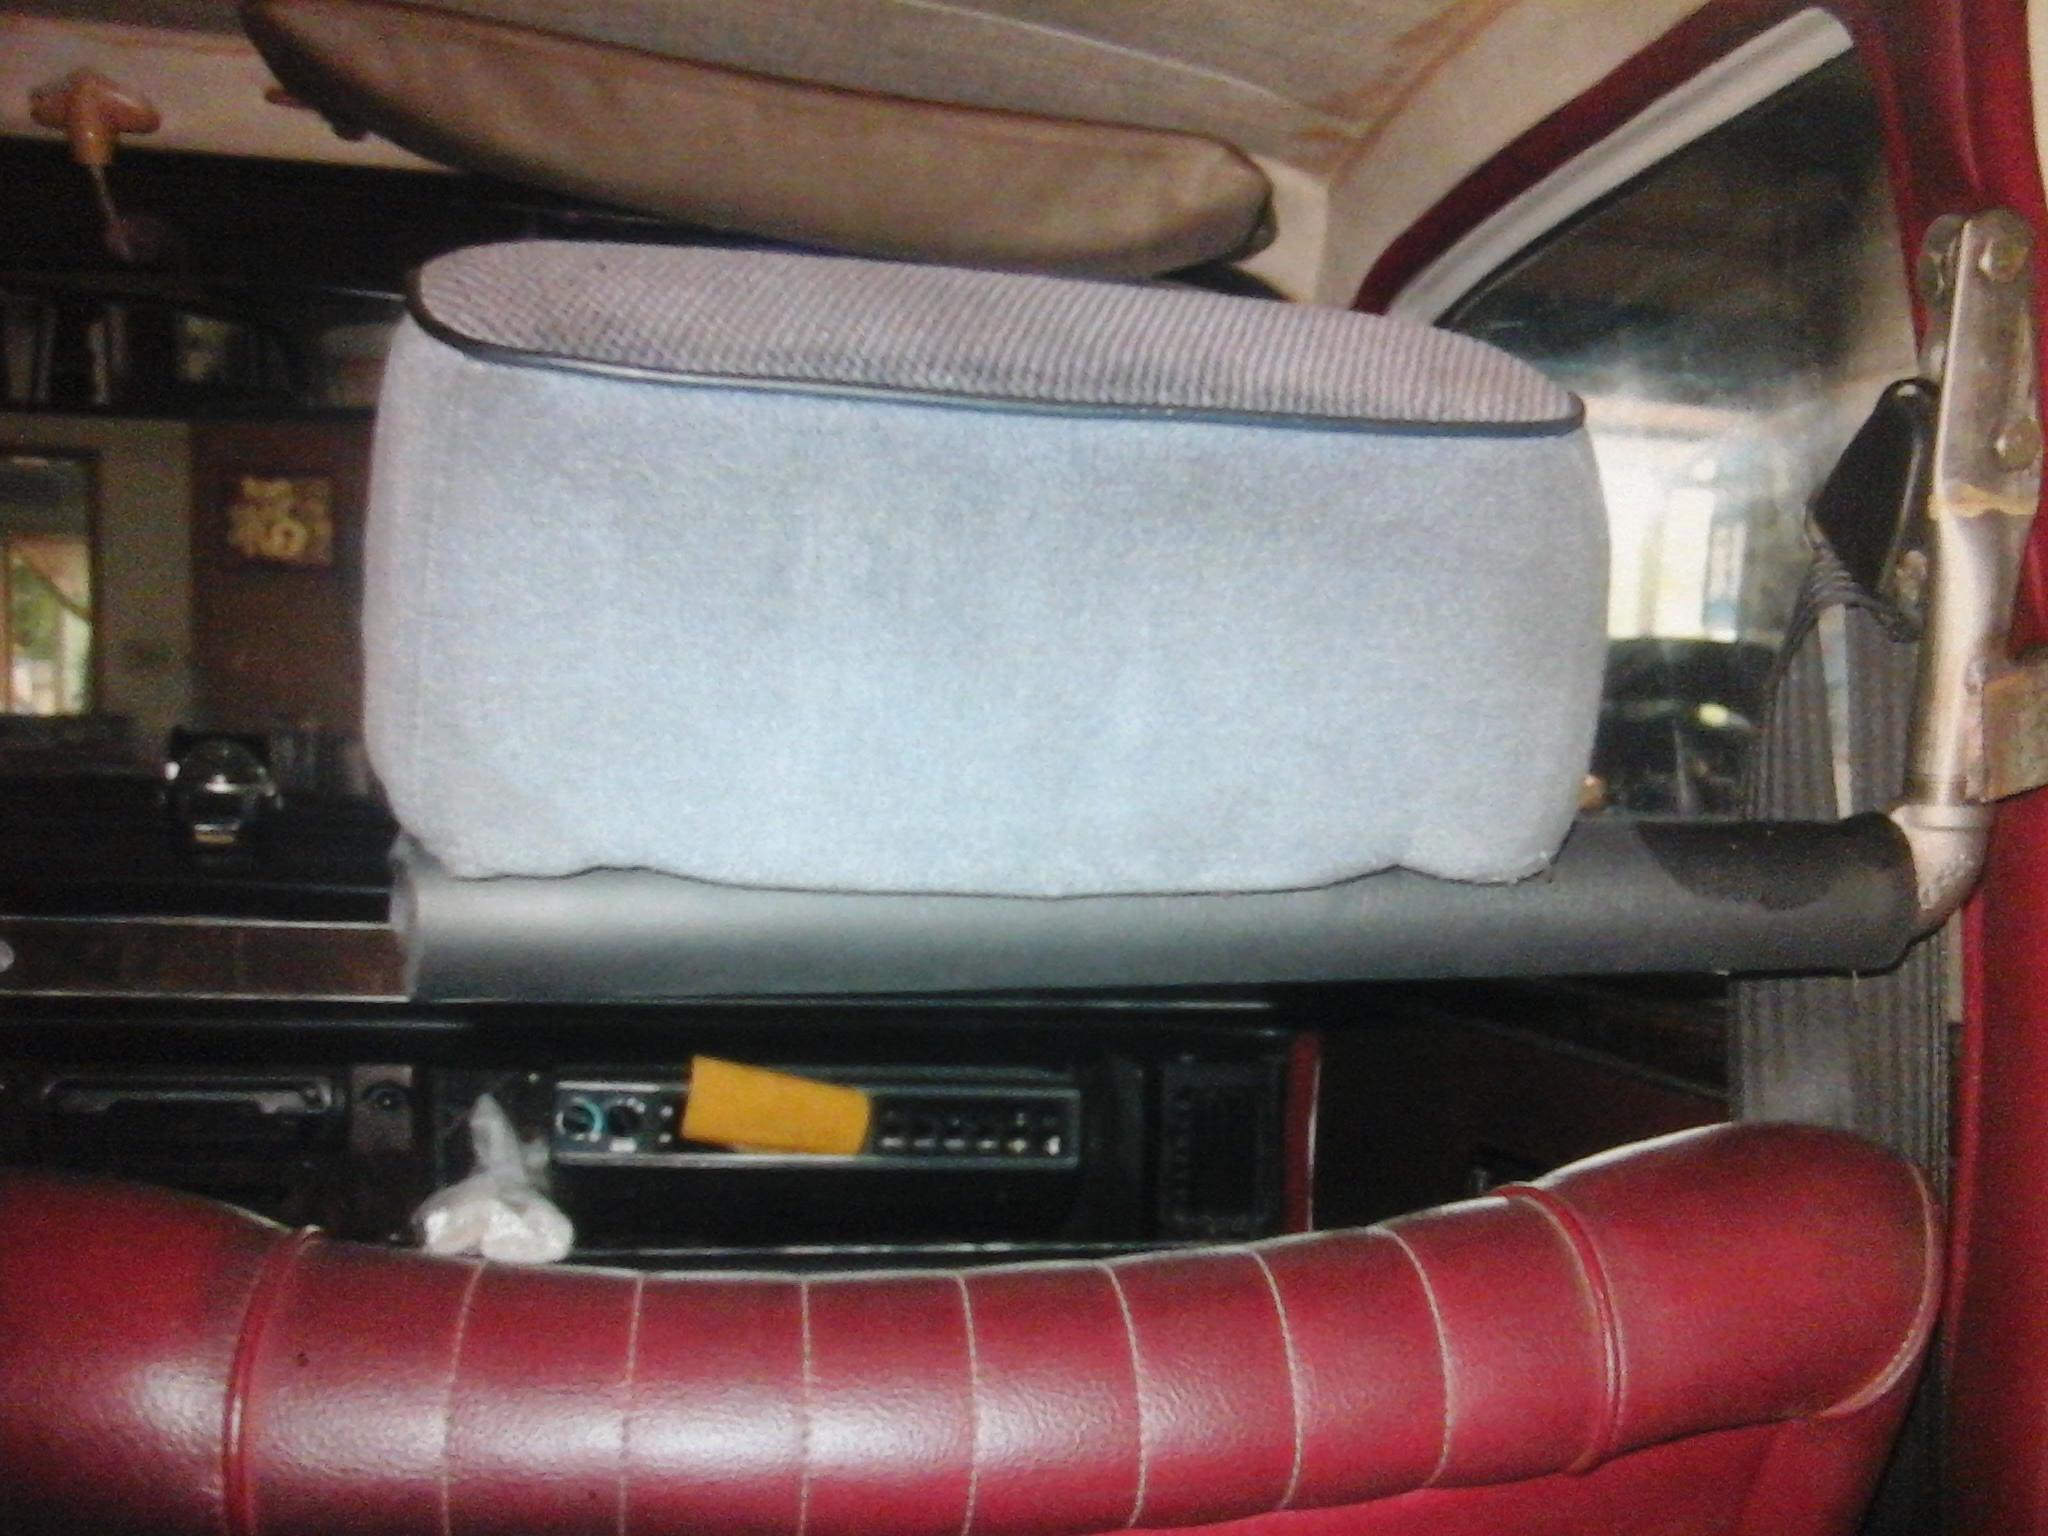 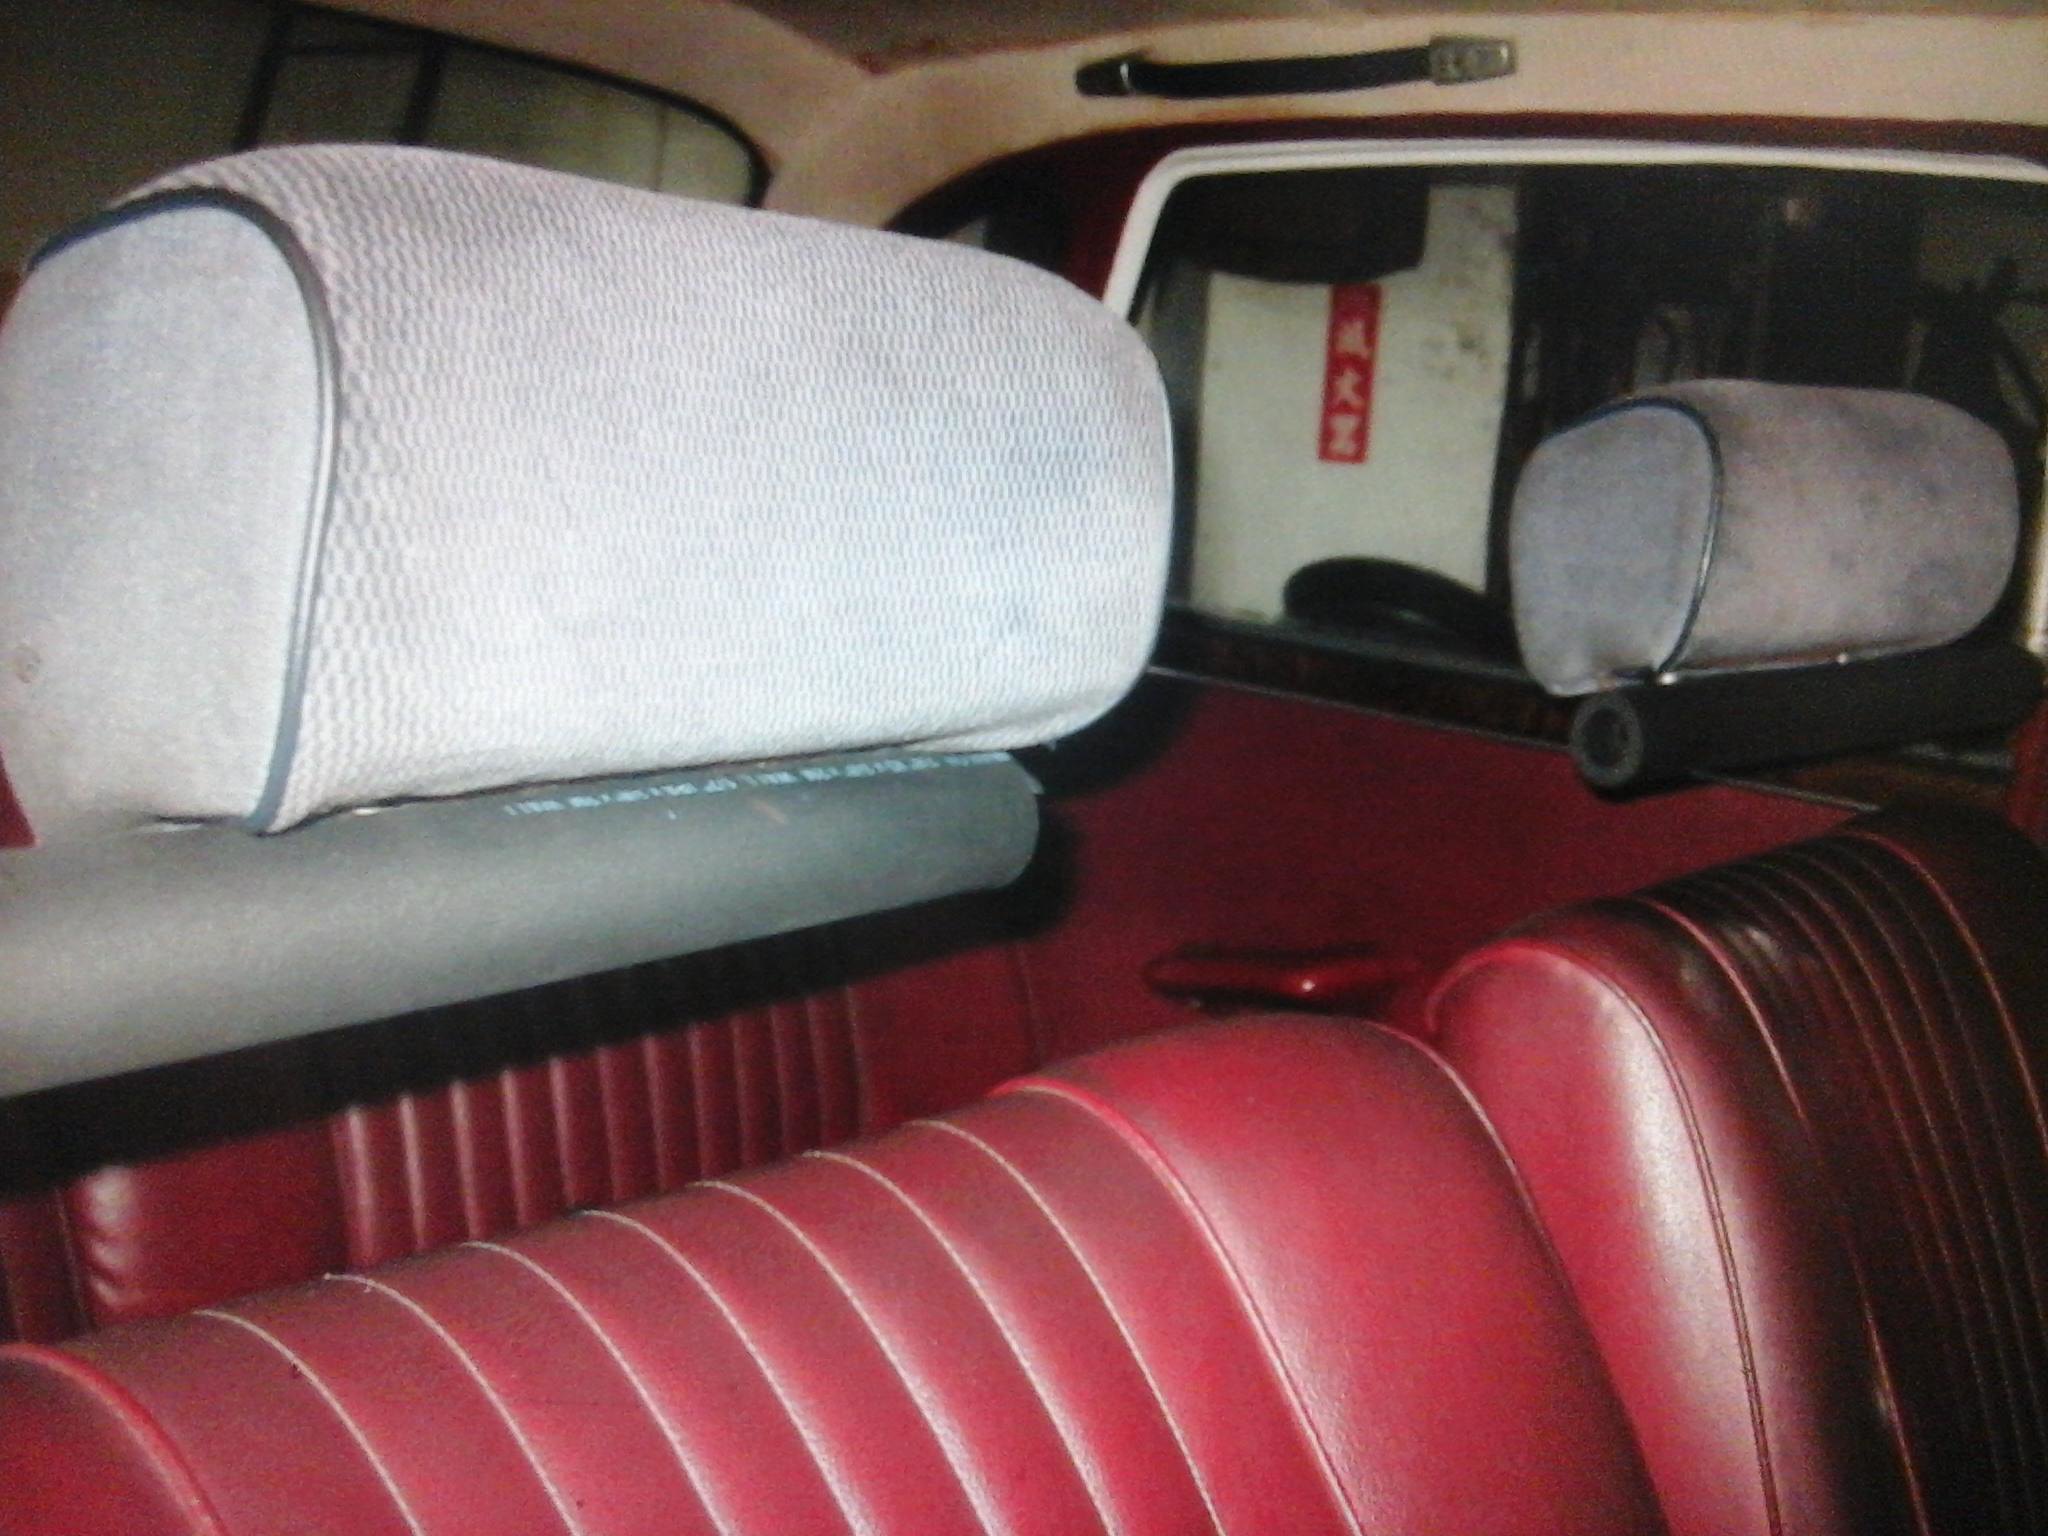 I took the pictures of the pictures again with a Pad in order to work let images on flickr.com. |
|

